Set Up an Integration System User (Optional)
Go to Create Integration System User
Create Integration System User task.
Enter account information
OK to create the user.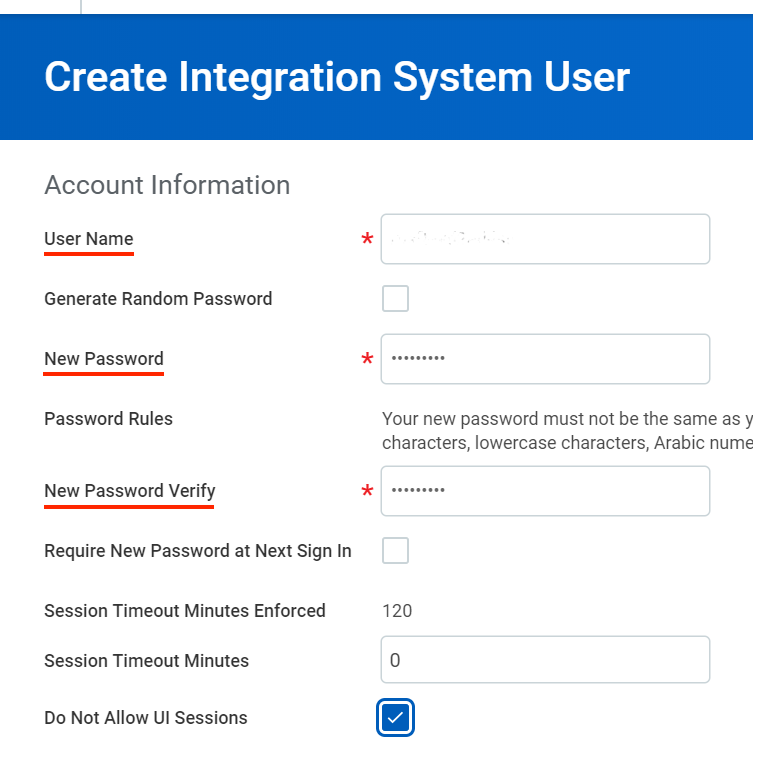
Create and View a Custom Report (Optional)
Go to Create Custom Report
Create Custom Report task
Configure custom report
- Report Name: Must be unique within the tenant
- Report Type: Select Advanced
- Optimised for Performance: Tick this box to enhance performance
- Data Source: Choose the appropriate data source based on the data you need (e.g. Workers for HCM reporting).
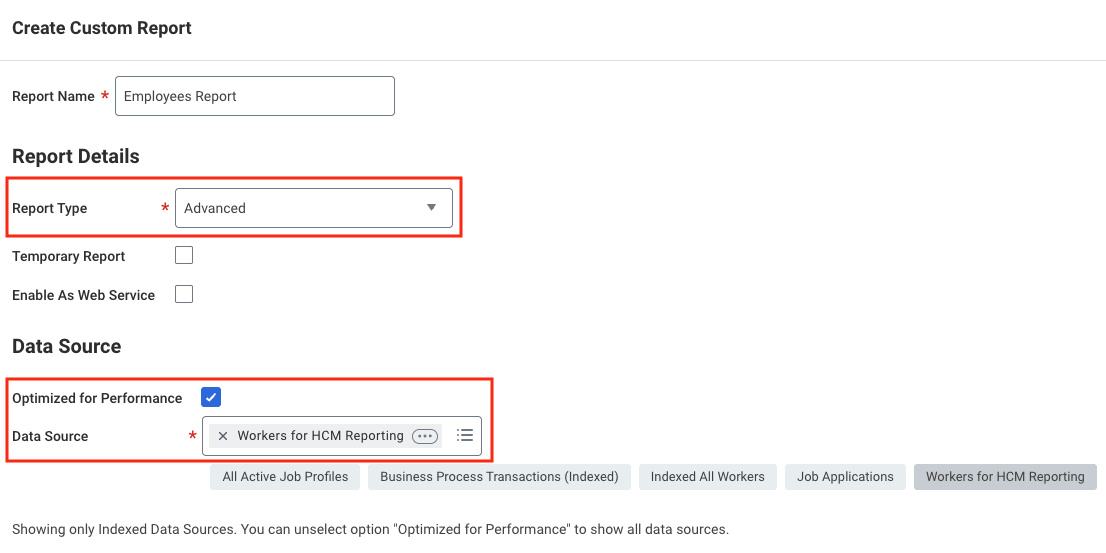
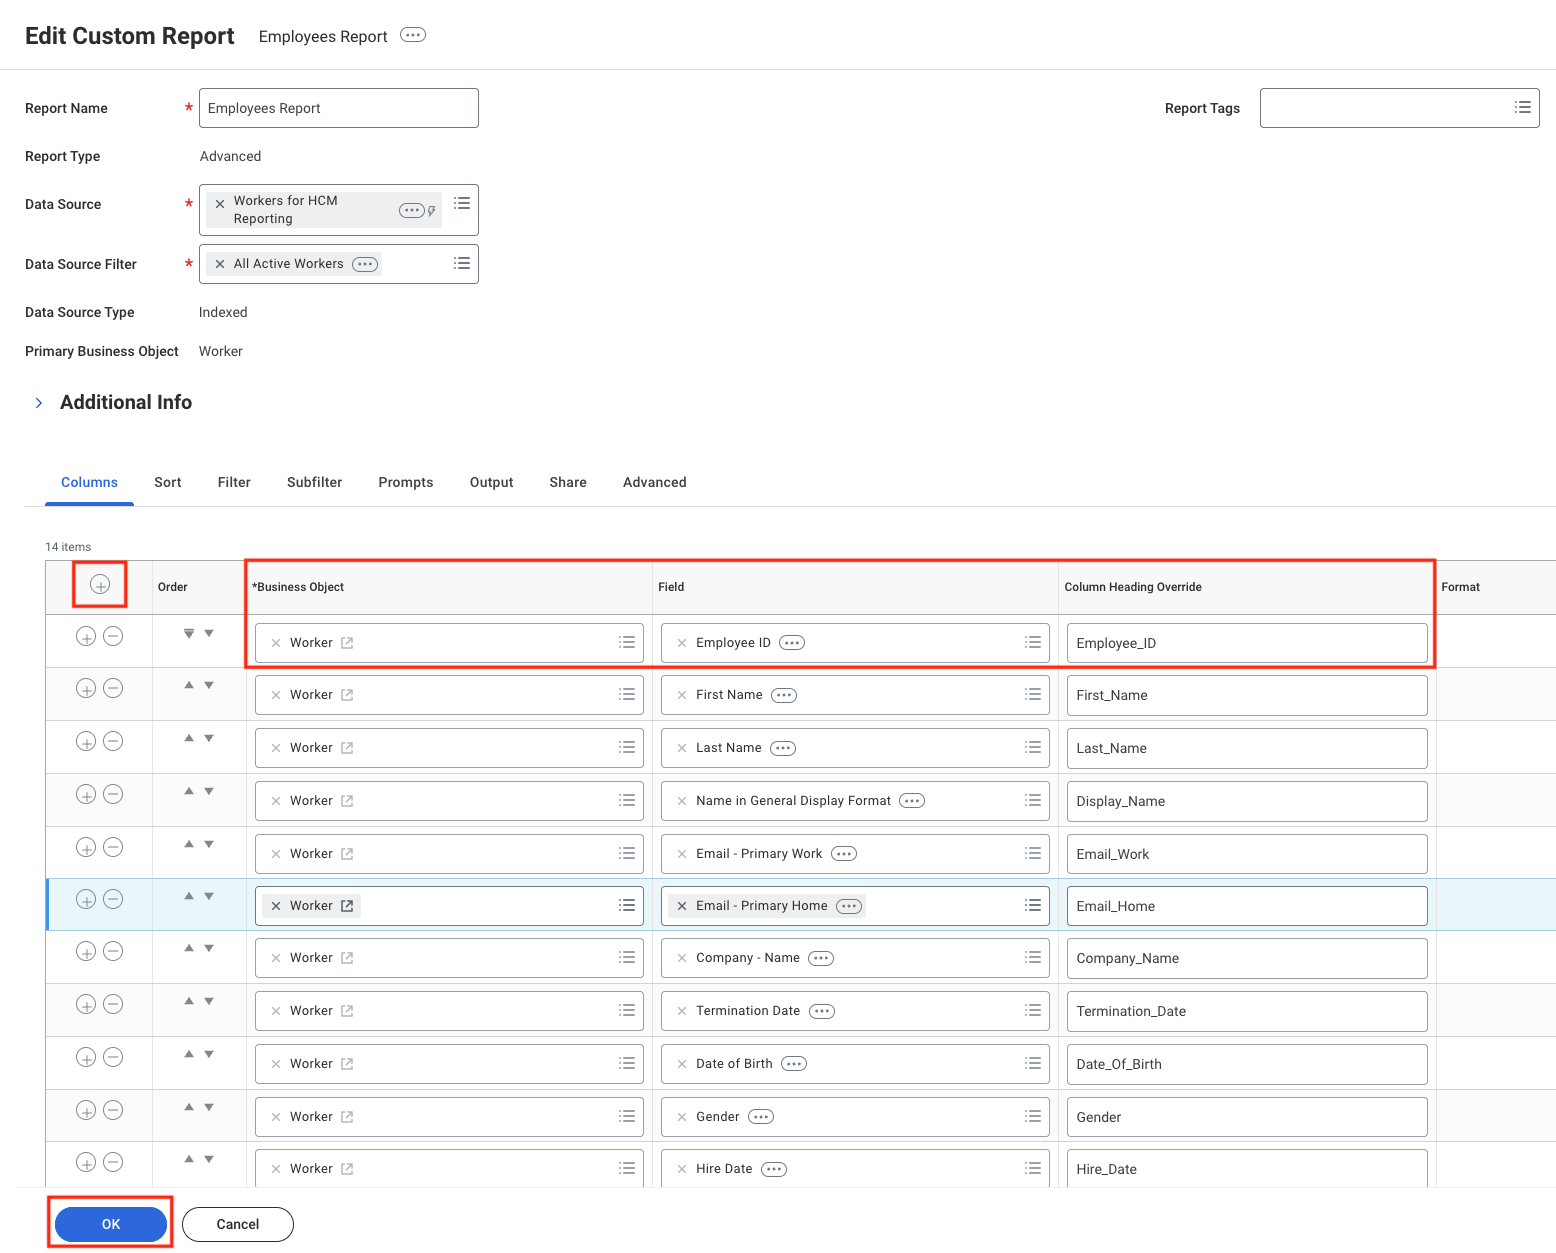
OK to continue.Add and configure report fields:- Click the
+icon to add a field. - Select a Business Object (e.g. Worker) in the Business Object column.
- Choose the specific field (e.g. Employee ID) in the Field column.
- Set aliases in Column Heading Override to ensure stable field names in API responses.
- Employee_ID
- First_Name
- Last_Name
- Display_Name
- Email_Work
- Email_Home
- Phone_Work
- Phone_Home
- Job_Title
- Hire_Date
- Gender
- Date_Of_Birth
- Termination_Date
- Company_Name
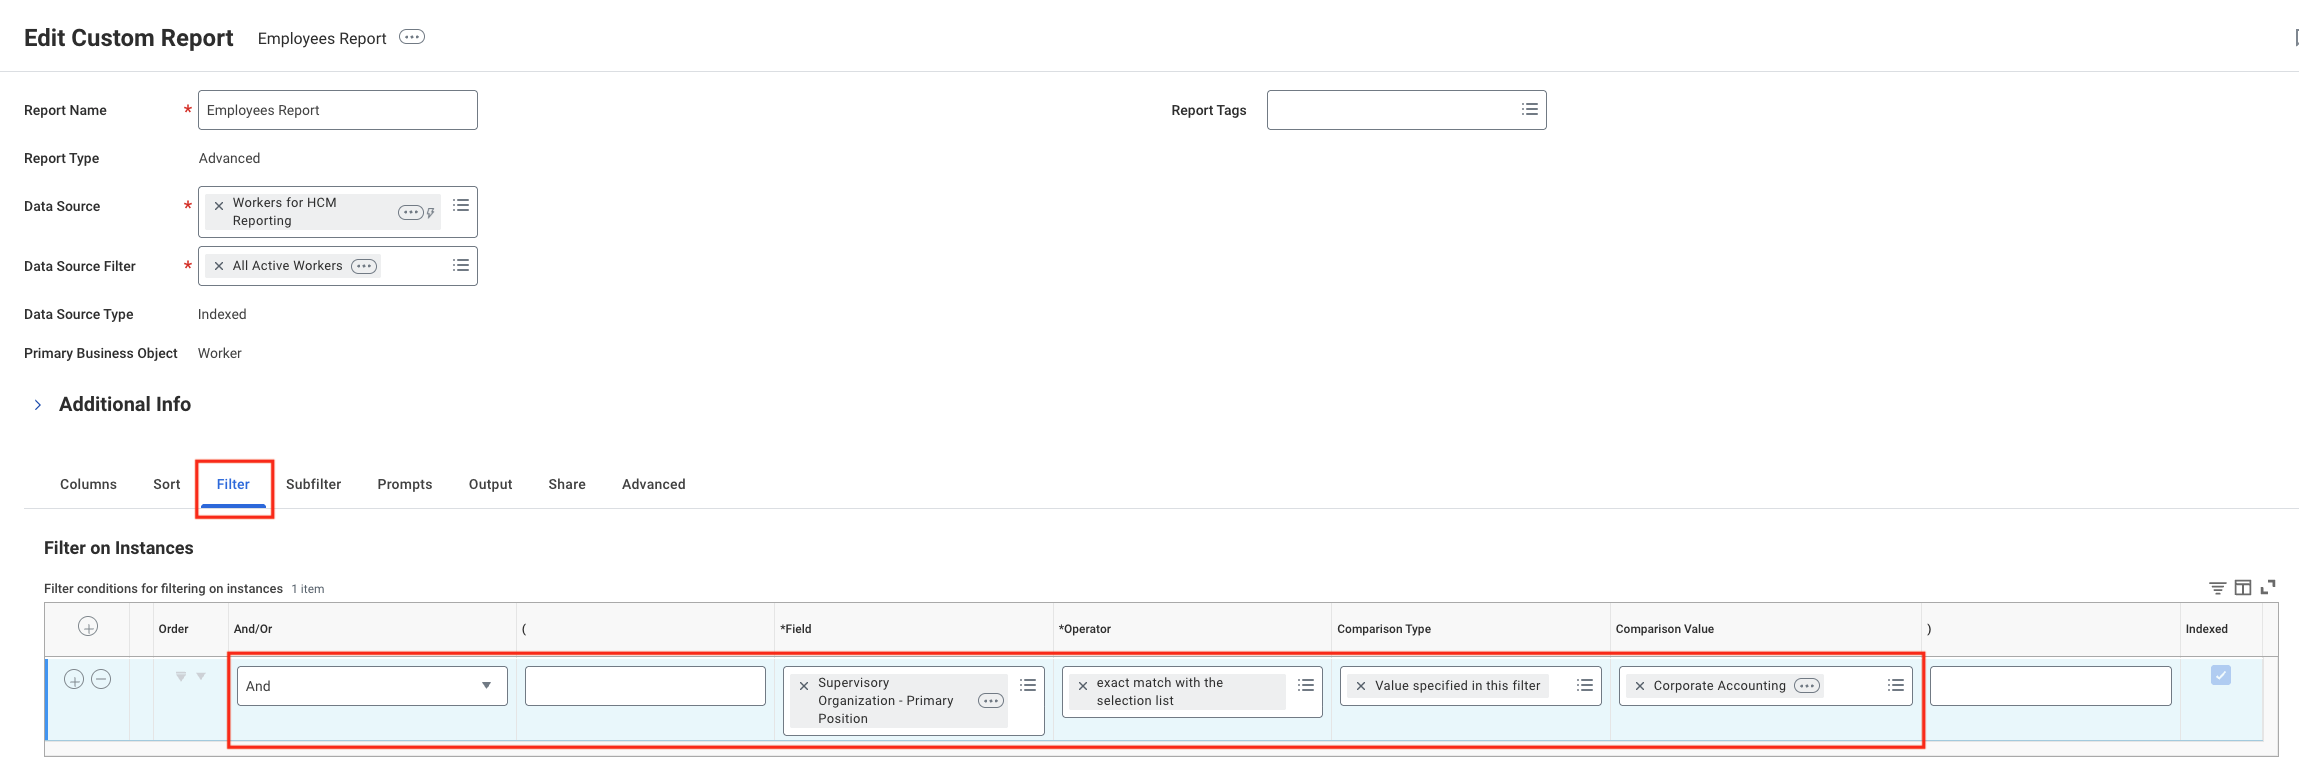
Configure report filters (Optional)
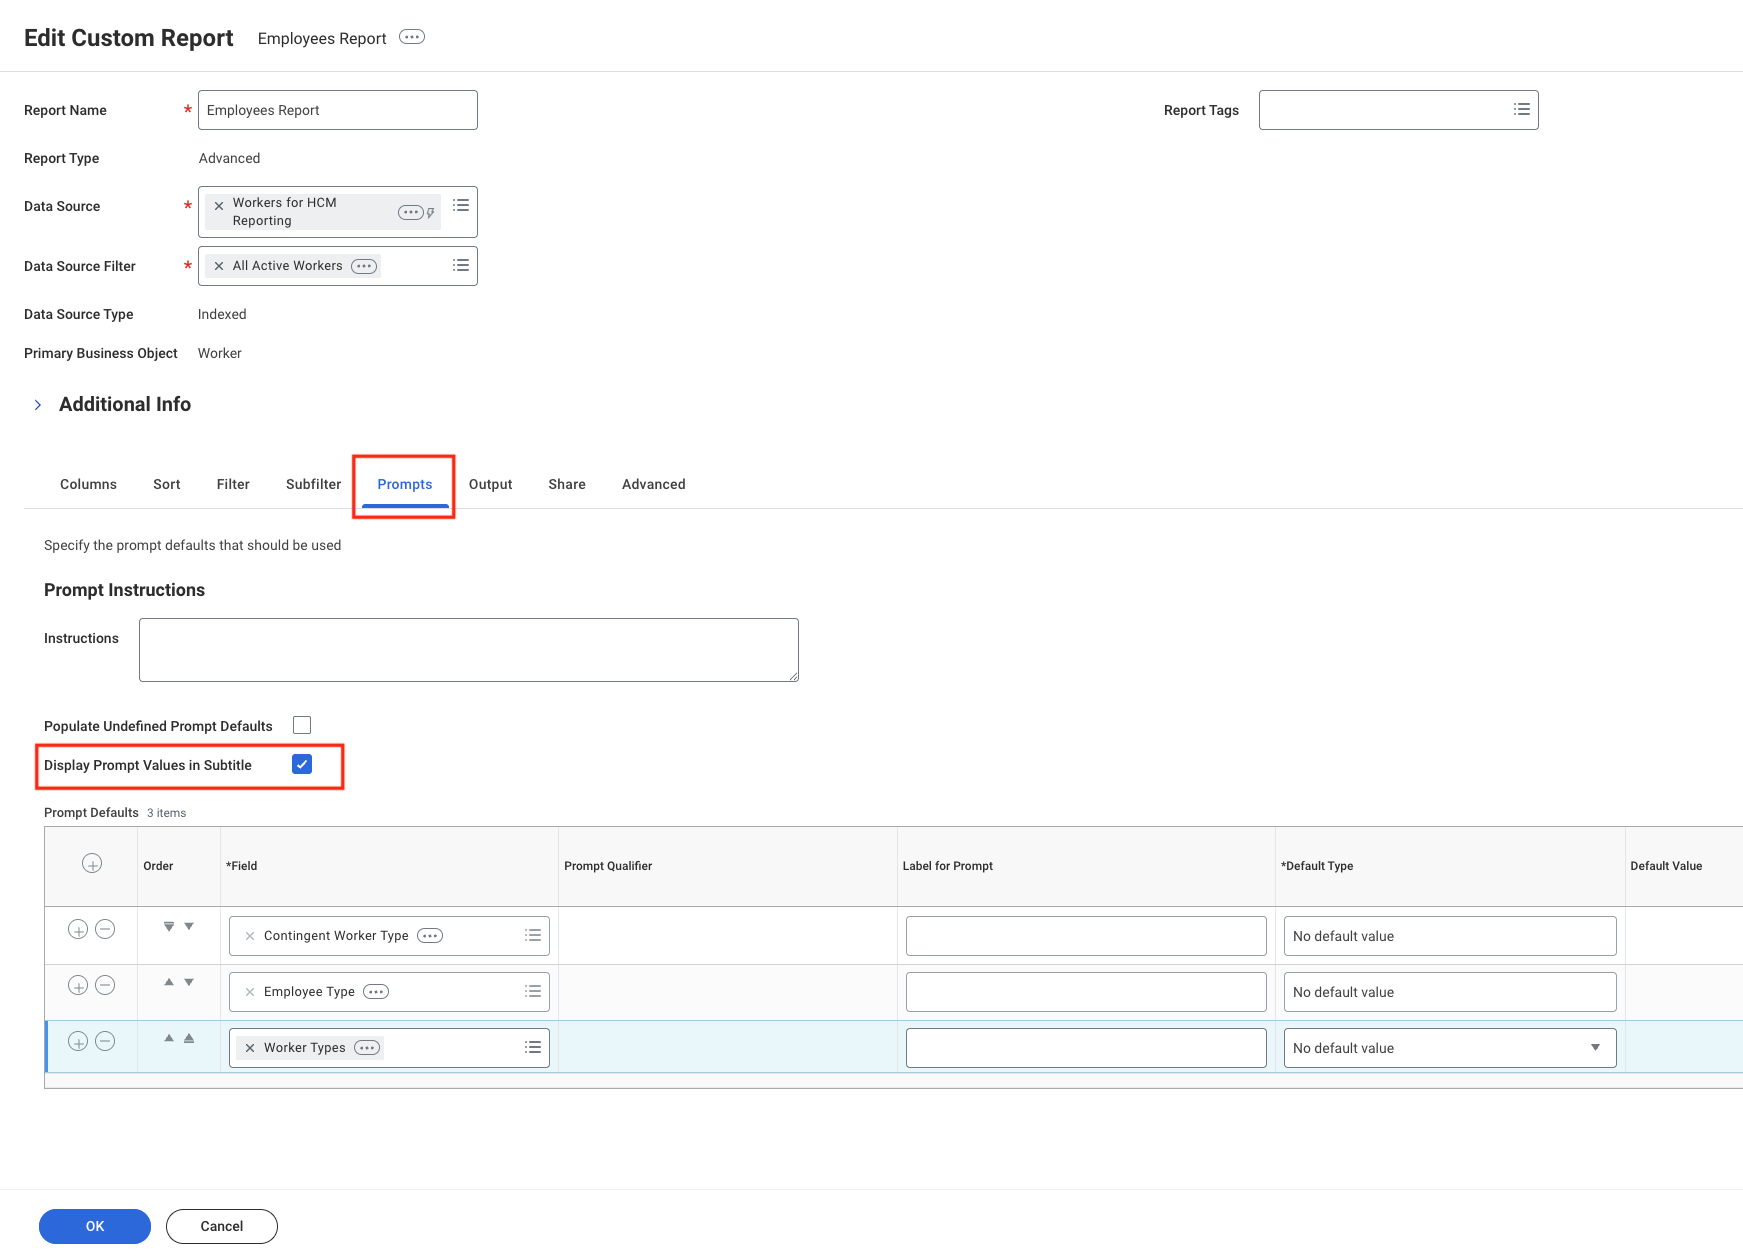
Configure report prompts
- Tick Populate Undefined Prompt Defaults to make prompt default fields visible in the report table. Once the
Prompt Defaultsgrid is visible, the Populate Undefined Prompt Defaults field will be automatically unticked. - Tick Display Prompt Values in Subtitle to enable prompt display.
Configure advanced options
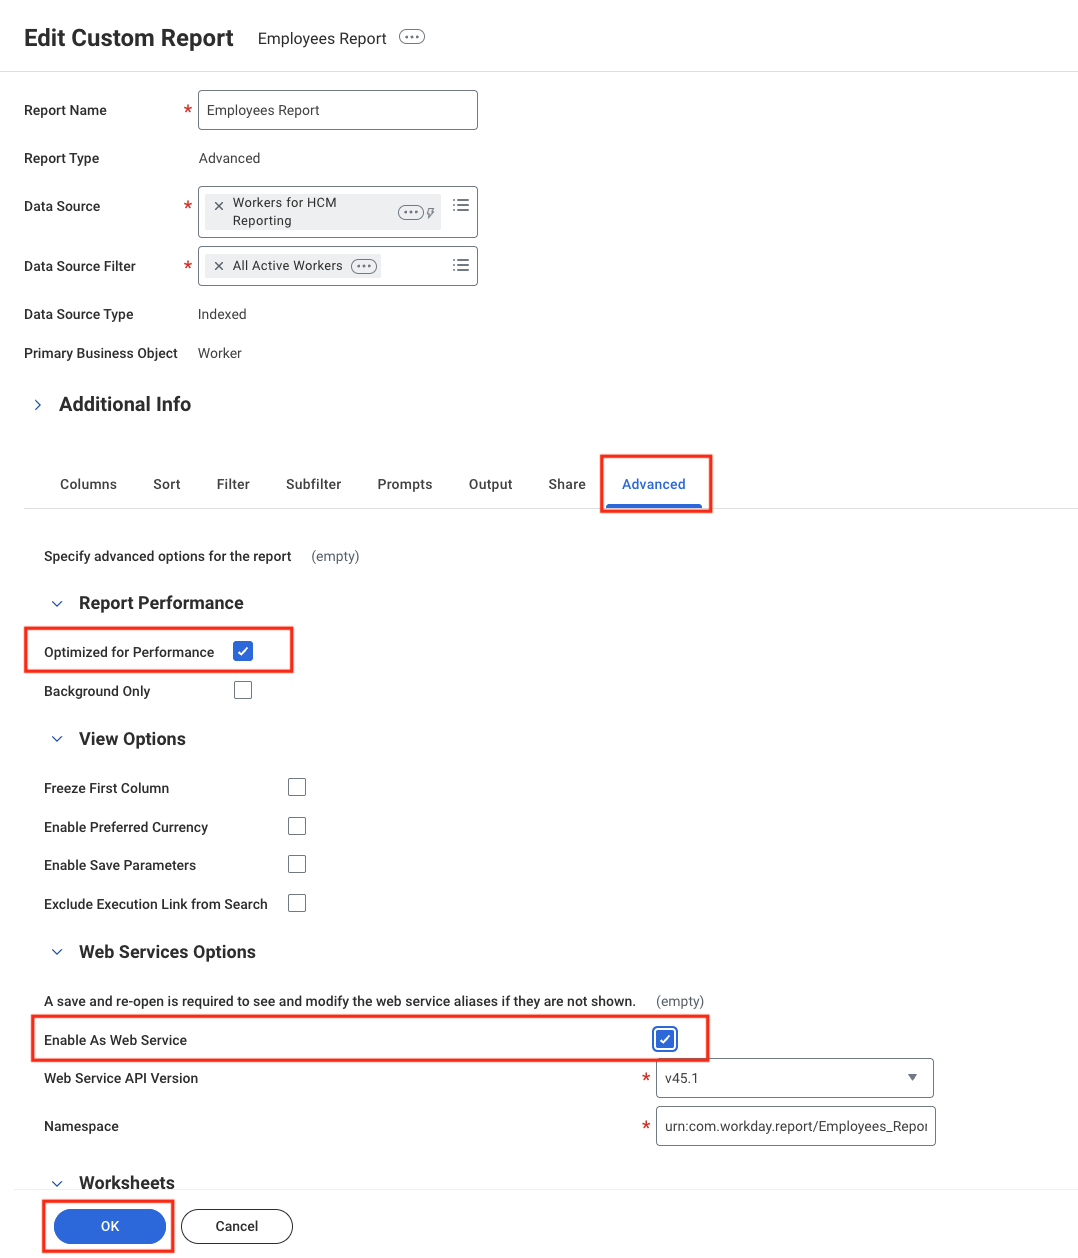
OK to save the report.Go to View Custom Report
View Custom Report, select the report you just created, then click OK to open it.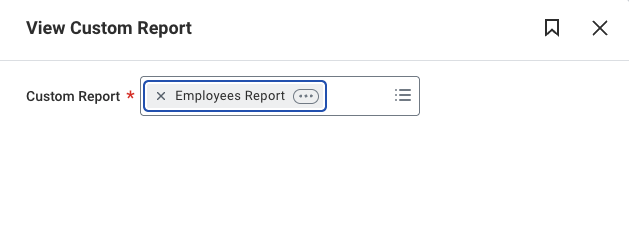
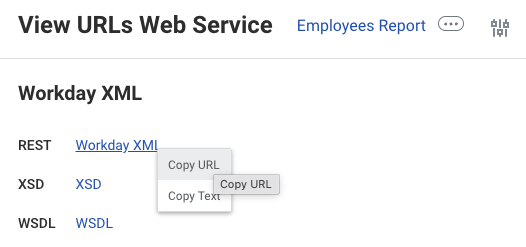
Retrieve the Report URL

Connecting to StackOne
Use the ISU Username, ISU Password, and Report URL to create a connection.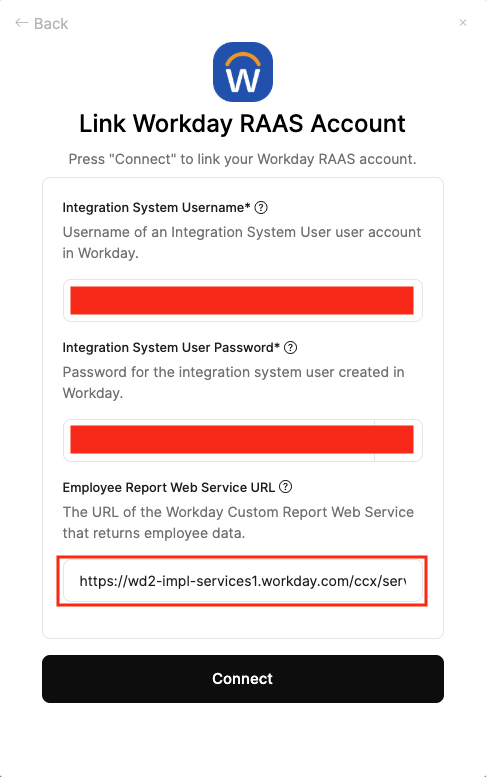
- A response with all fields populated.
- A response with fields present but values are
null. - An error:
The task submitted is not authorized. - An error:
Report not found.
Scenario 2 = missing Security Group permissions for the ISU.
Scenarios 3 & 4 = insufficient report access for the ISU credentials used.Proceed to Configure Security Group Permissions for the ISU (Required for non‑null data) and Configure Custom Report Access for the ISU (Required for report access) to resolve issues.
Configure Security Group Permissions for the ISU (Required for non‑null data)
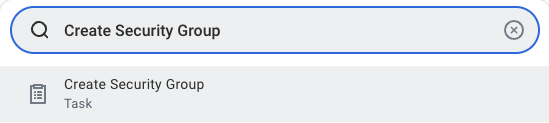
Create a Security Group
Select type of Tenanted Security Group
Integration System Security Group (Unconstrained) and enter a name for the Security Group.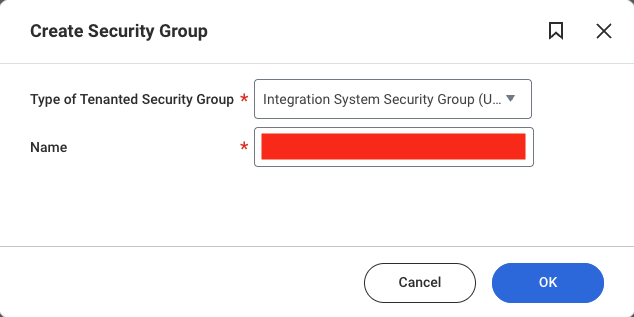
OK.Assign the ISU to the Security Group
Integration System Users. Pick the ISU created earlier (or another integration user).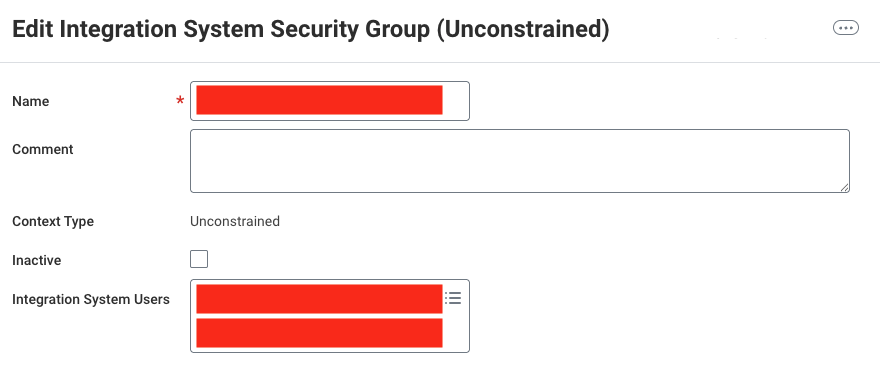
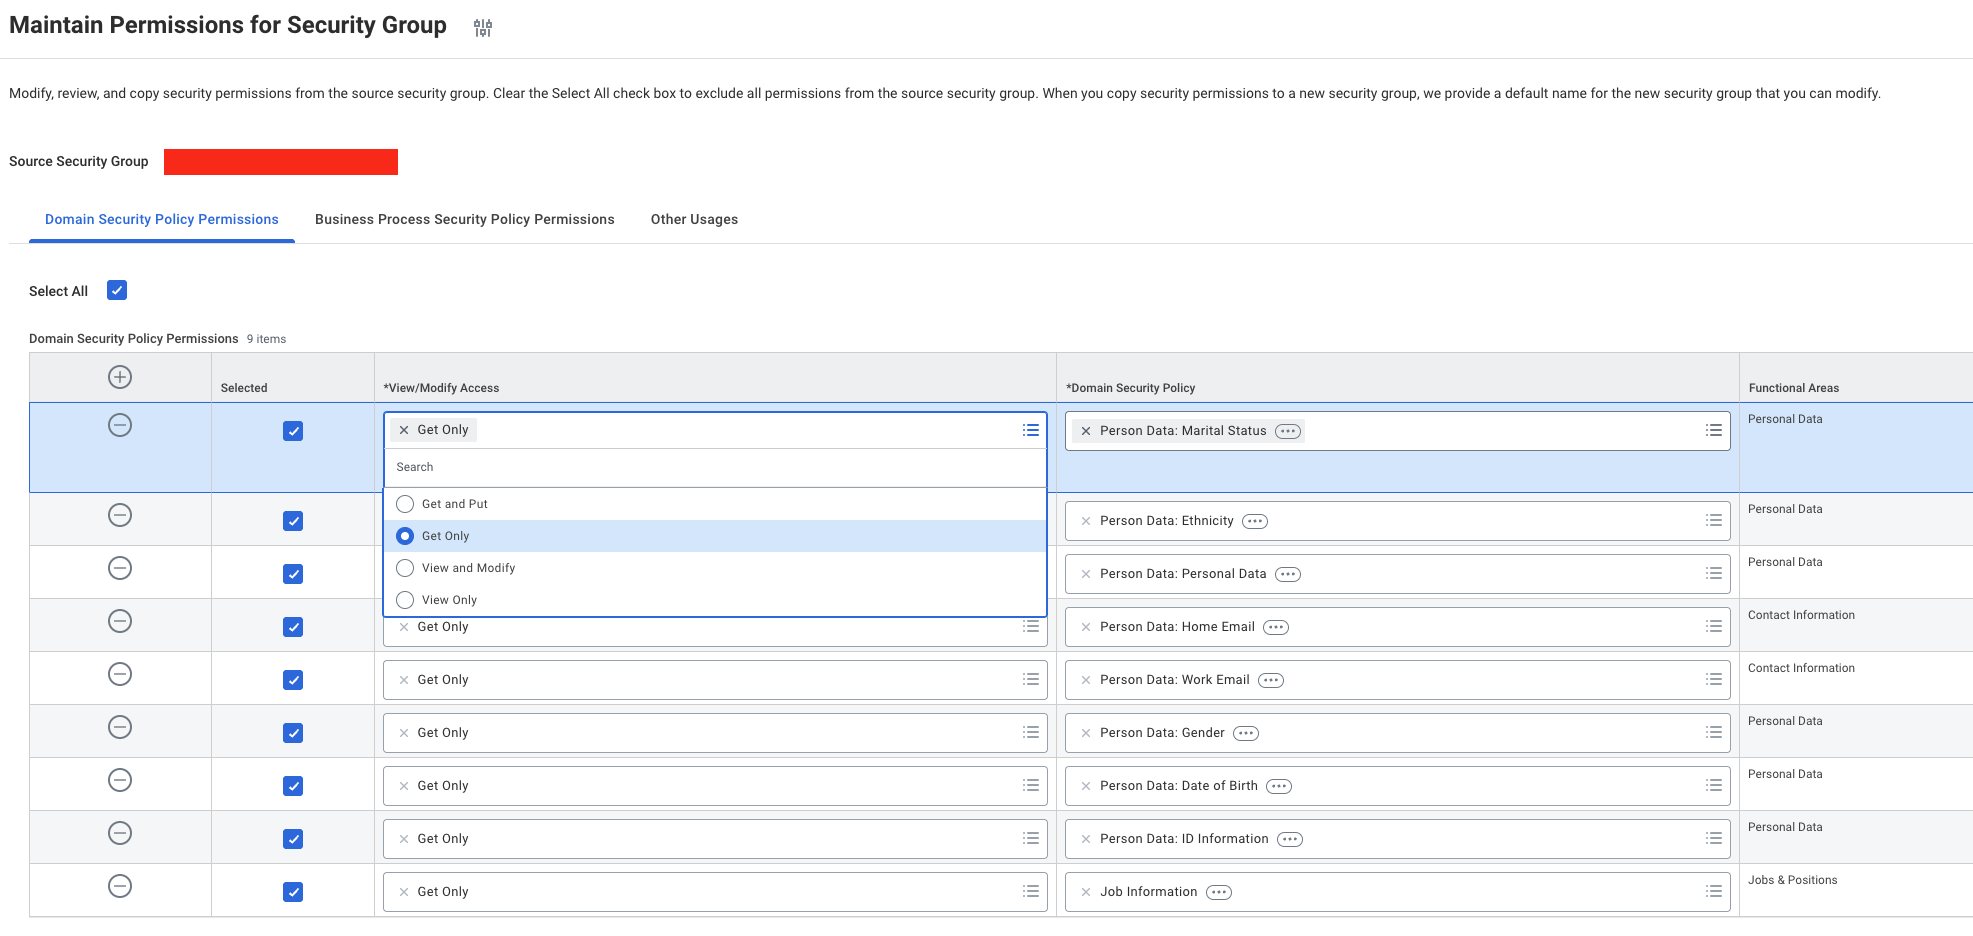
OK to save.Go to Maintain Permissions for Security Group
Maintain Permissions for Security Group and open it.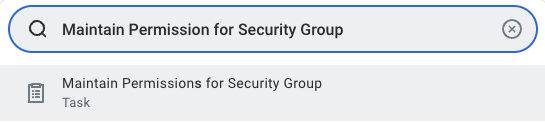
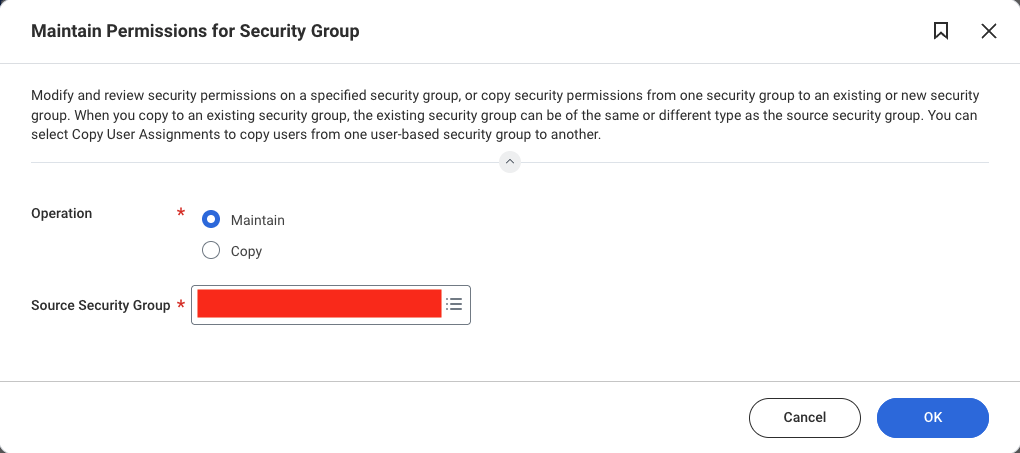
Configure Domain Security Policy Permissions
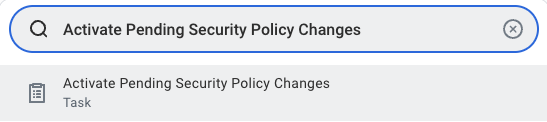
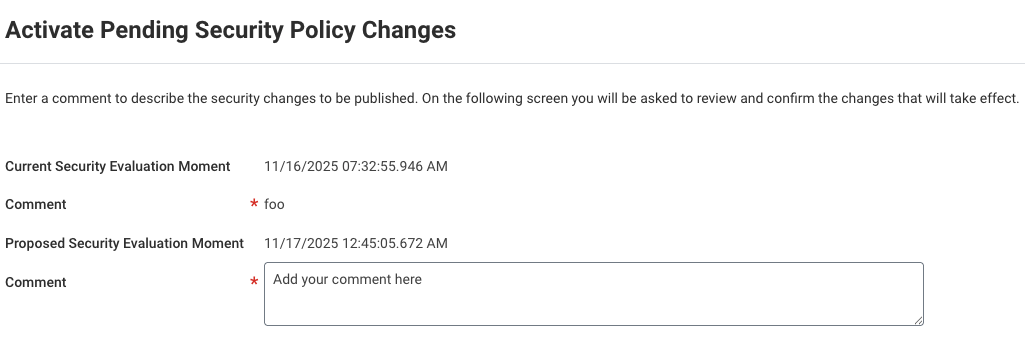
Activate security changes
OK.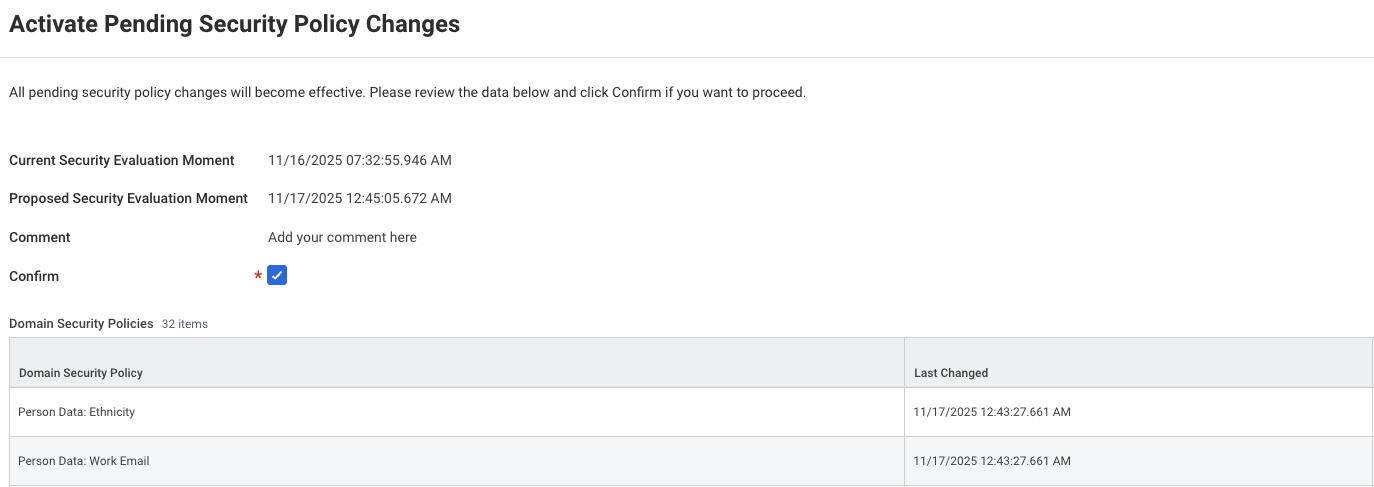
Configure Custom Report Access for the ISU (Required for report access)
Open the report
View Custom Report.
Check current ownership
Share tab and view the Report Owned by value.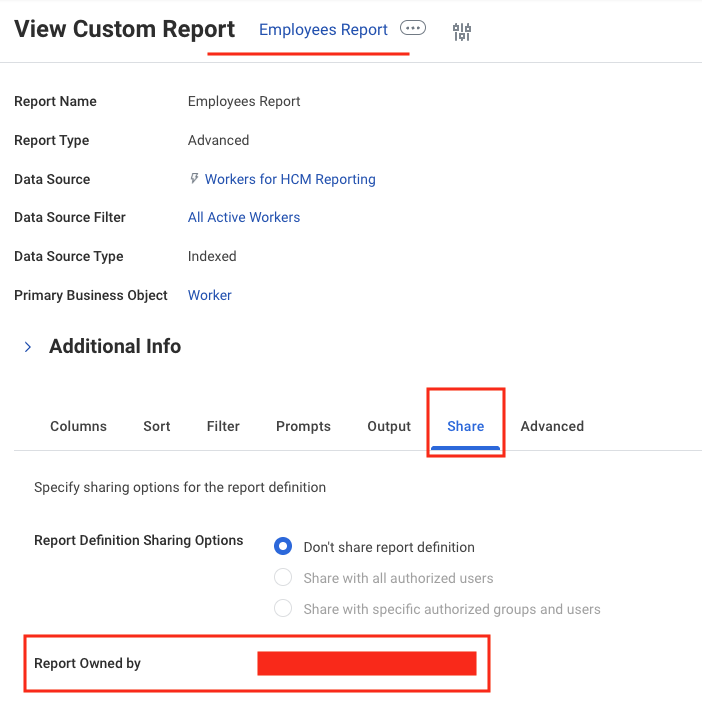
Transfer ownership (if required)
Transfer Ownership.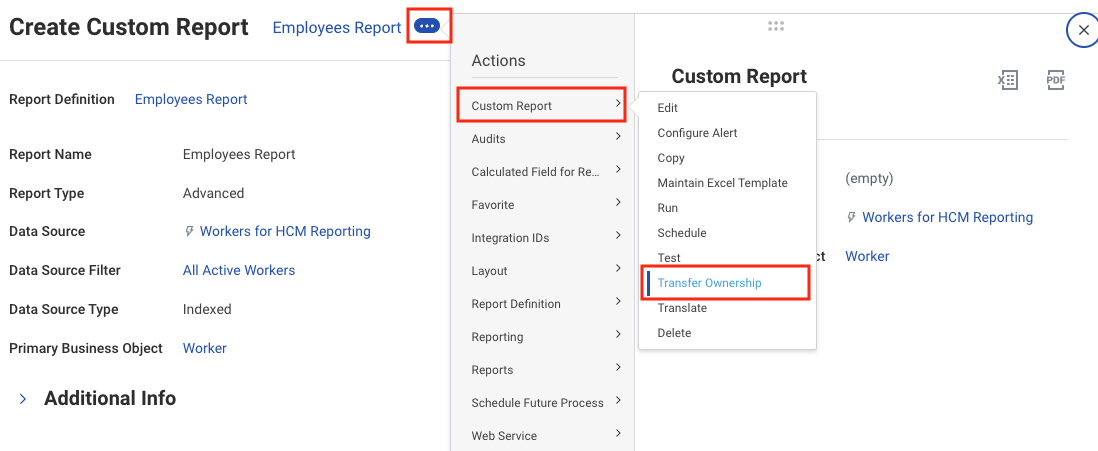
New Owner and click OK.New Owner dropdown, you can share the report access without transferring ownership as described in the next step Grant access without transferring ownership.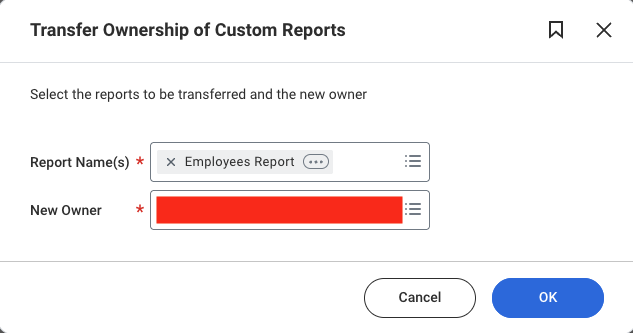
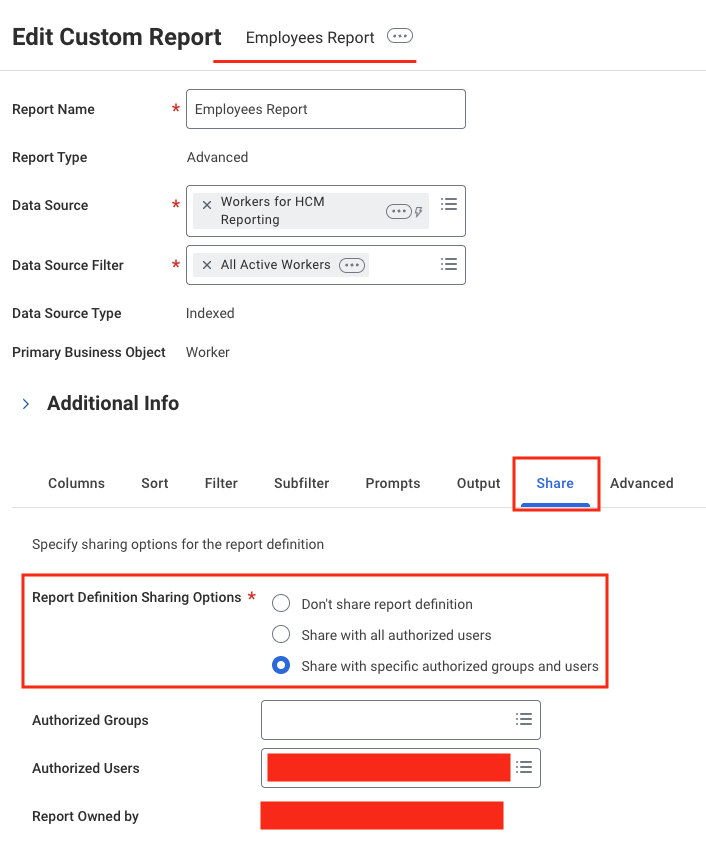
Grant access without transferring ownership
Edit under Custom Report from the three‑dot menu.
Share tab, select Share with specific authorized groups and users, choose the desired ISU in Authorized Users, then click OK.Report Definition Sharing Options Explained
Report Definition Sharing Options Explained
- Do Not Share Report Definition: Only the owner can access and retrieve data through the Report URL. If ownership changes or other ISU credentials are used, errors such as
Report not foundorThe task submitted is not authorizedmay occur. - Share with All Authorized Users: All ISU users can access the report. Ownership should remain with the report creator; otherwise StackOne connections using other users’ credentials may encounter a
Report not founderror. - Share with Specific Authorized Groups and Users: Restrict access to selected groups/users.
- No selection acts like
Do Not Share Report Definition. - Selecting users allows both owner and selected ISU users to access the report (ownership must still stay with the report creator to avoid a
Report not founderror).
- No selection acts like
Troubleshooting
Authentication (401 Unauthorized)/Authorization (403 Forbidden) errors
- Verify that the ISU username and password are correct in the StackOne Connector Hub.
- Ensure the credentials have not expired or been changed.
- Confirm the ISU has the necessary security group permissions configured.
502 The task submitted is not authorized error
- Ensure the ISU has access to the custom report (either as owner or through authorized user sharing).
- Verify the report ownership configuration matches the ISU credentials being used.
- If ownership was recently transferred, reconnect in the StackOne Connector Hub with the new owner’s credentials.
Report not found error
- Verify the Report URL is correct and reachable.
- Ensure the ISU has access to the report through ownership or authorized user sharing.
- Check that the report is enabled as a web service in Advanced settings.
Null field values
- Add missing Domain Security Policy Permissions as described in the security configuration section.
- Activate pending security policy changes after modifications.
- Retry the endpoint (fields populate once permissions are effective).