Create Workday Employee Custom Field
1
Search for 'Create Custom Object'
Search for Create Custom Object in the search bar and select it.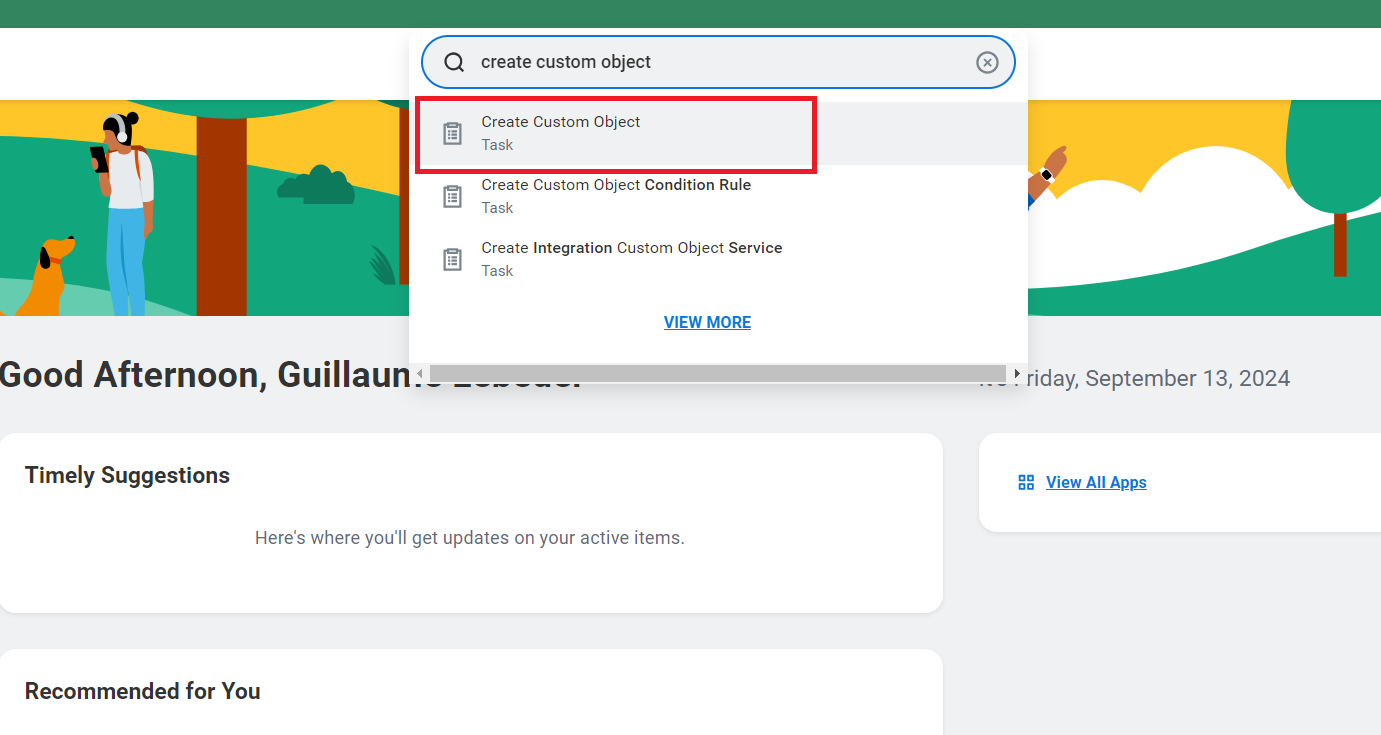
2
Create Custom Object
Select Worker (Effective Dated) in Workday Object.
Enter a name for the custom object and click OK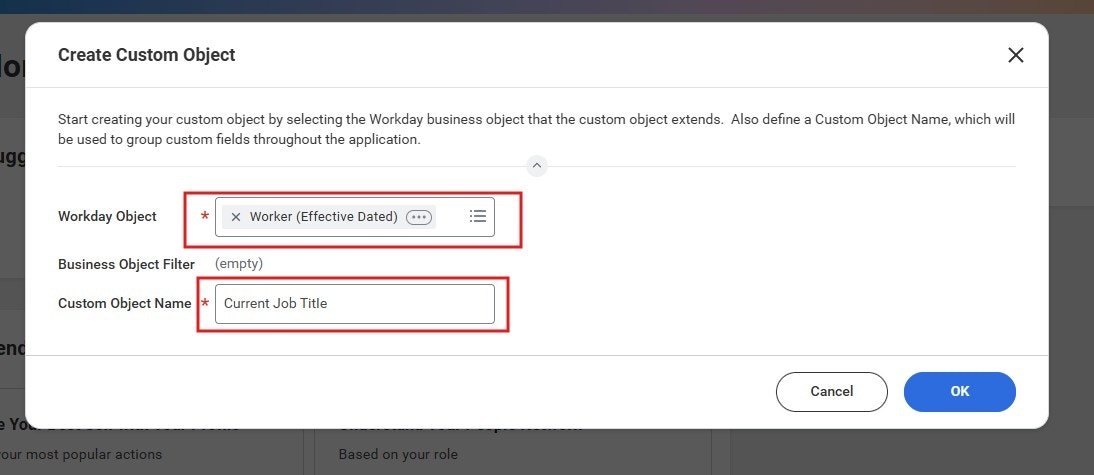
Enter a name for the custom object and click OK
3
Click 'Field Definitions'
Click the Field Definitions tab in the sidebar.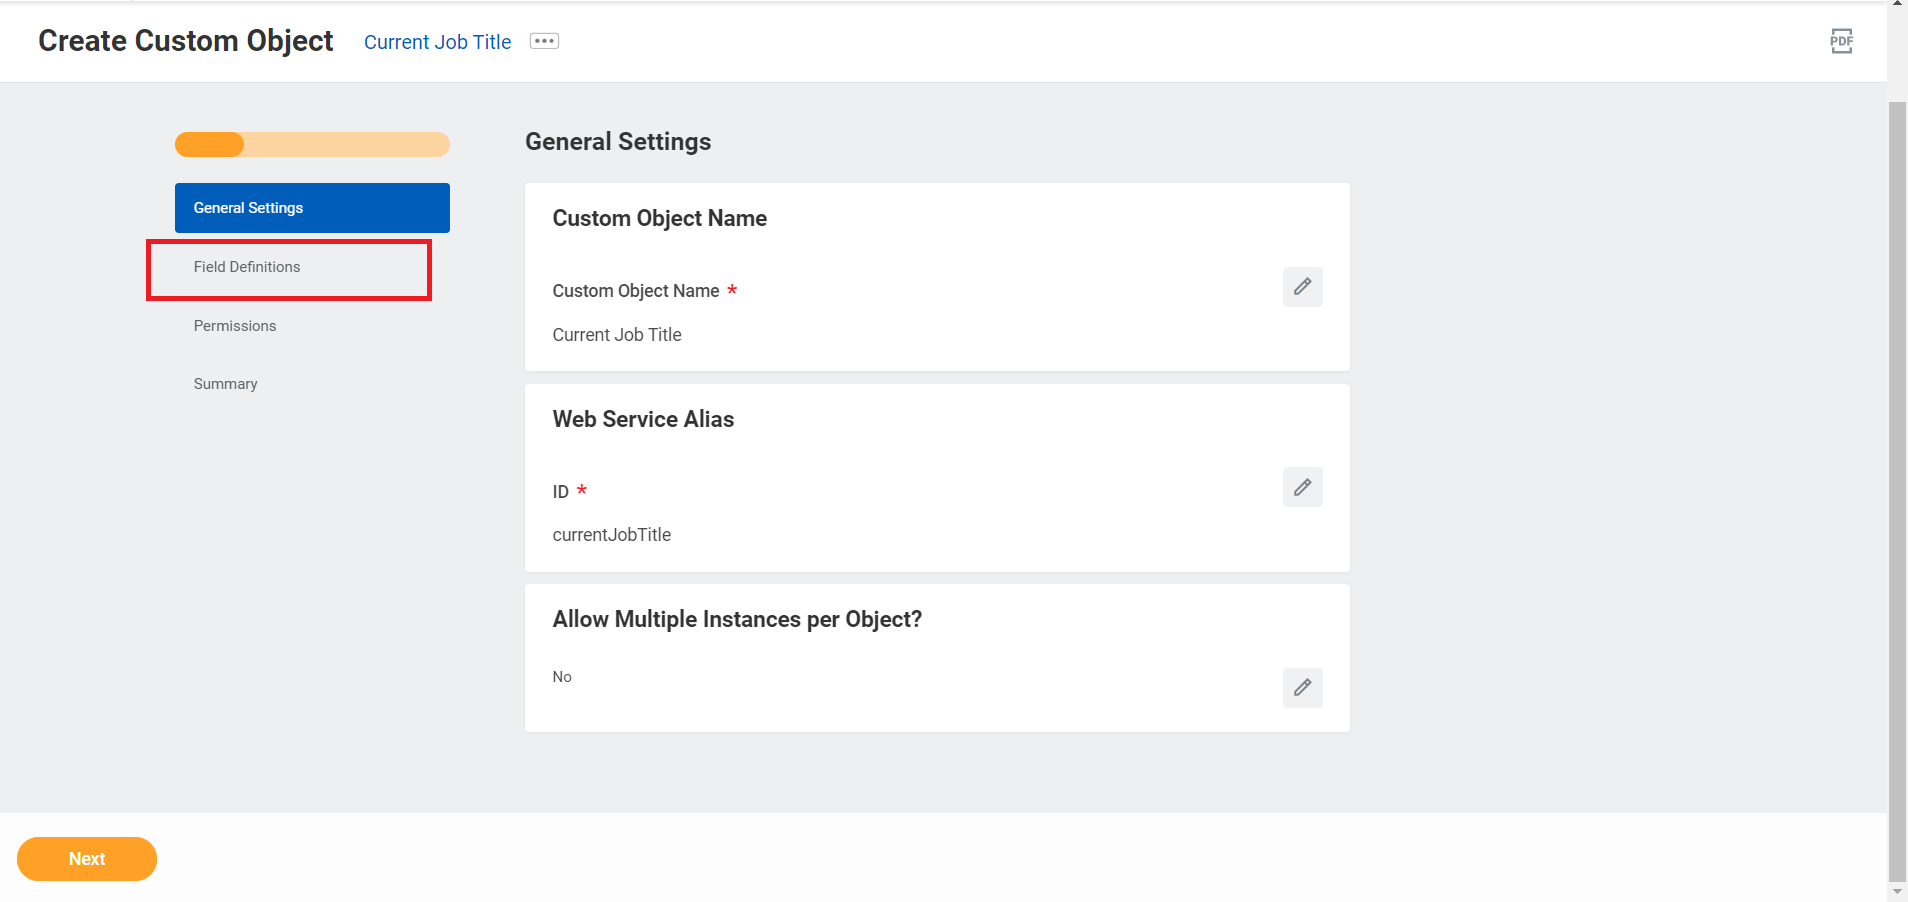
4
Click 'Add' button
Click the Add button in Proposed New Fields.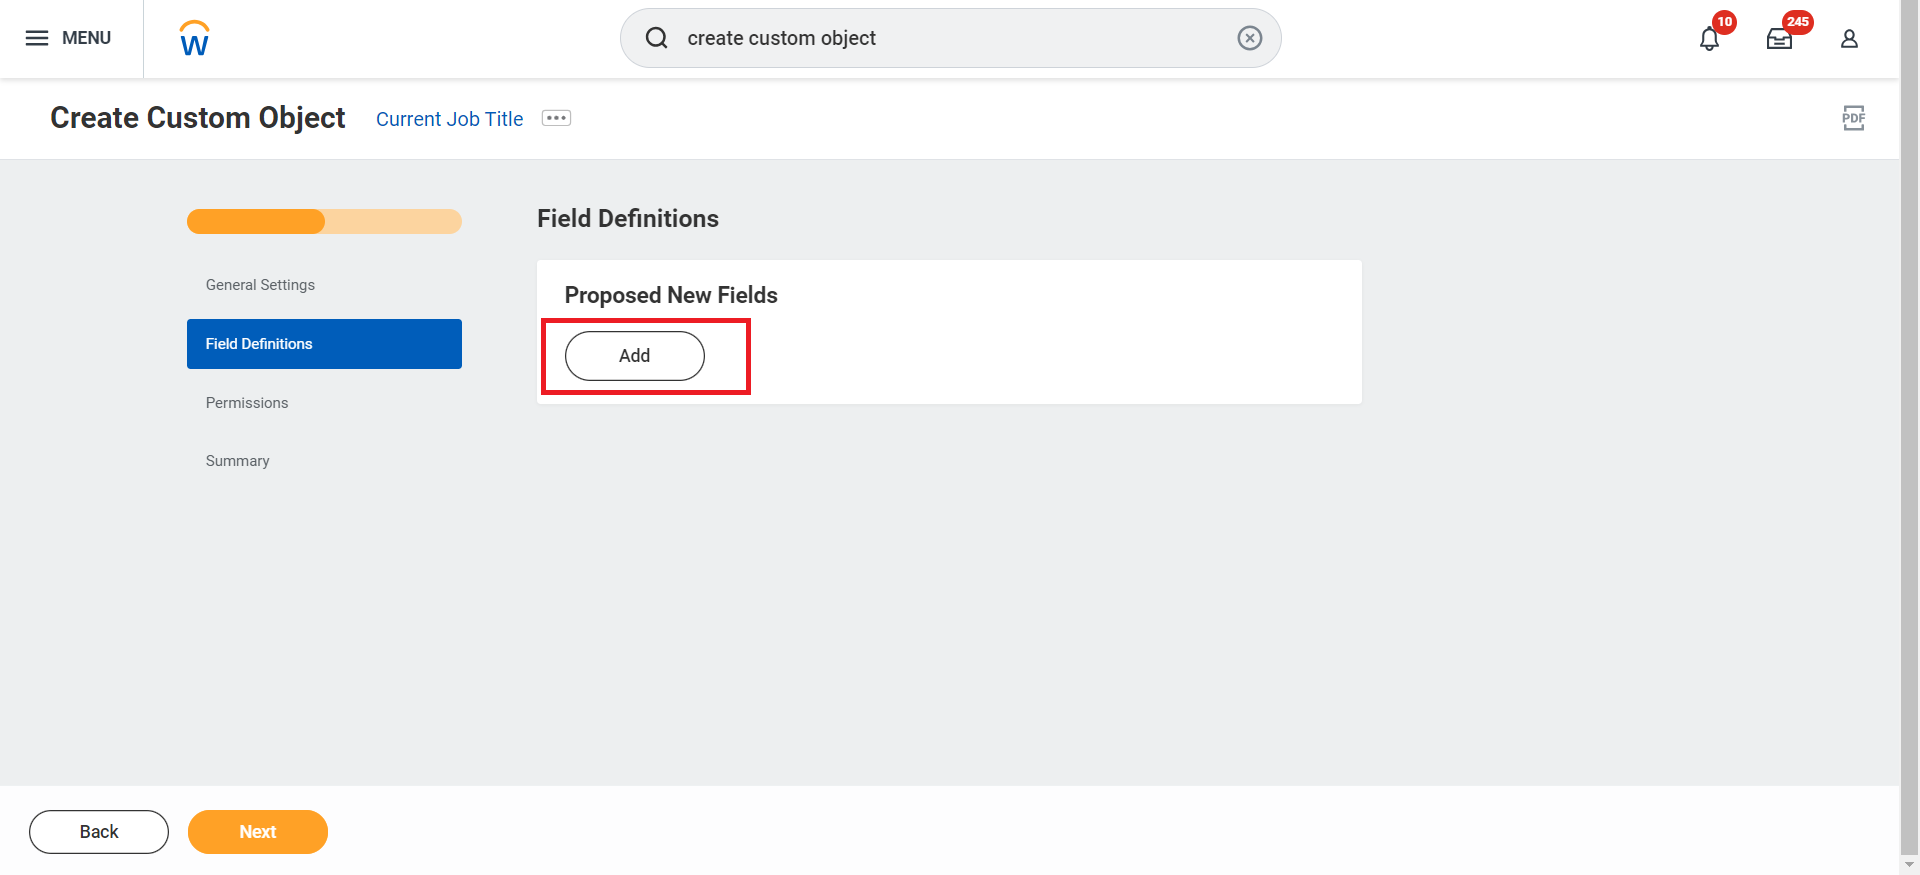
5
Enter Label & Field Type
Enter a label for the field, select a field type from the dropdown menu, and click Next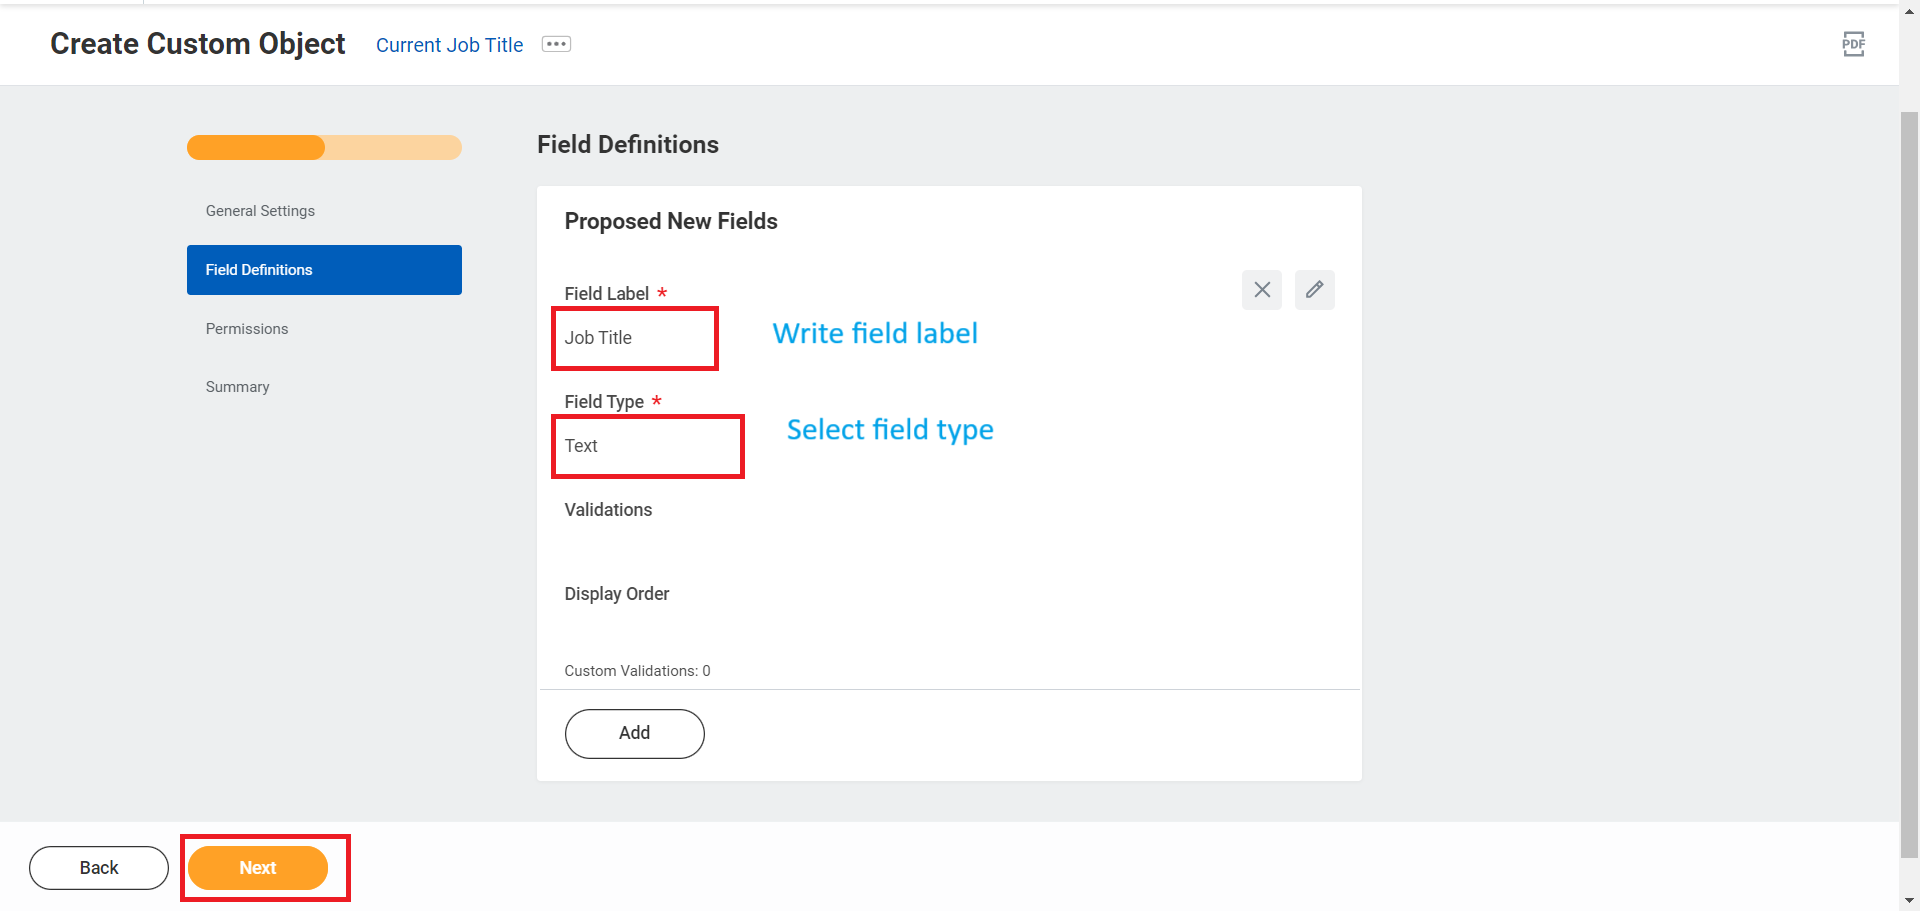
6
Select 'Worker Data: Workers'
Select Worker Data: Workers in Permissions tab and click Next.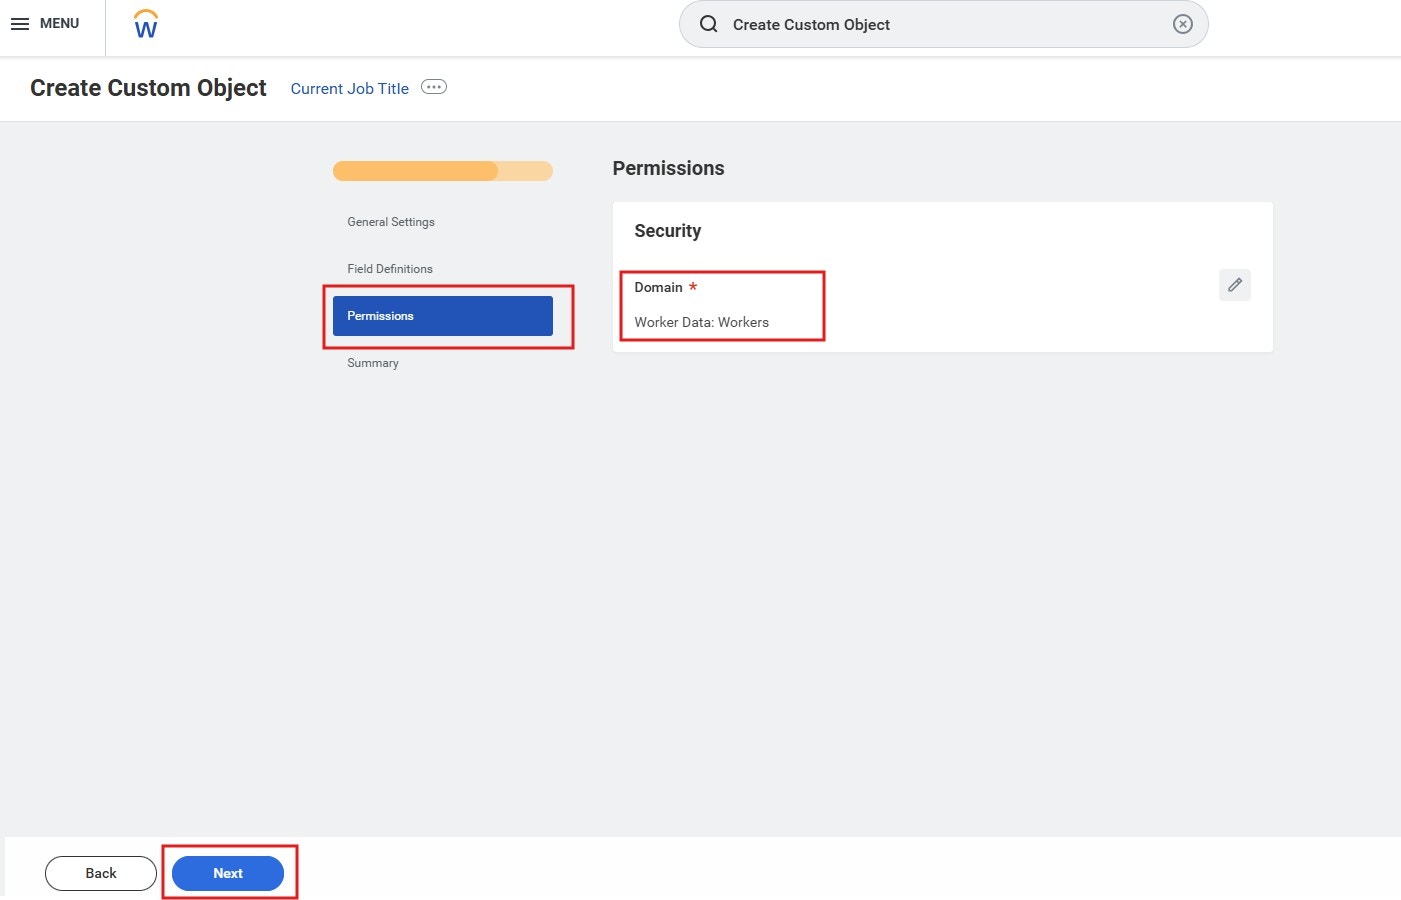
7
Review and Confirm
Verify the custom object summary and click OK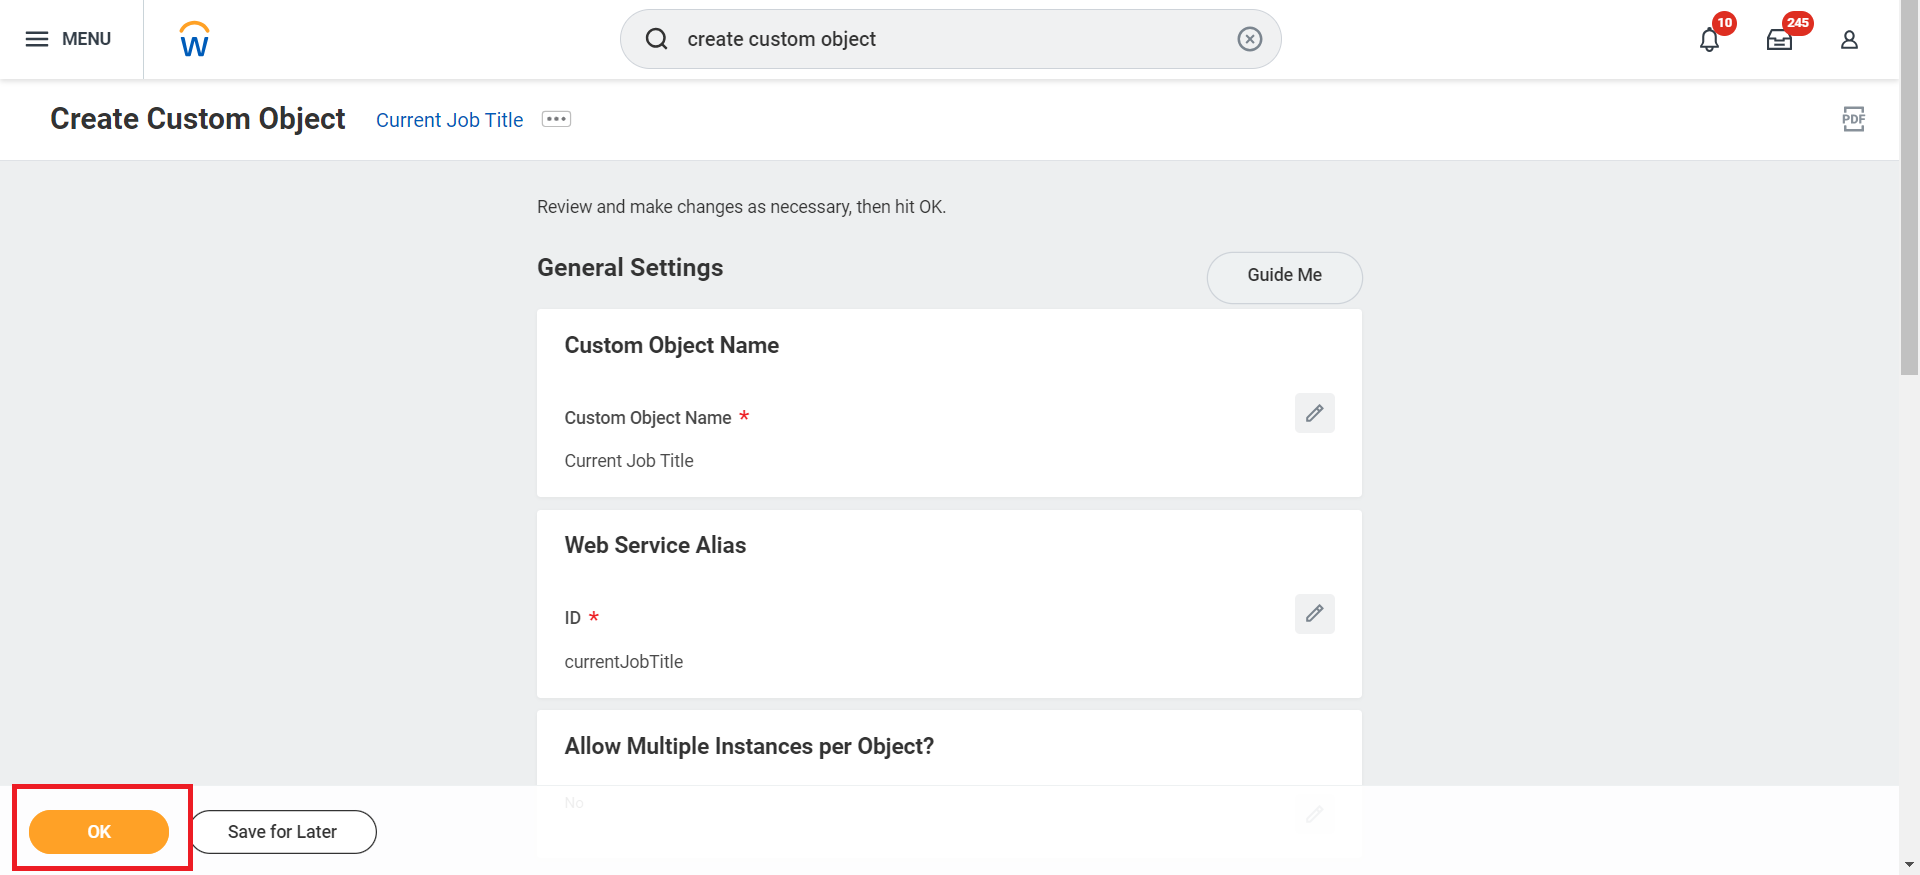
8
Configure Field Selection
Select the newly created custom field from the Display Value and Reference ID dropdowns if the Allow Multiple Instances per Object option is selected, and click OK.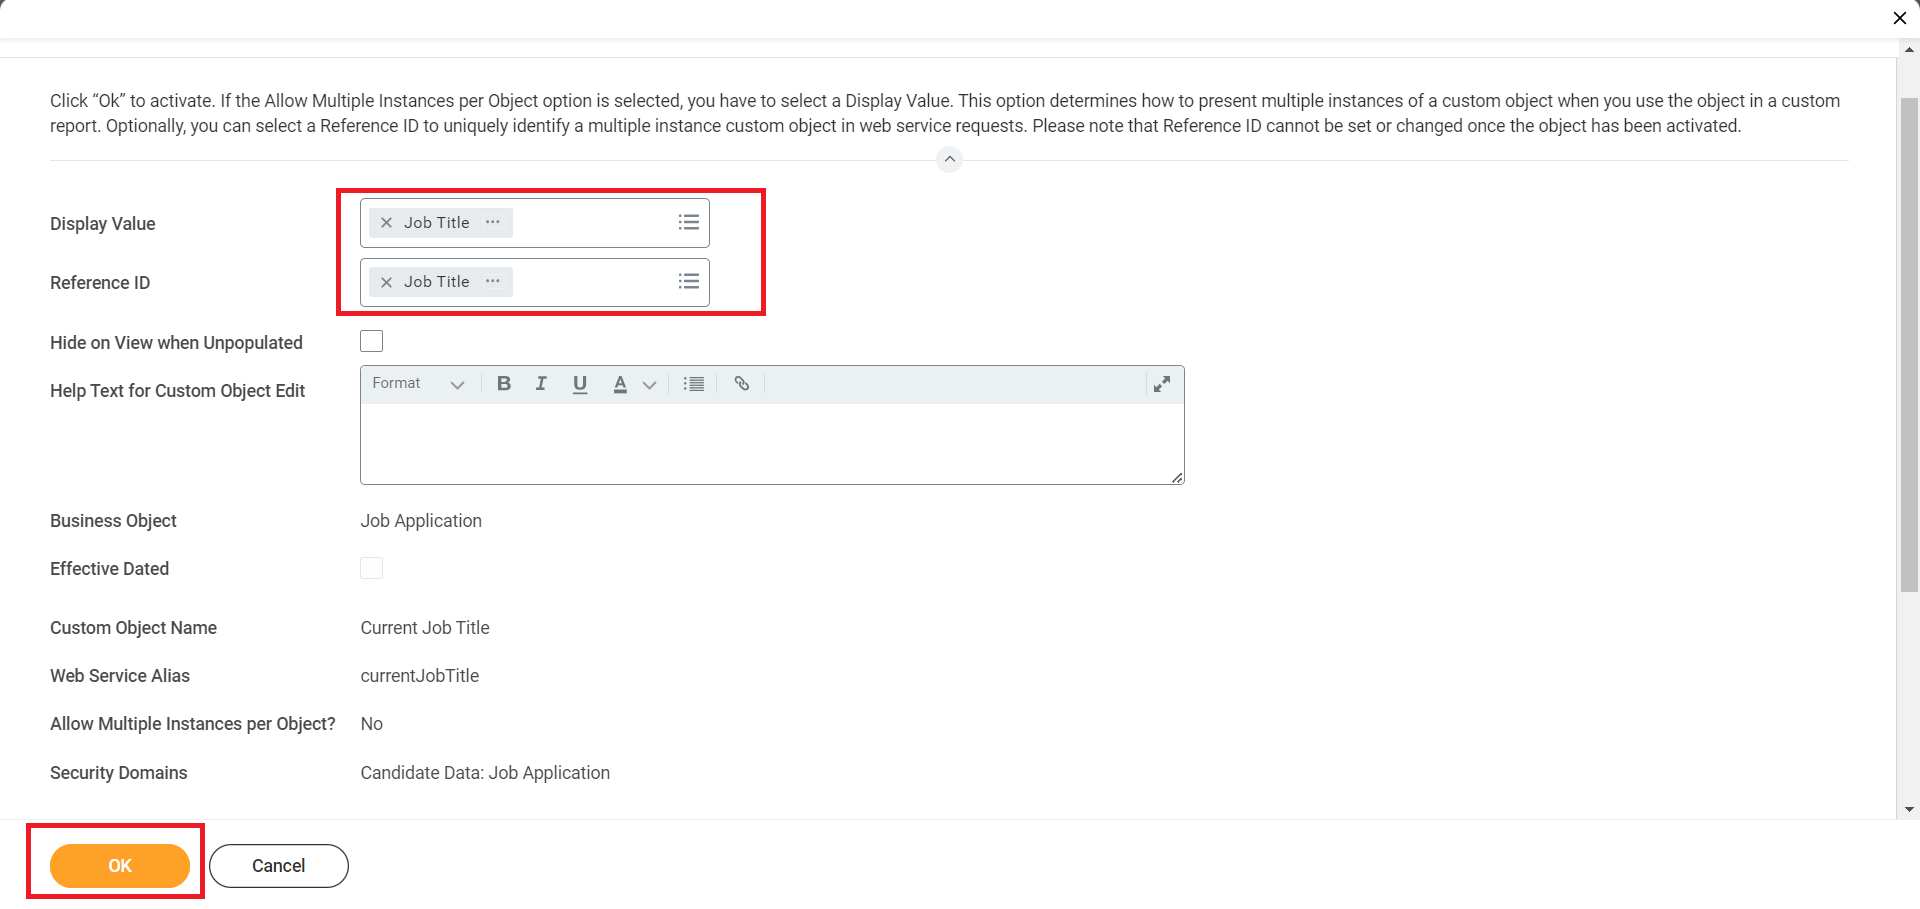
9
Activate Custom Object
Activate the custom object by clicking Done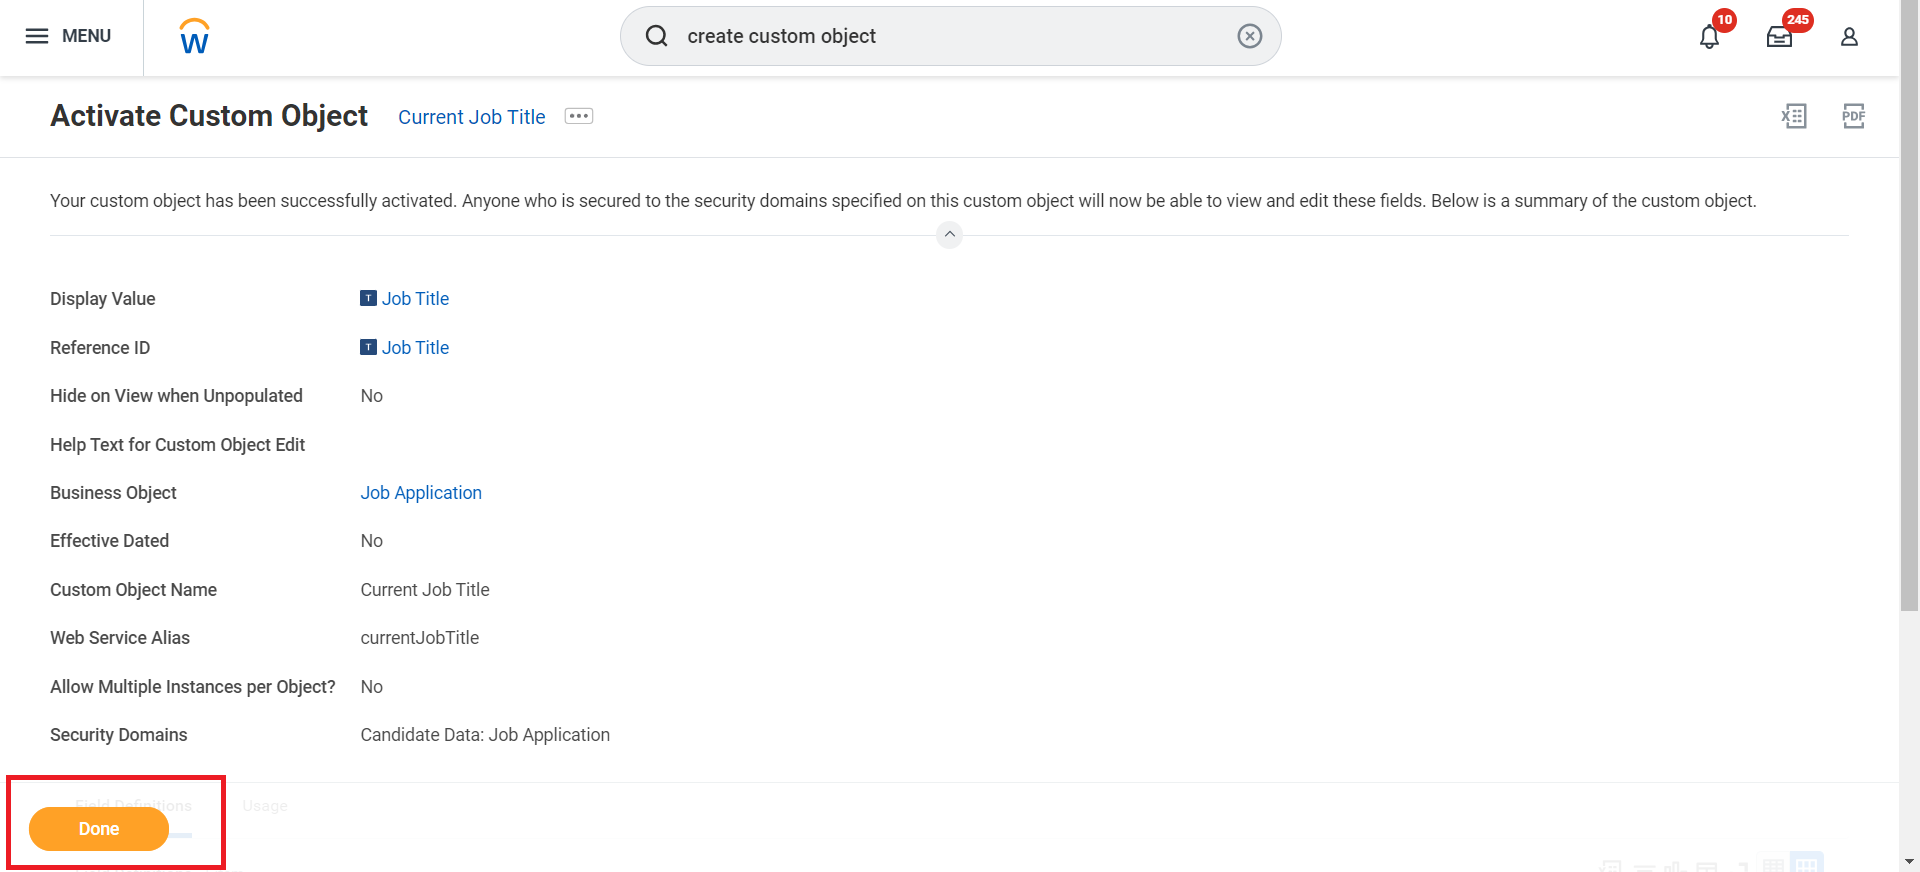
Additional Steps to Add Custom Objects in the Business Process Definition
1
Search for 'Business Process Definitions'
Search for Business Process Definitions in the search bar and select it.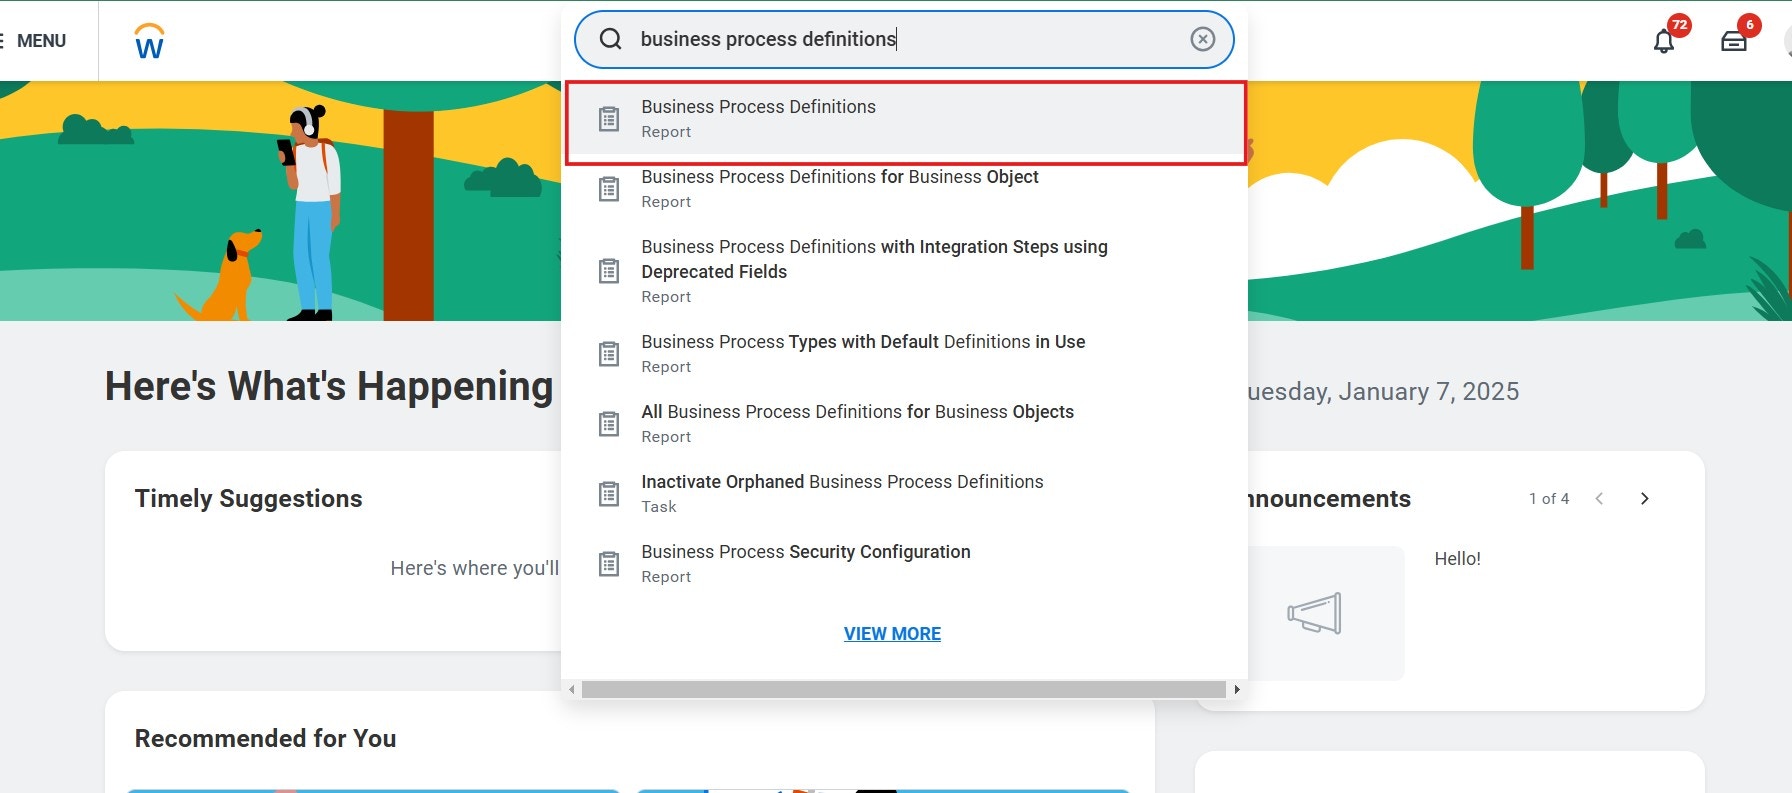
2
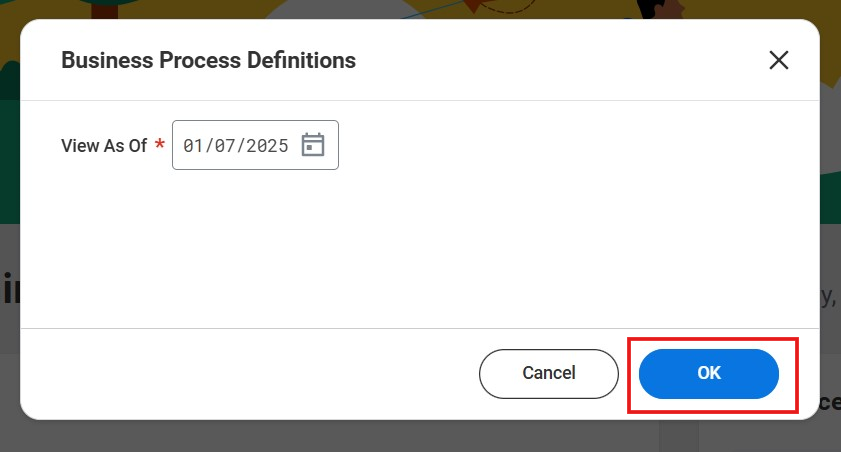
Click 'OK'
3
Find and Edit Business Process Definition
Find Edit Worker Additional Data Event business process. Click the three dots (…) in the Default Definition column of the Edit Worker Additional Data Event.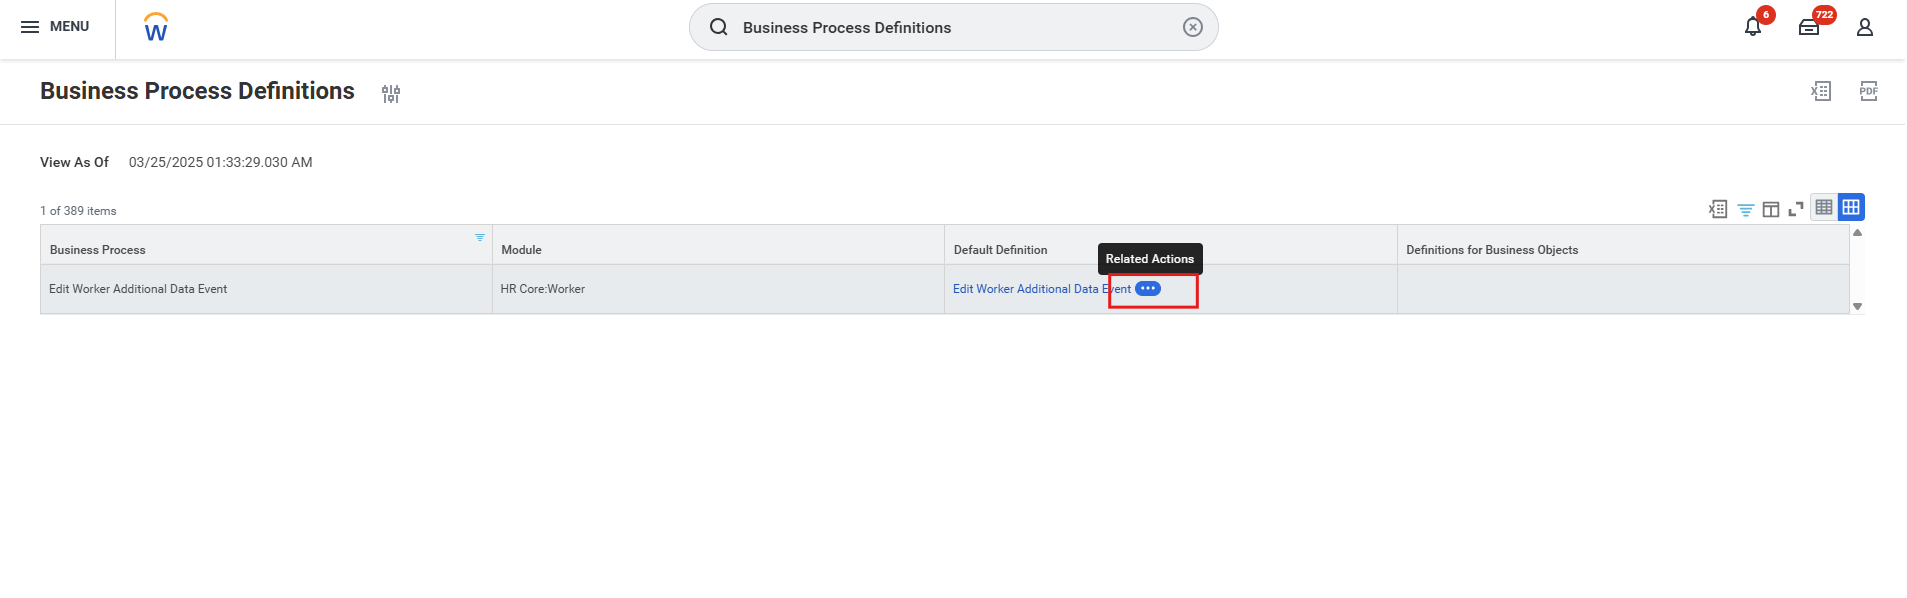
4
Click 'Edit Definition'
Click Edit Definition under the Business Process tab.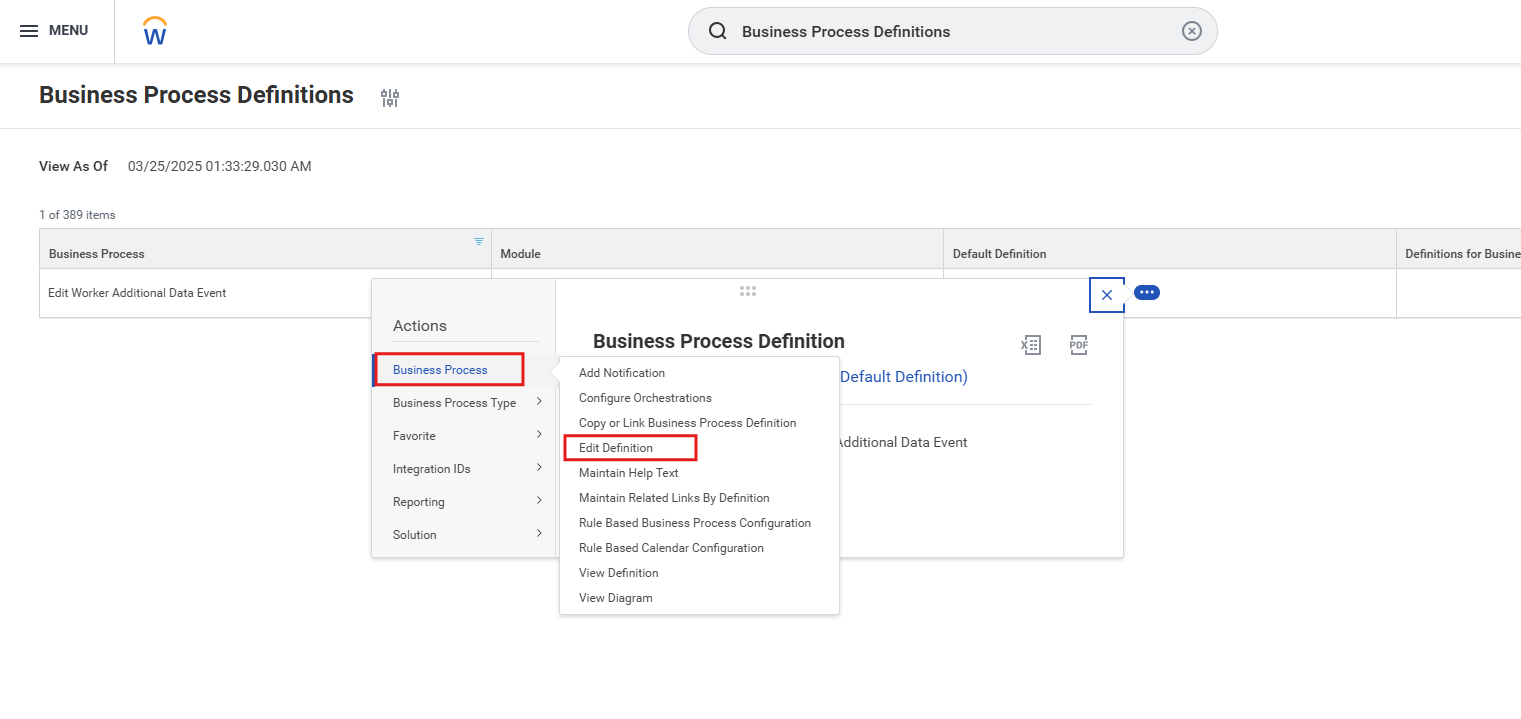
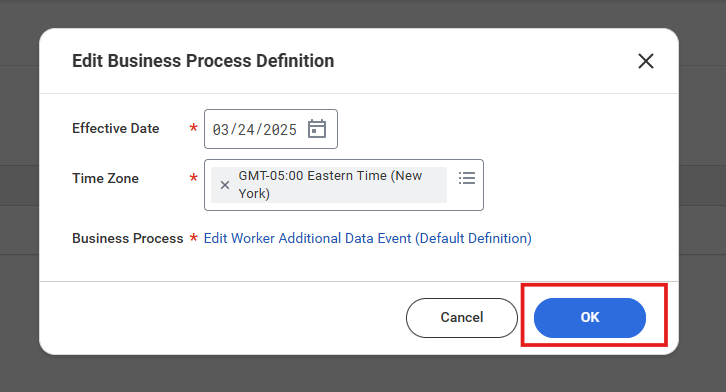
5
Click 'OK'
6
Configure Business Process Steps
In the Business Process Steps tab: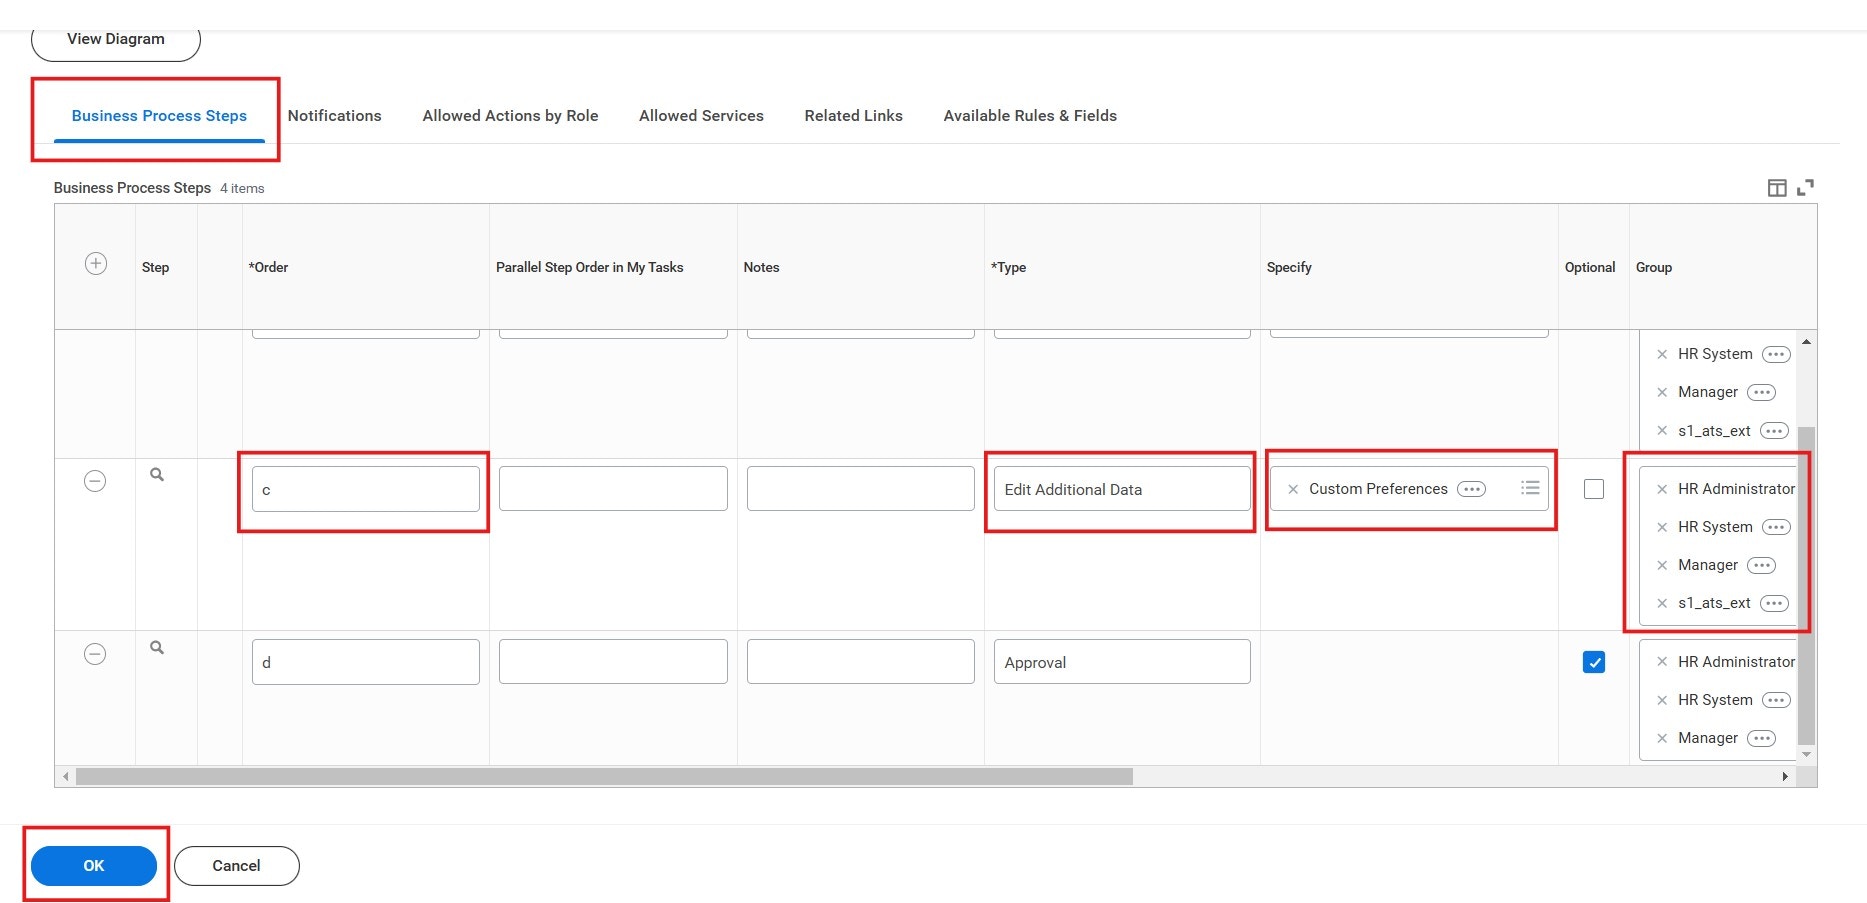
- Enter the order alphabetically in the Order column.
- Select Edit Additional Data in the Type column.
- Choose the newly created custom object in the Specify column.
- Assign the relevant security groups in the Group column.
- Click “OK”
7
Verify and Complete
Verify and Click Done.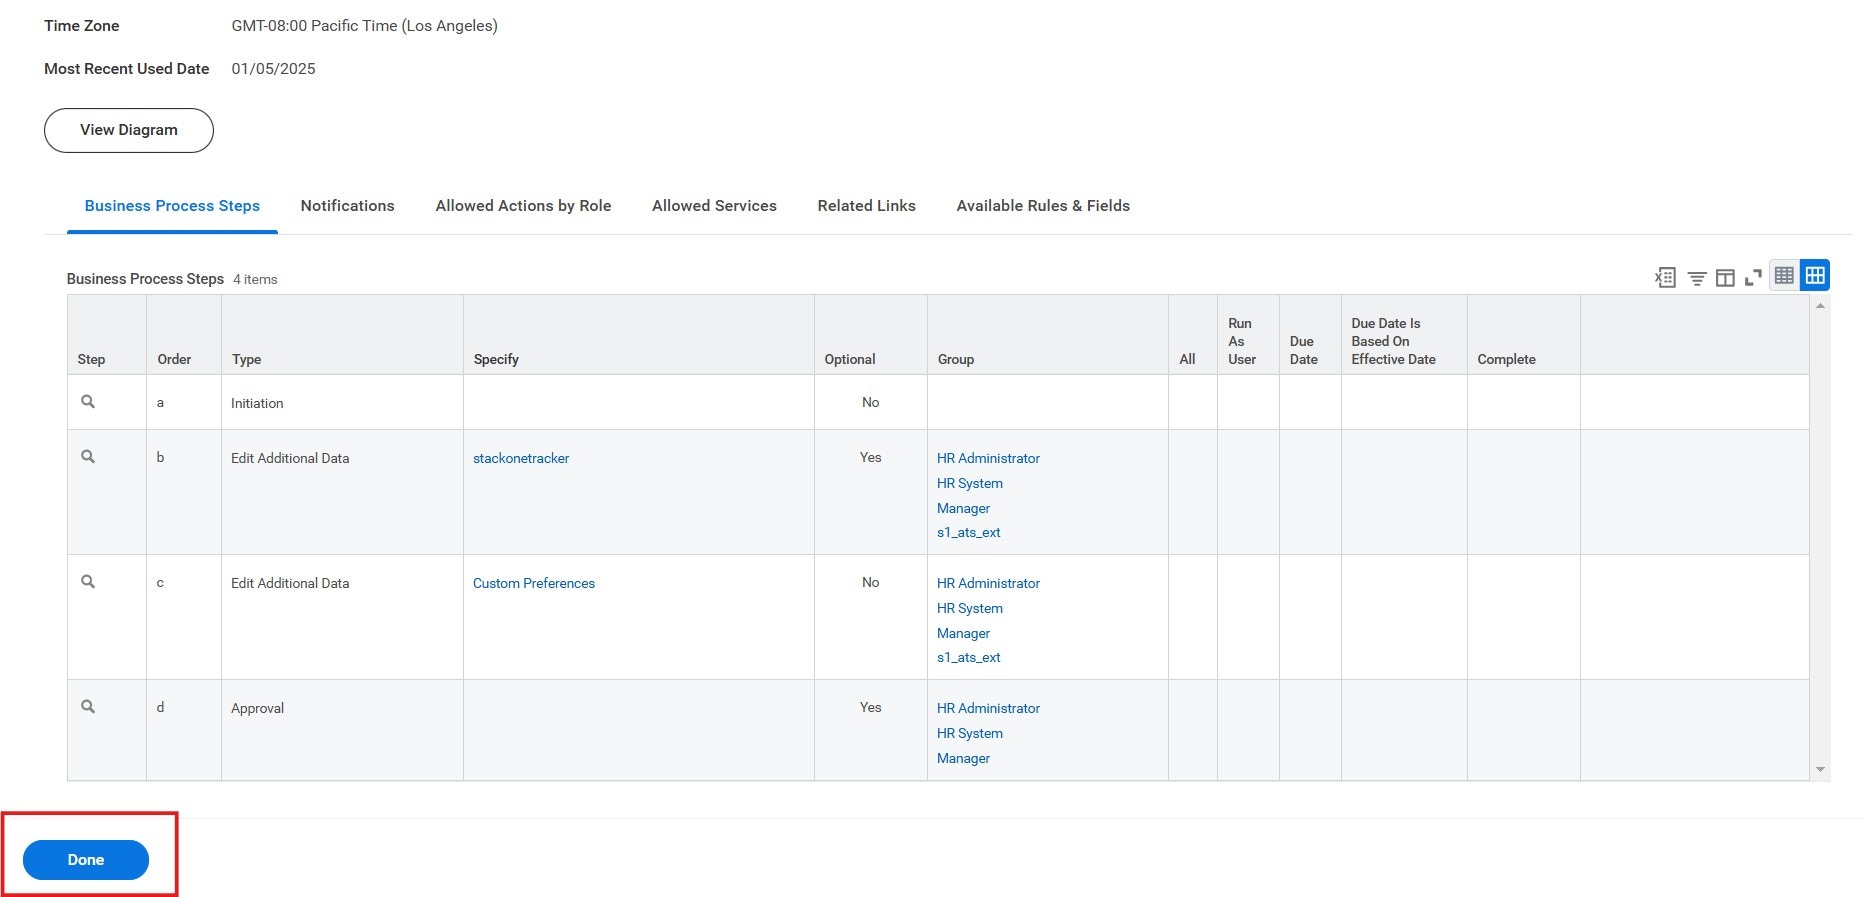
Note: Changes to Worker Effective-Dated Custom Field values made through the API must be approved via the UI.