1
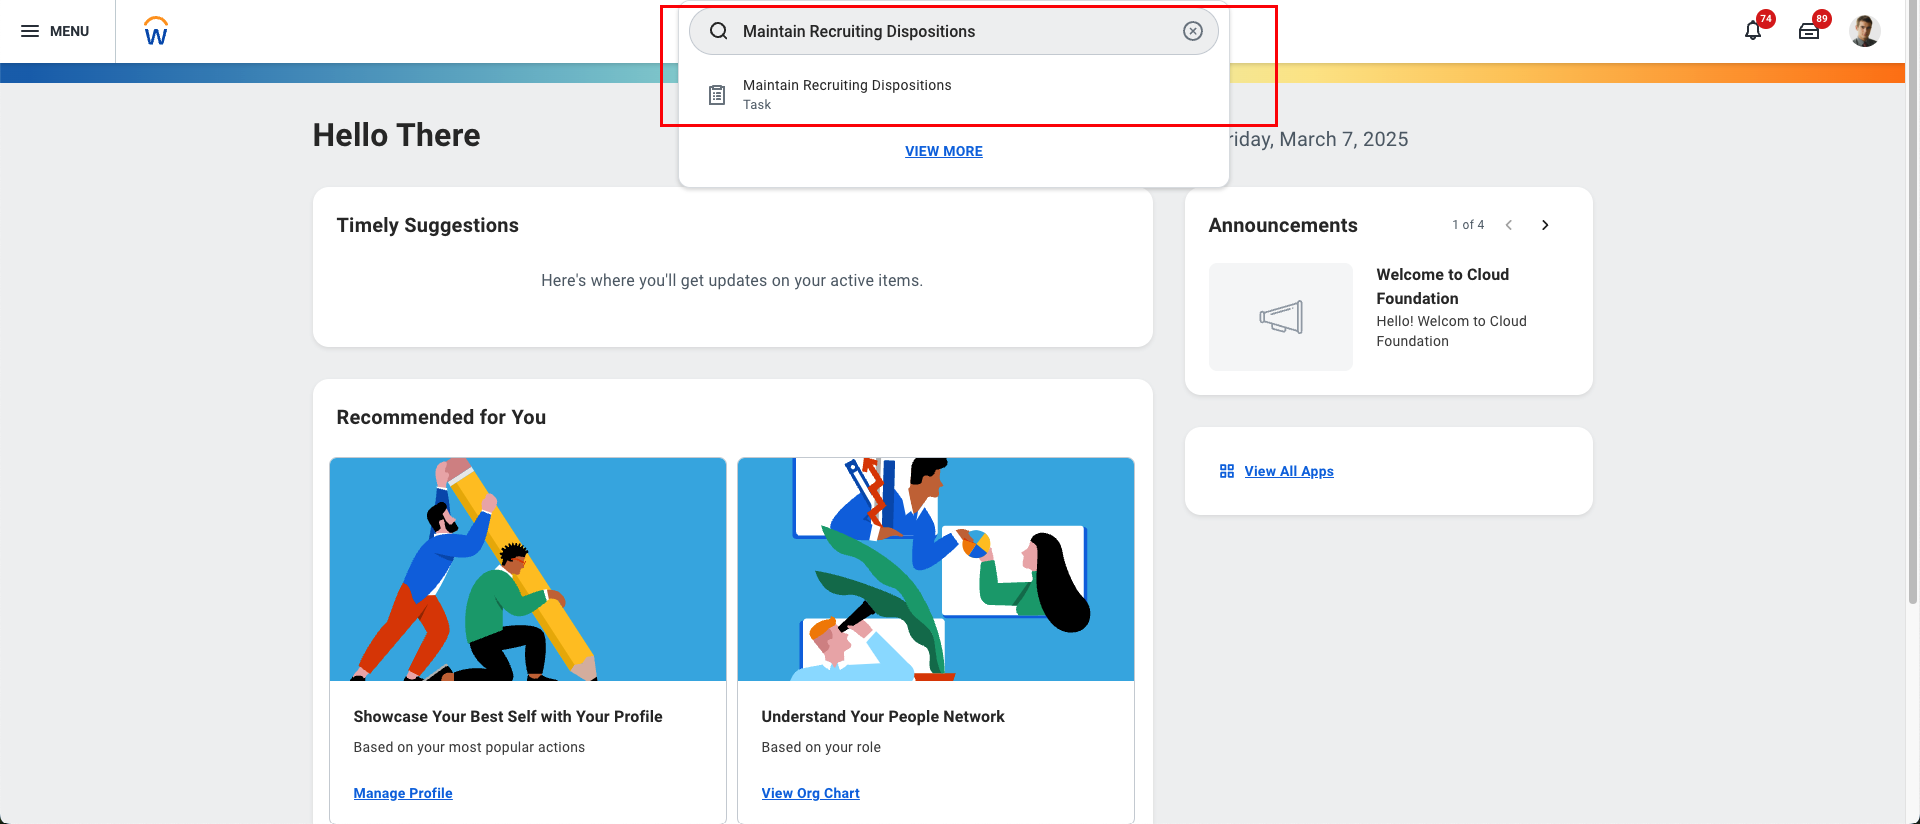
Log in to your Workday account and search for the Maintain Recruiting Dispositions task
2
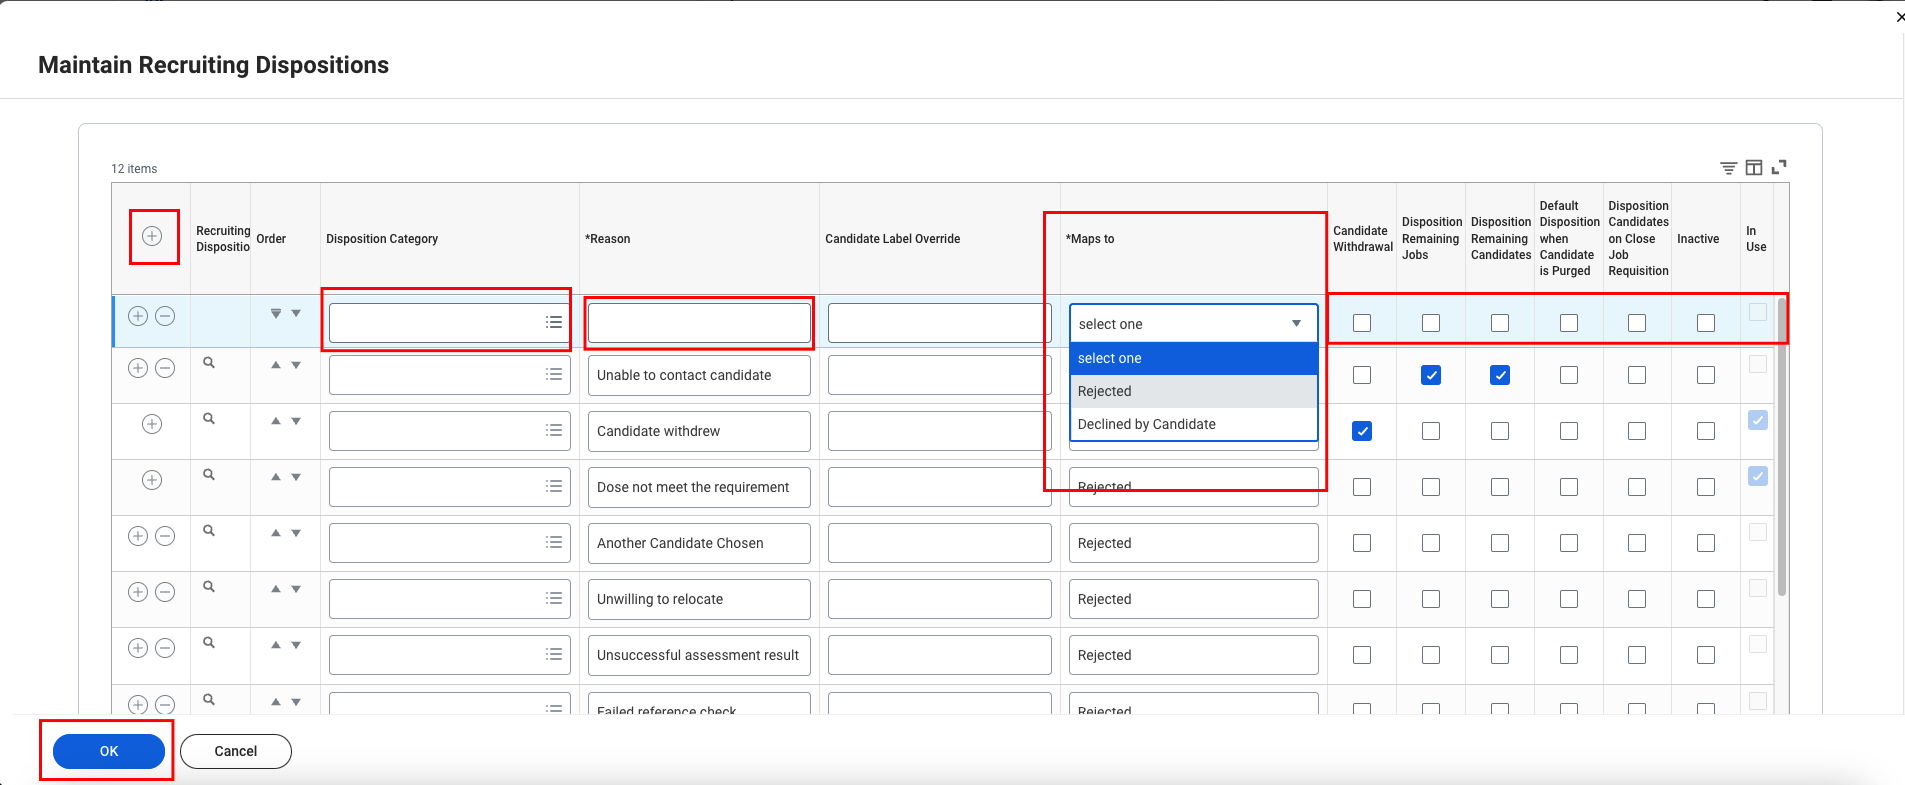
Fill in the required details to add a new Disposition Category (Rejected Reason), then click the OK button.
3
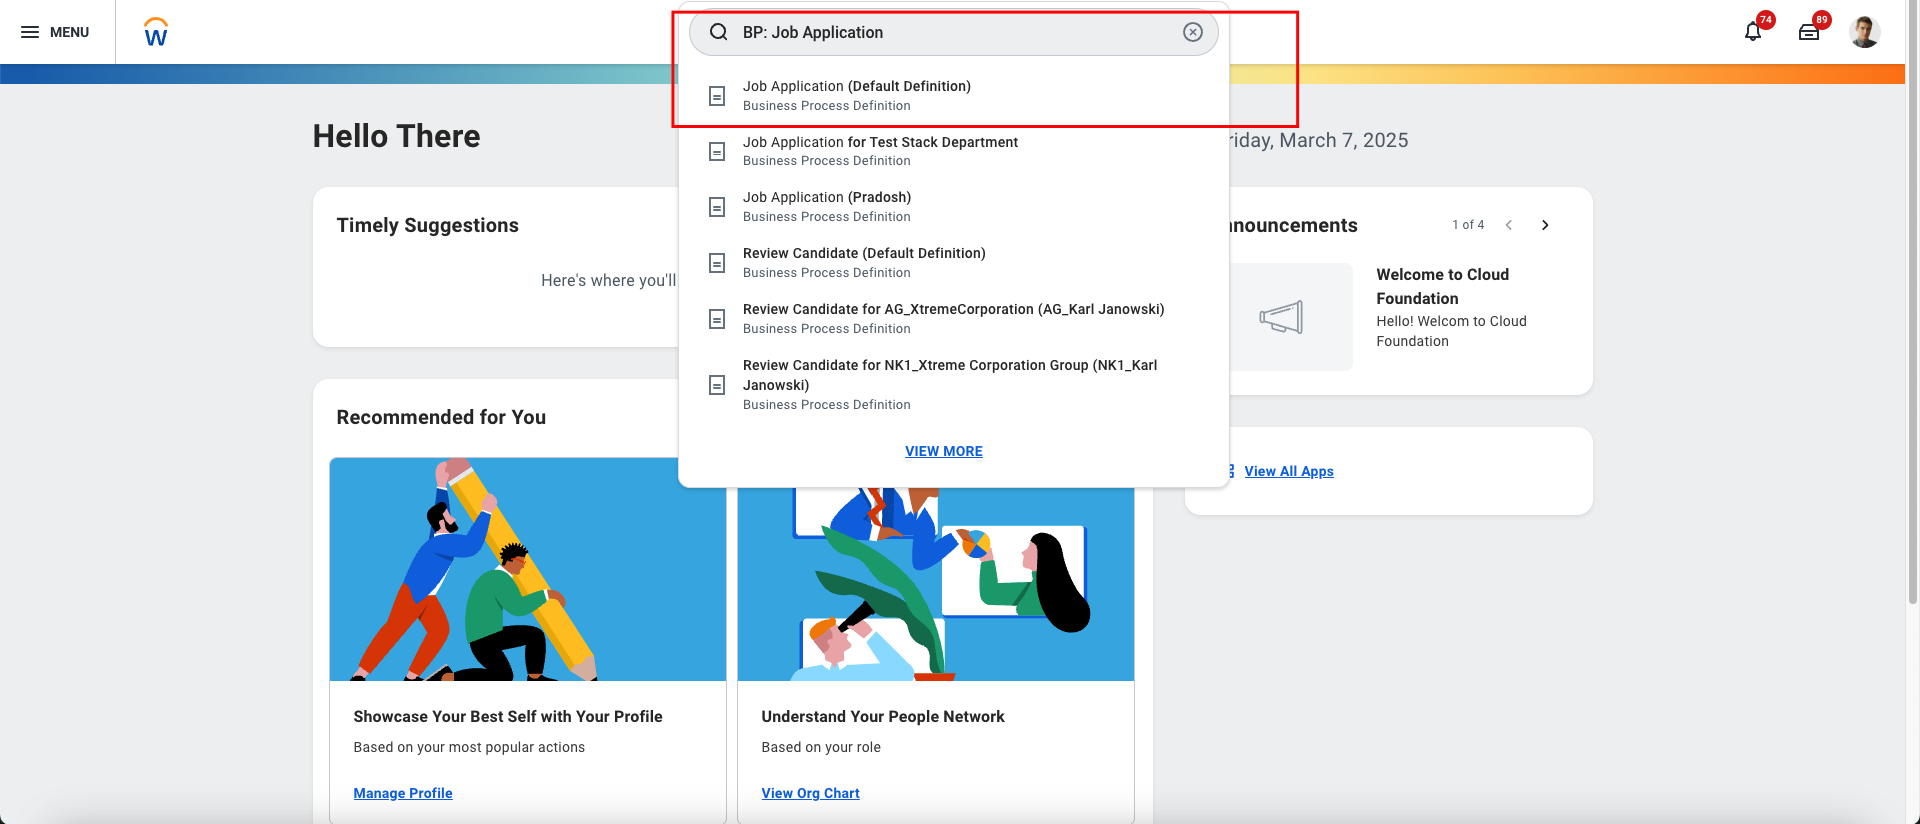
Search for the BP: Job Application task and select Job Application (Default Definition).
4
Click on the Edit Dynamic Definition button.

5
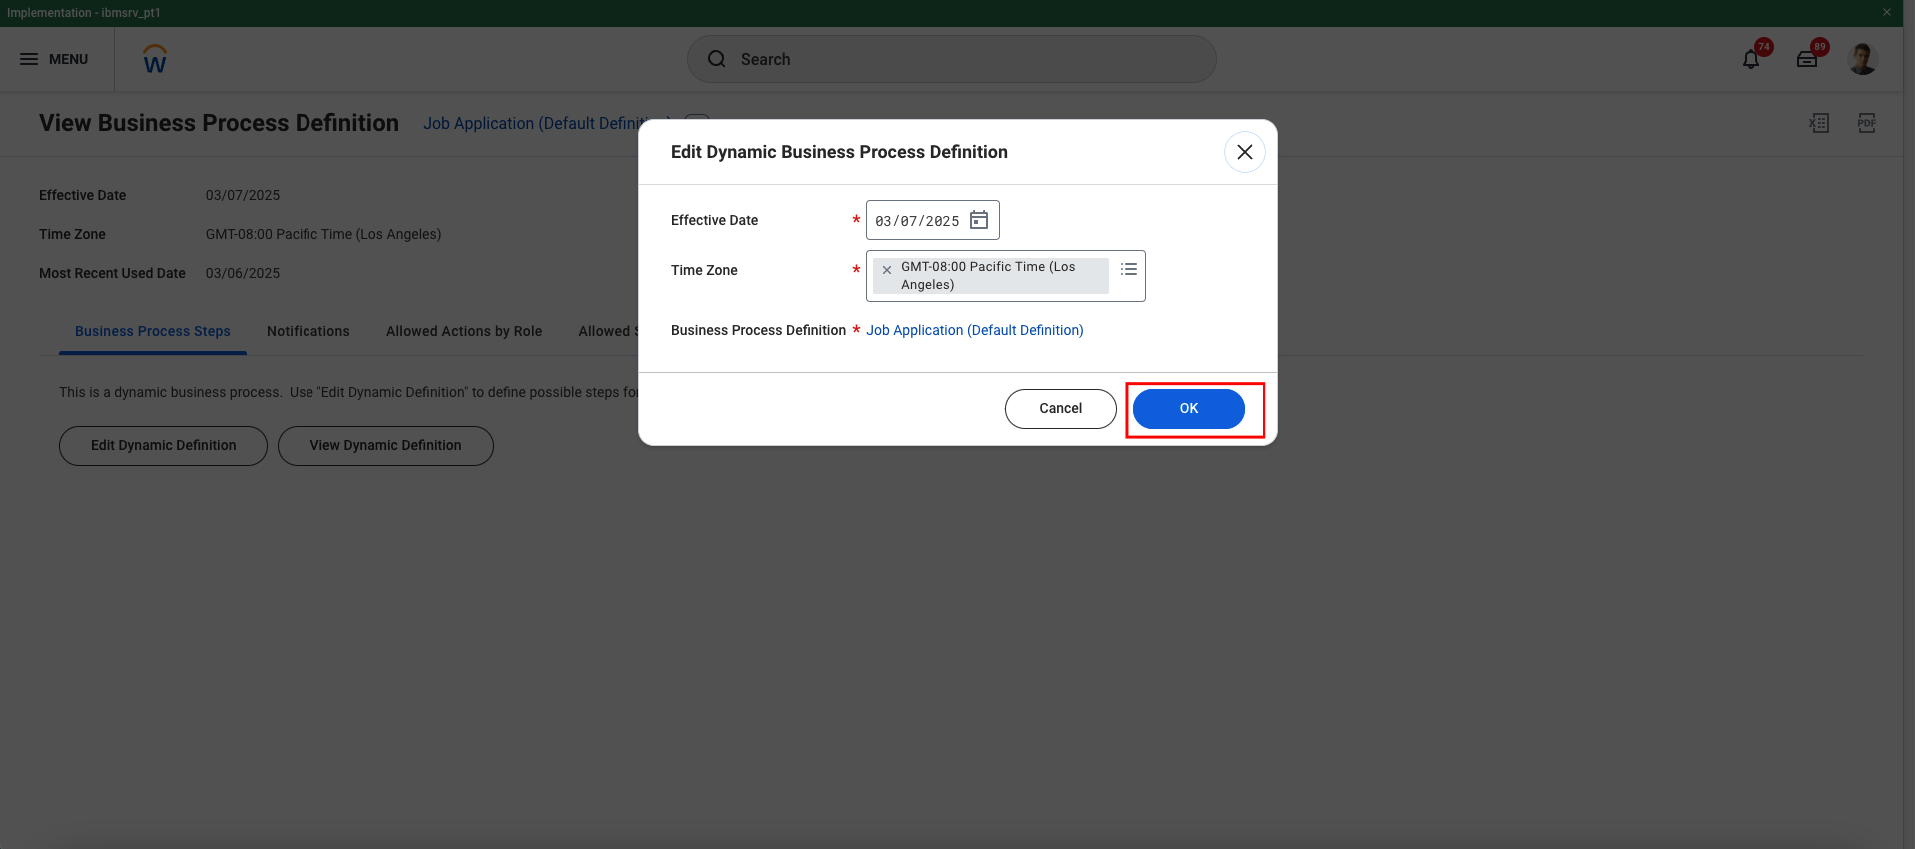
A pop-up will appear. Click the OK button.
6
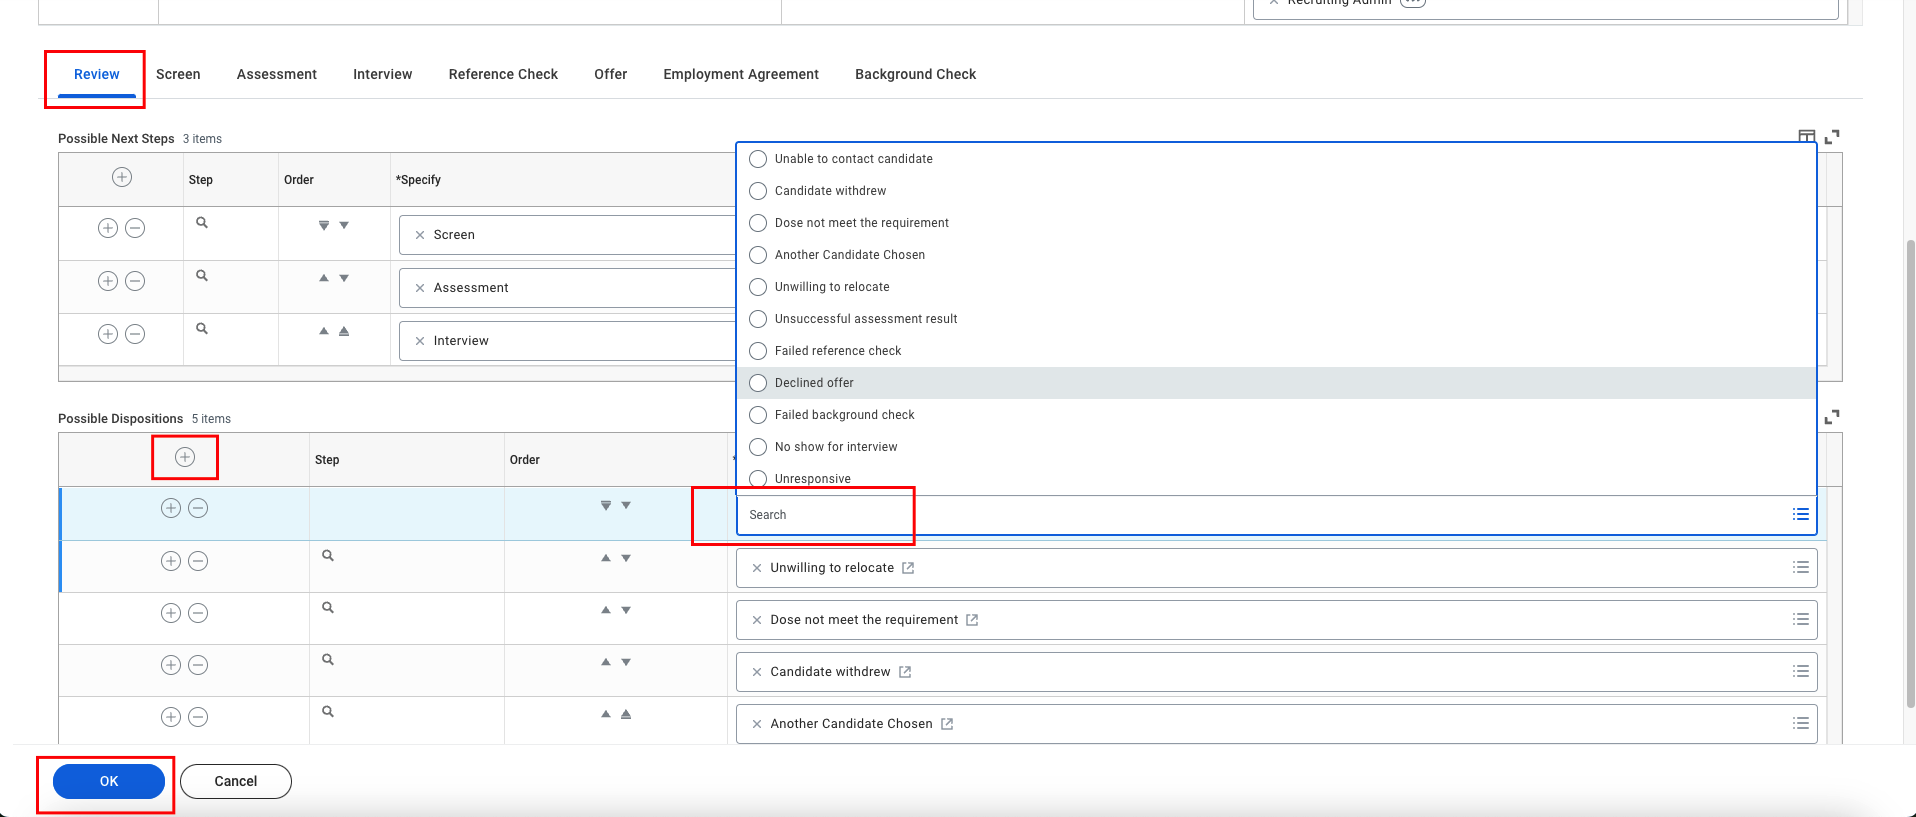
Select the stage, add a new row by clicking the + icon, choose the possible disposition for the chosen stage of the application, and click the OK button.
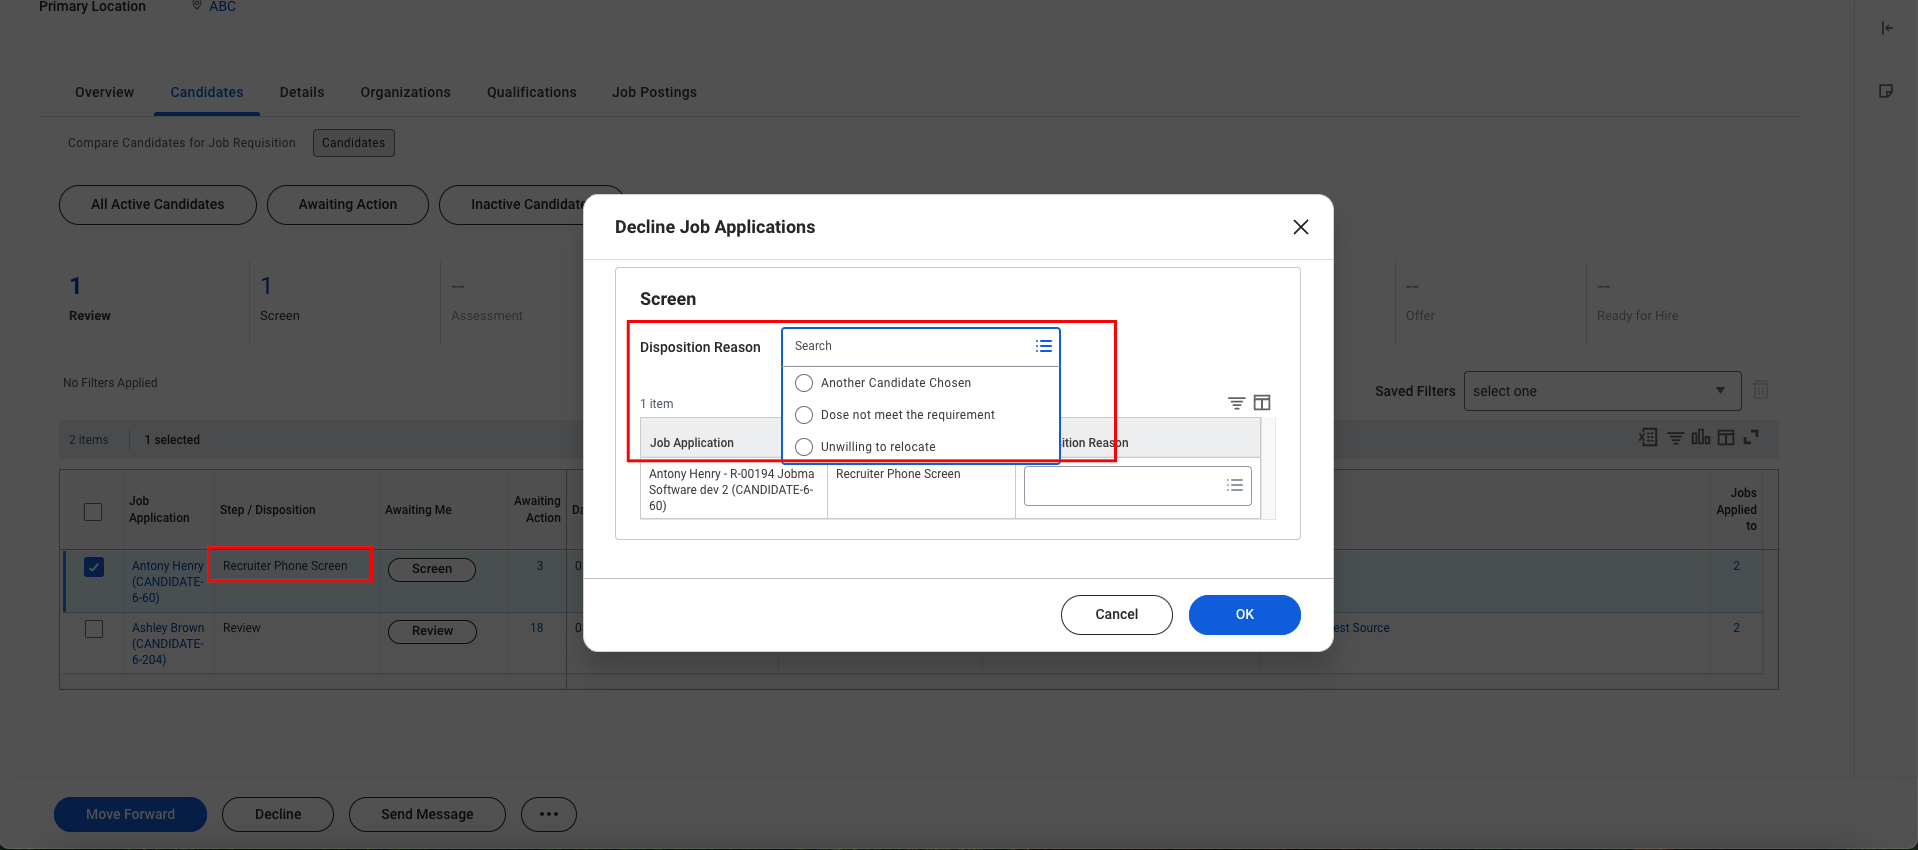
7
When you decline a candidate from any stage, you will see the dispositions/rejected reasons that are configured for that specific stage.