This guidance assumes that you have admin privileges for your Workday account.
Access Report Designer
1
Navigate to Report Designer
Enter “Create Custom Report” in the Workday search bar and select it from the results.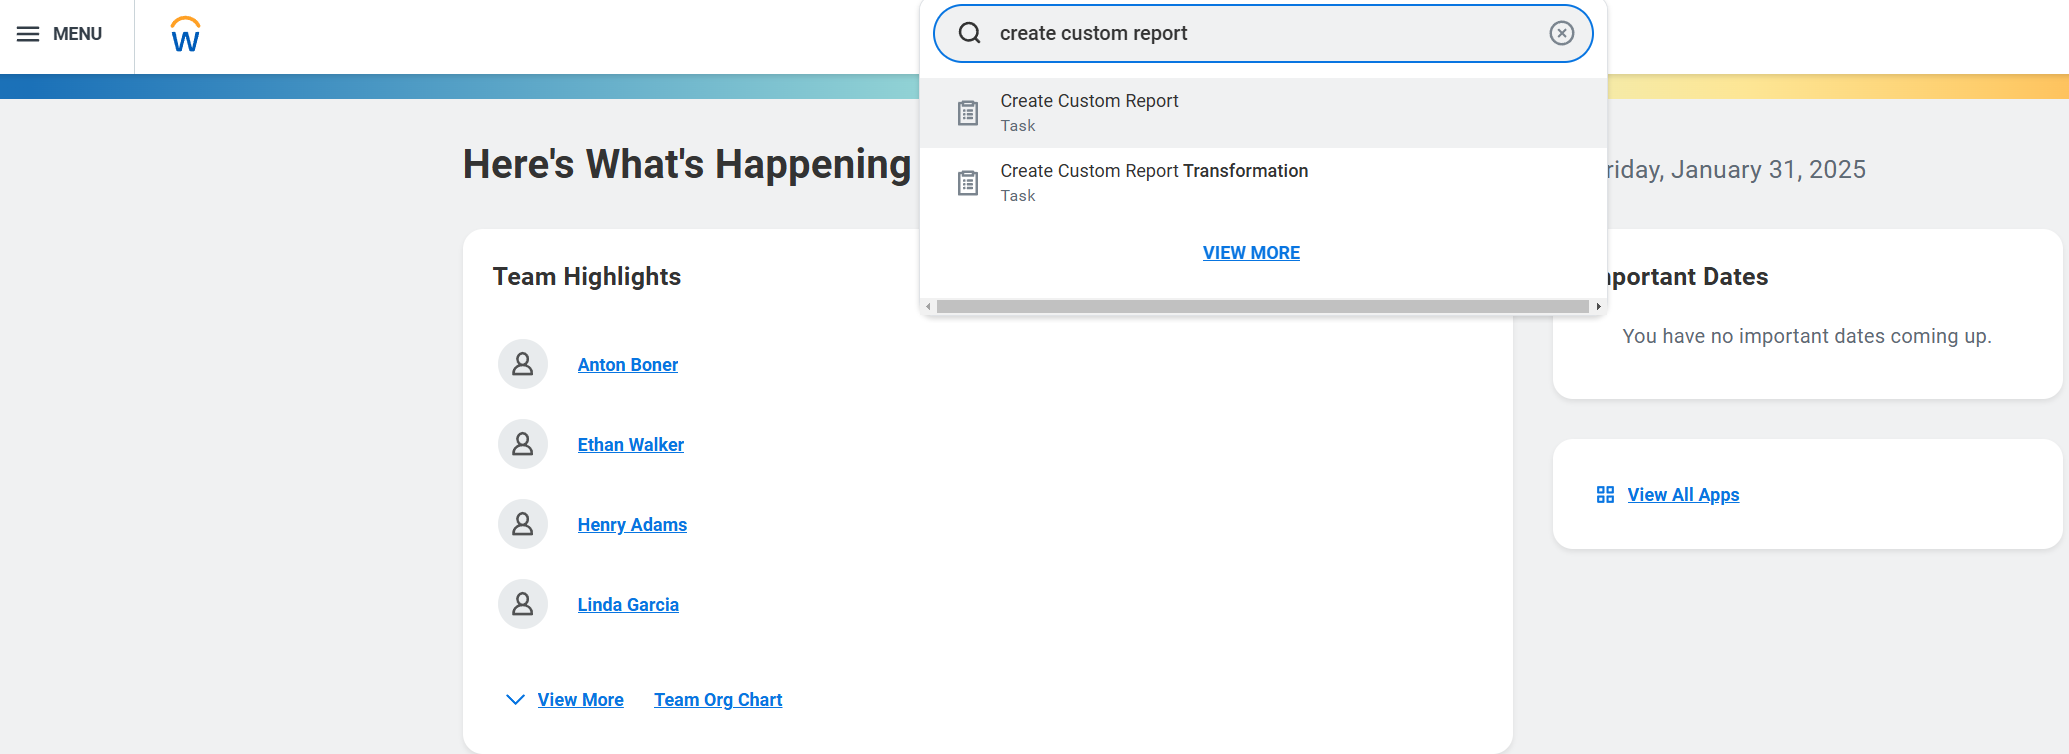
2
Initialize Report Creation
Click “Create Custom Report” to begin the setup process.
Configure Basic Settings
1
Set Report Properties
Enter the required information: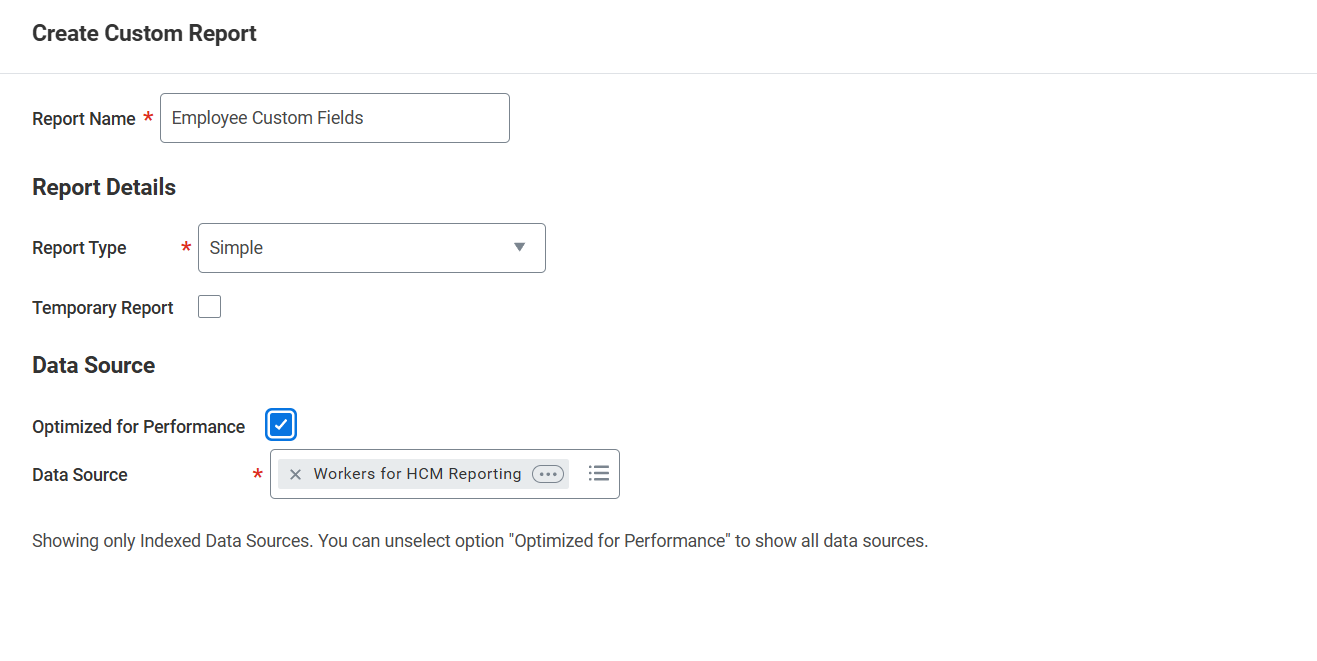
- Report Name (must be unique within your tenant)
- Report Type: Select “Simple”
2
Select Data Sources
Choose the appropriate data sources for your report.
3
Configure Fields
Add and configure the necessary fields for your integration: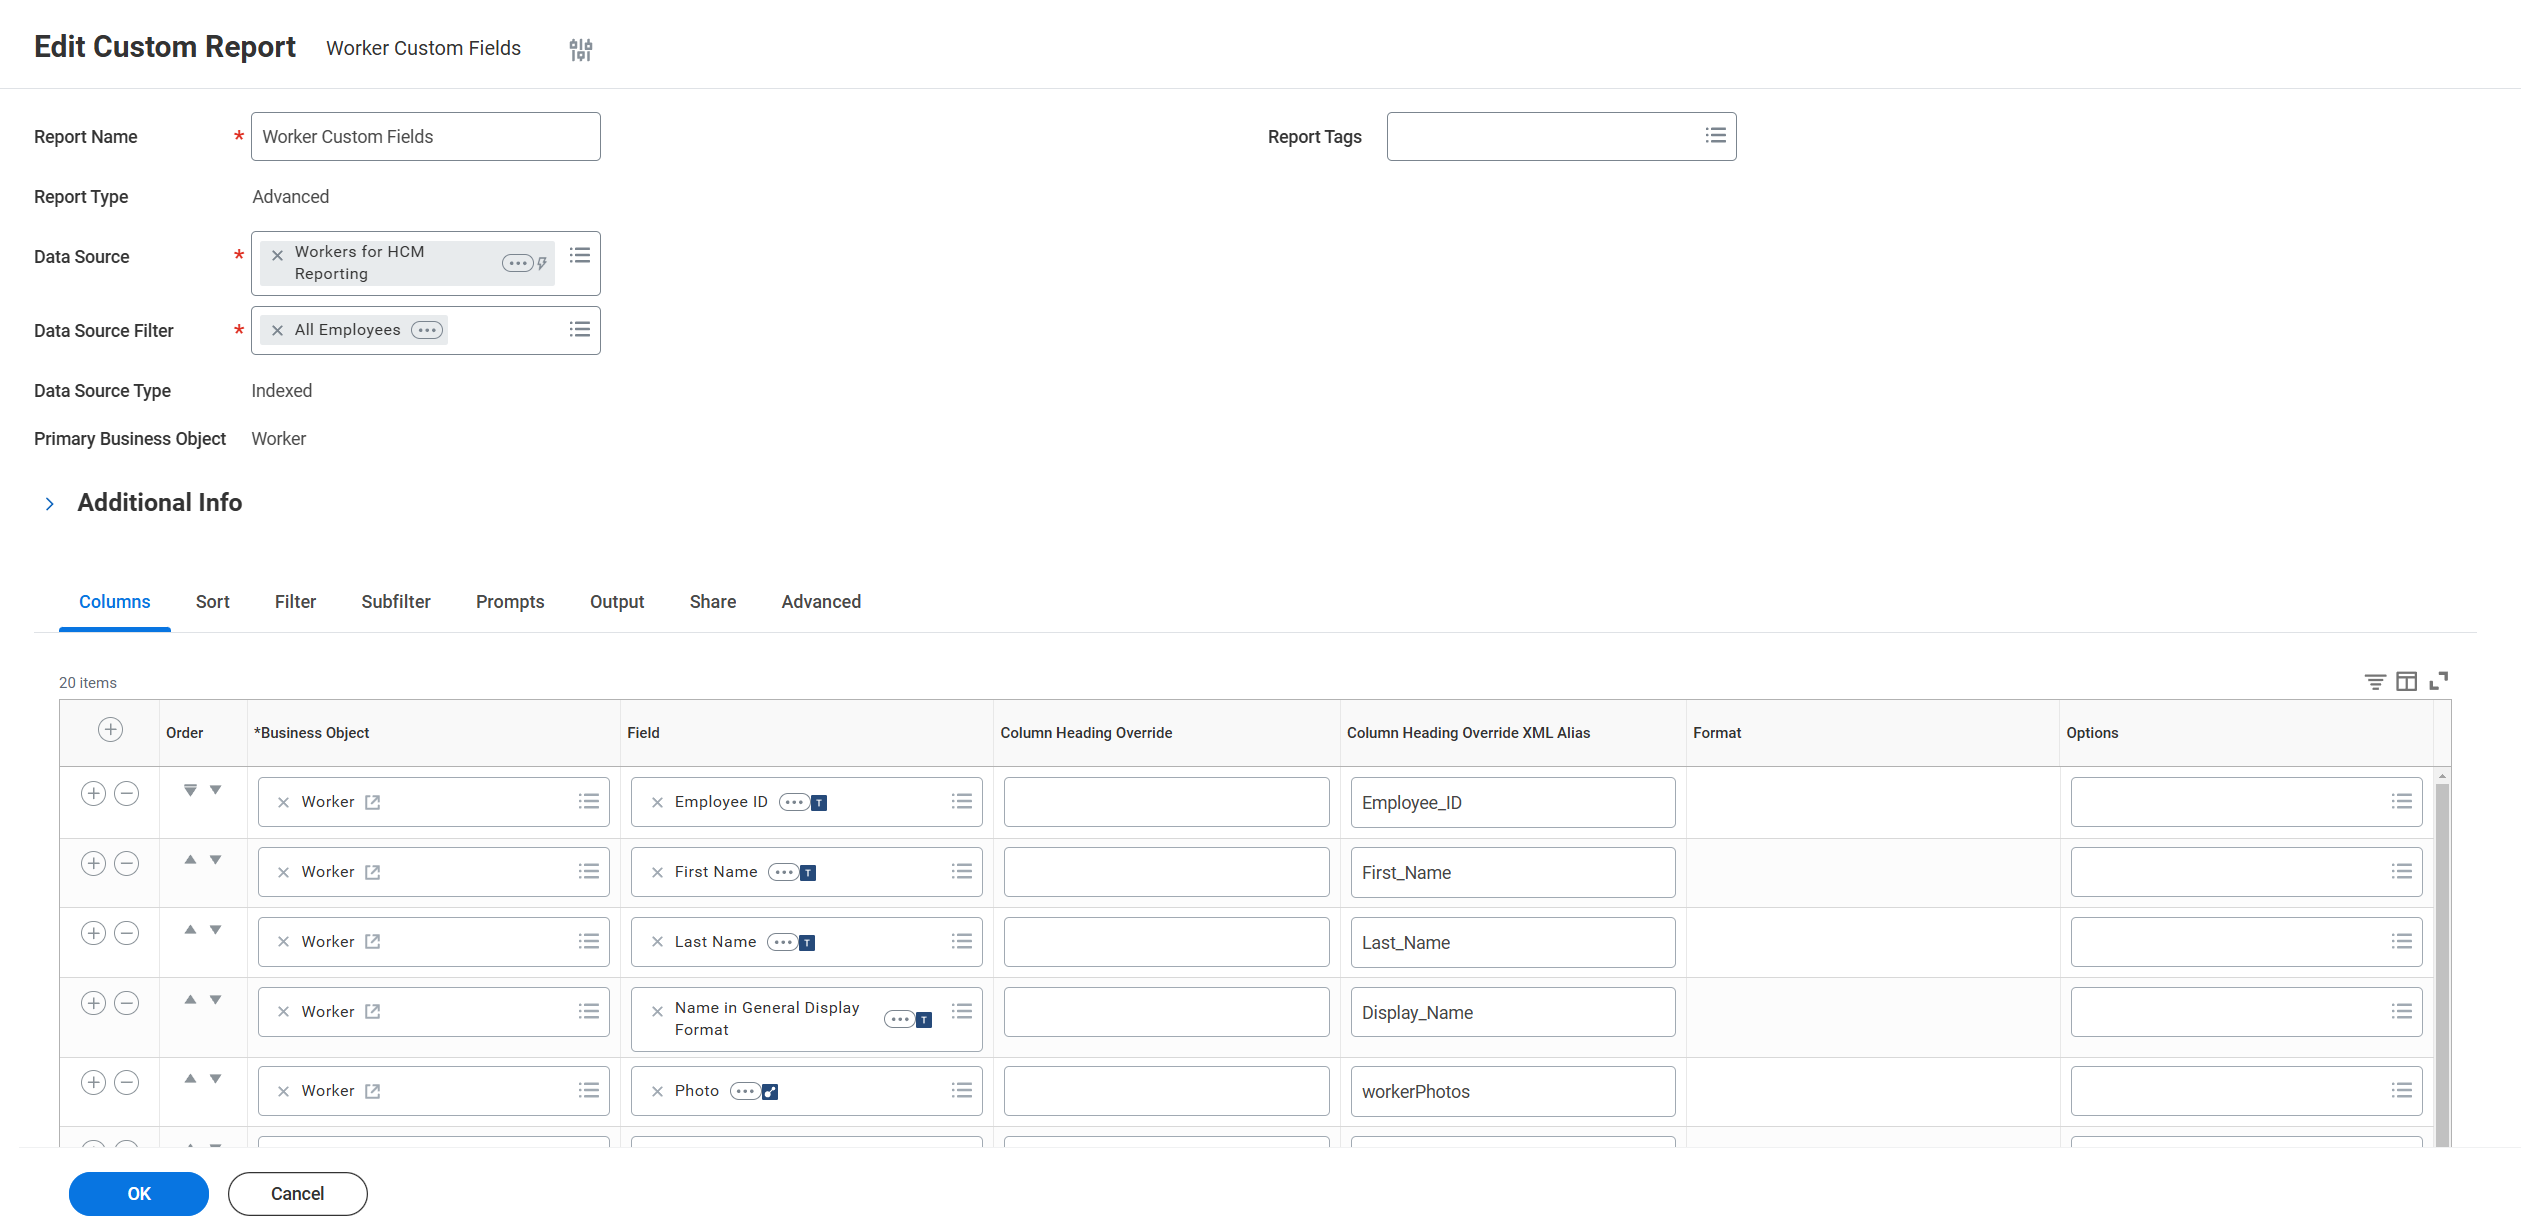
- Click “Add Field”
- Select the source object
- Choose the specific field
- Configure field properties as needed
- Set each “Column Heading Override XML Alias” to the corresponding field names that this integration reads:
- Employee_ID
- First_Name
- Last_Name
- Display_Name
- Email_Home
- Email_Work
- Phone_Home
- Phone_Work
- Job_Title
- Hire_Date
- Gender
- Preferred_Language
- Ethnicity_Code
- Date_Of_Birth
- Marital_Status
- Termination_Date
- Company_Name
4
Add Filters
Add filters to refine the data displayed in your report. Here you can select the field and operators to filter by.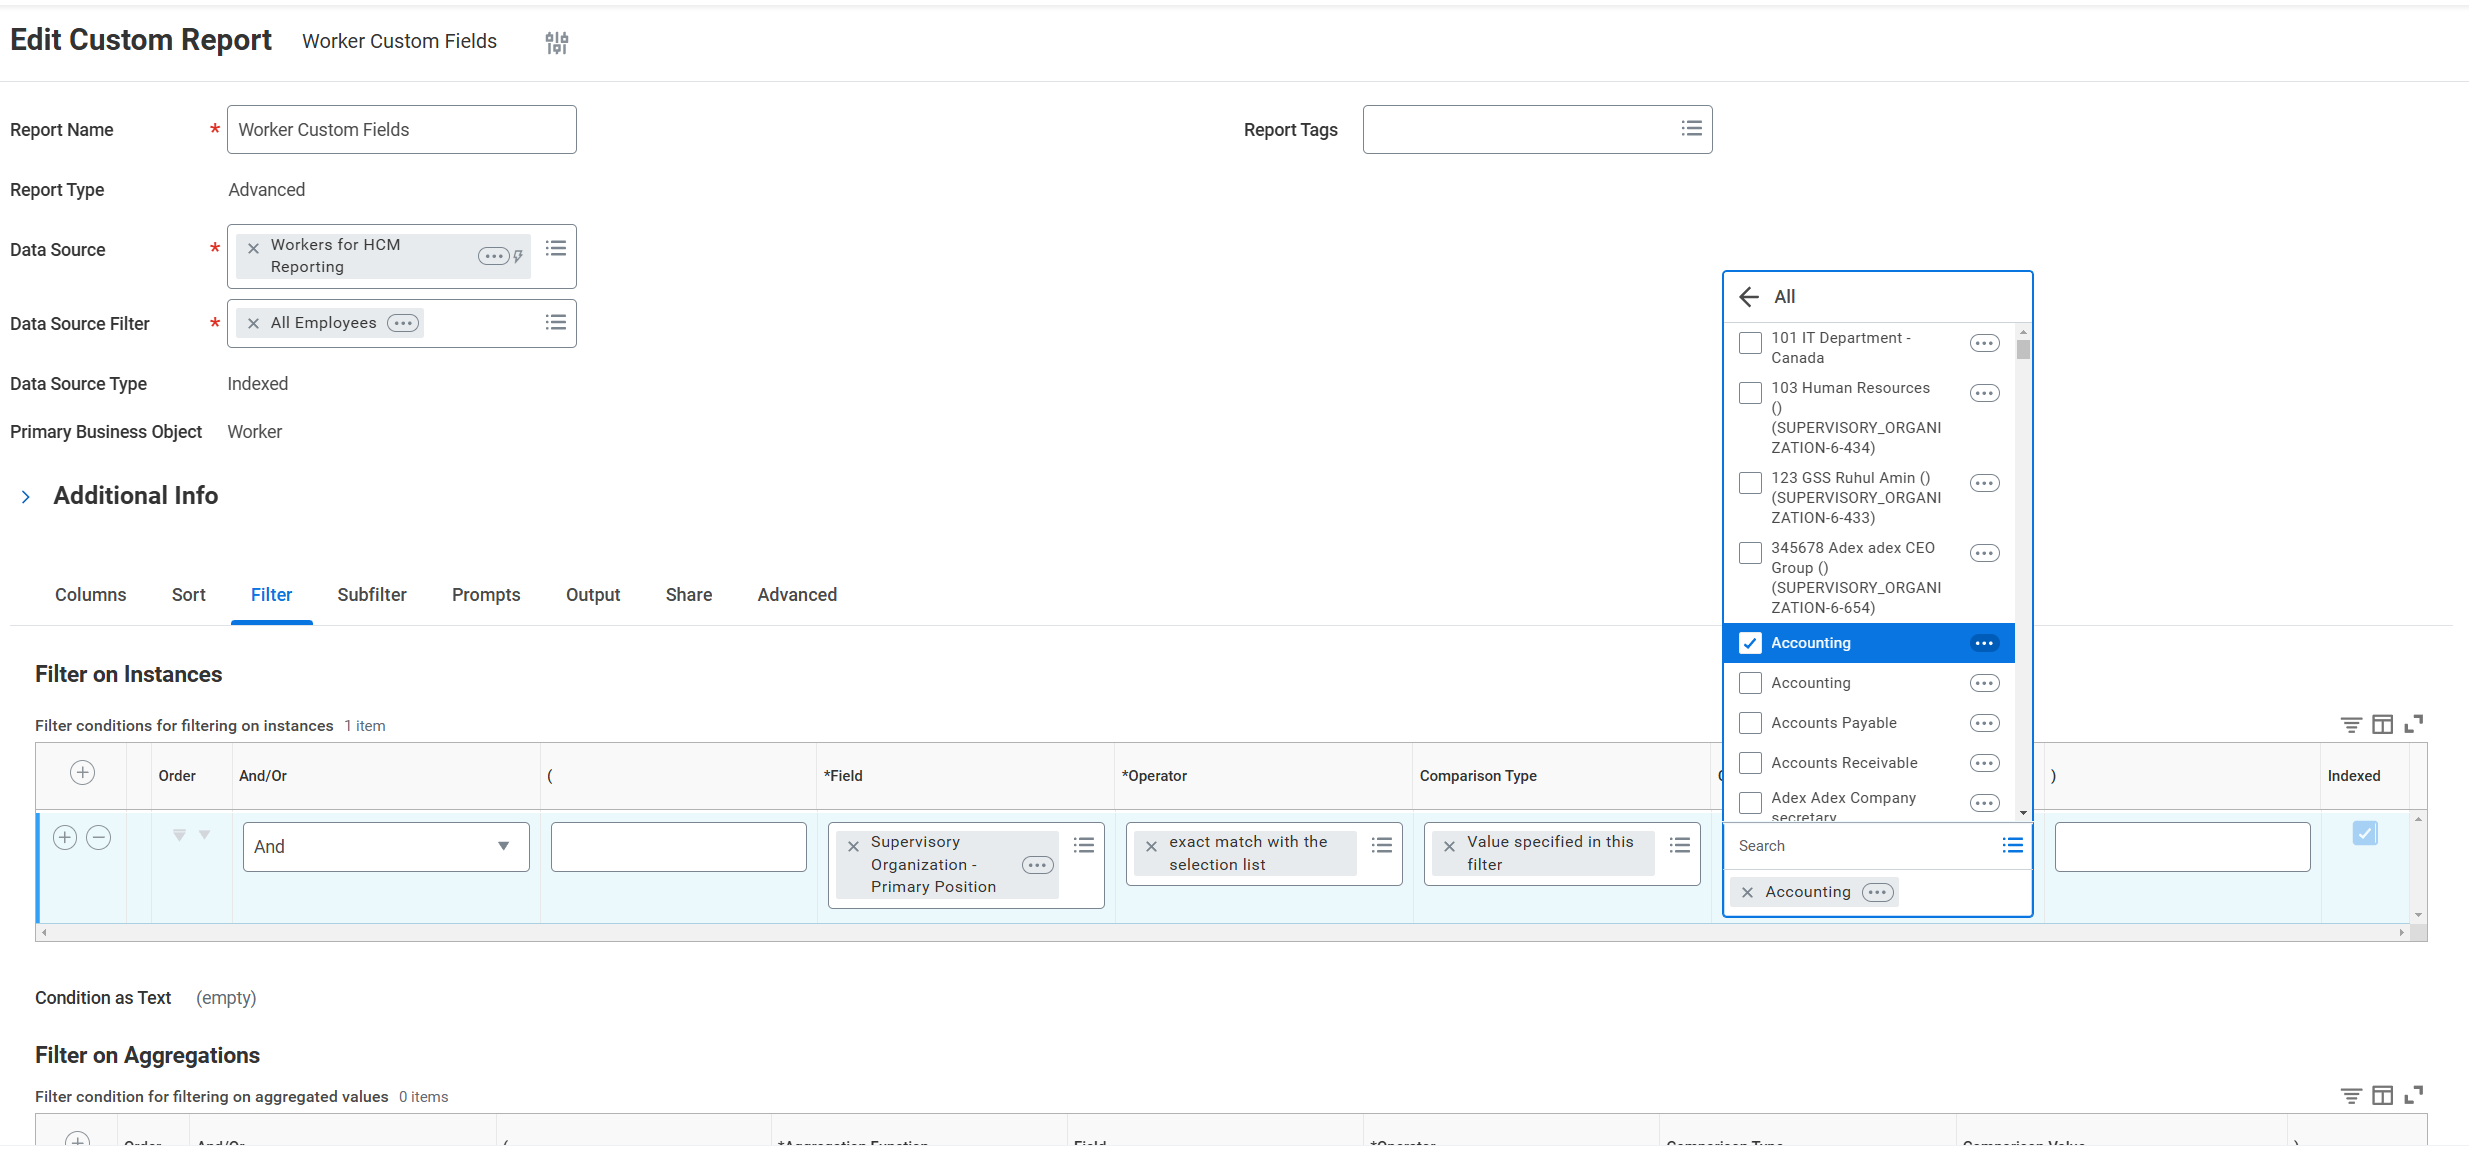
Enable RaaS Settings
1
Configure RaaS
Navigate to the “Advanced” tab and enable web service settings: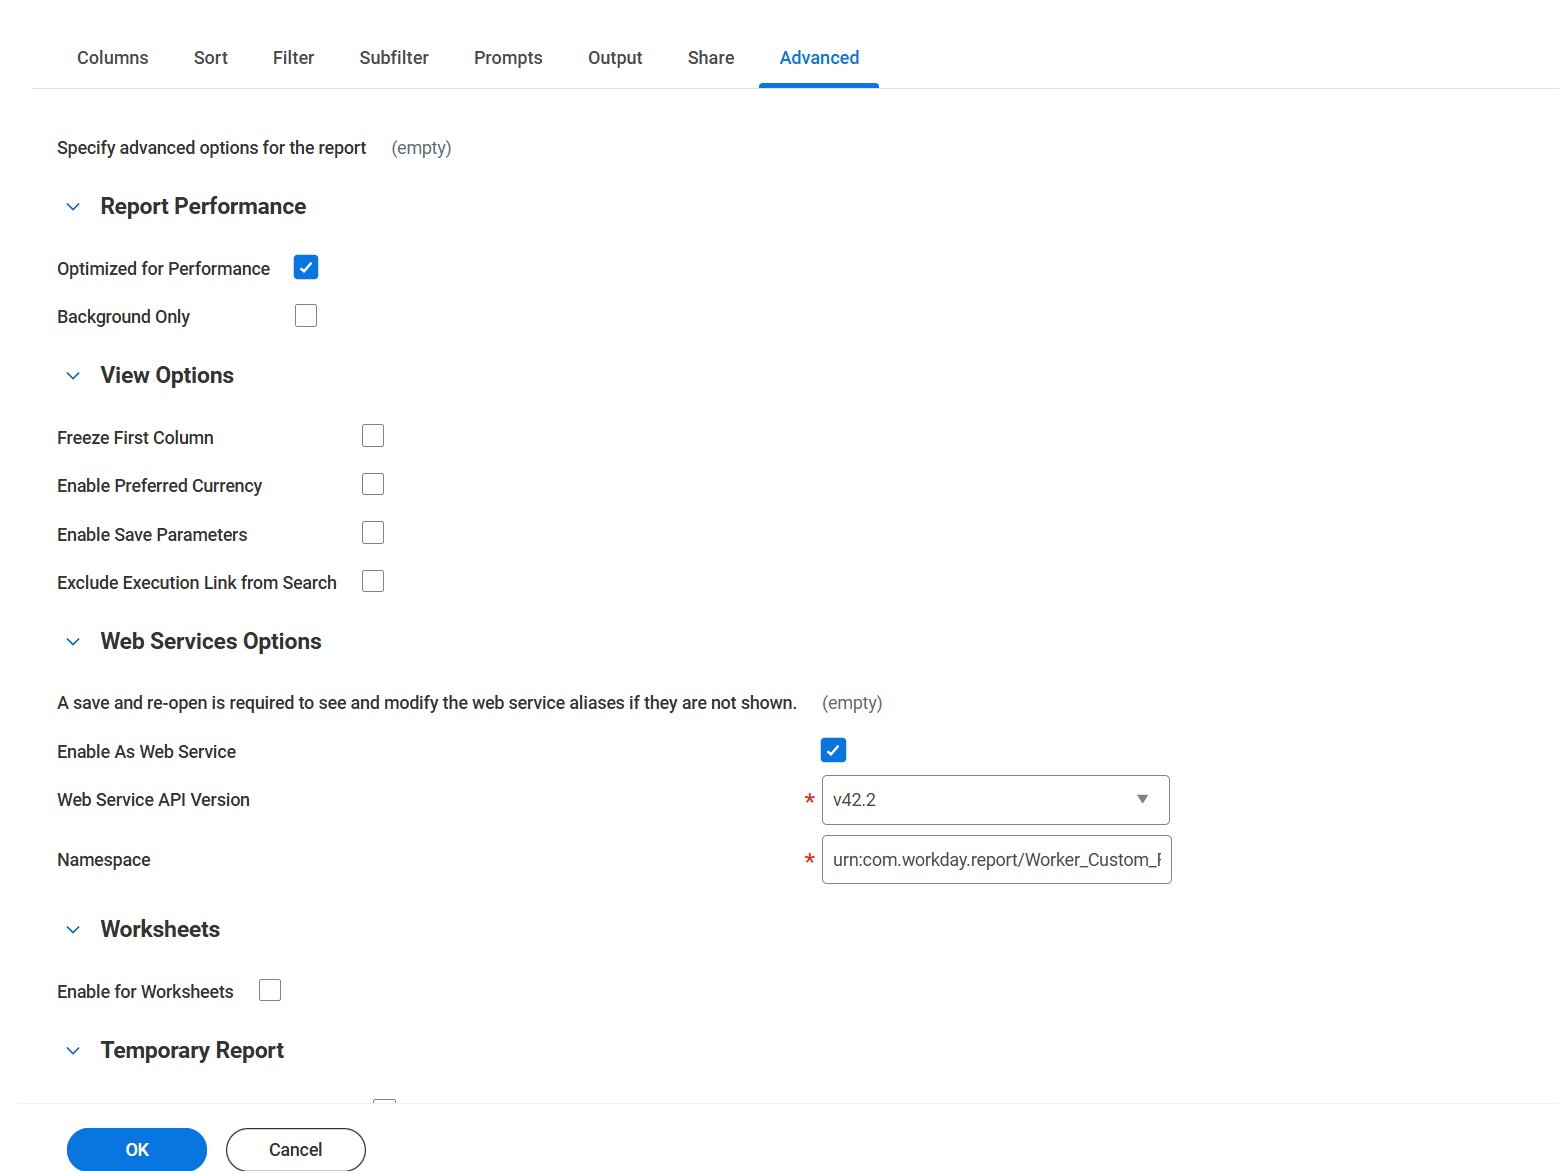
- Check “Enable as Web Service”
- Press “OK” to save
2
Find Report URL
Press the three-dot menu and select “Web Service” => “View URLs”.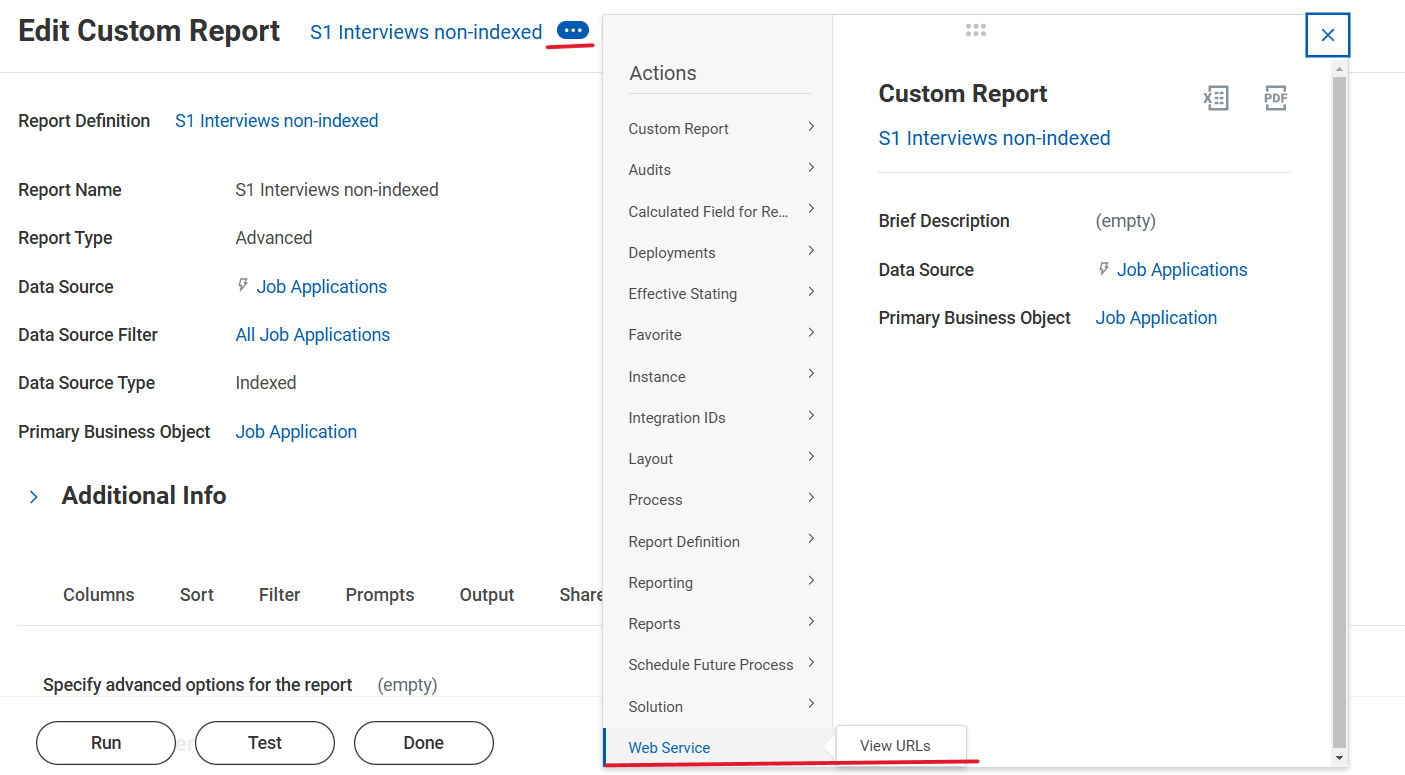
3
Copy Report URL
Copy the URL and save it. This will be used to configure the integration.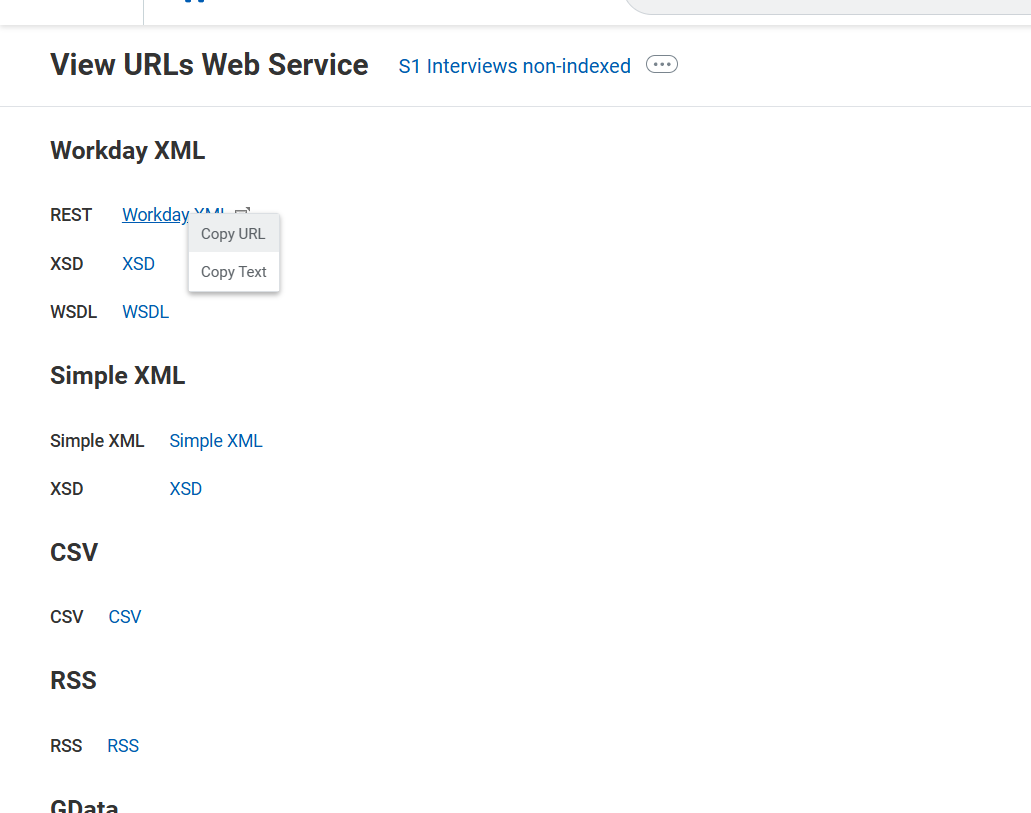
Troubleshooting
1
Authentication Issues
If experiencing authentication errors:
- Verify security group settings
- Check ISU has access to the report
2
Performance Optimization
To improve performance:
- Use indexed fields where possible
- Use filters to limit the data returned
Congratulations, you’re all set! If you face any issues with the steps mentioned above, please contact us by emailing integrations@stackone.com. We’re always here to assist you!