Submit a job application for the candidate in Workday
1
Apply for a job
Navigate to the Find Candidates page, select a candidate’s profile, and click on 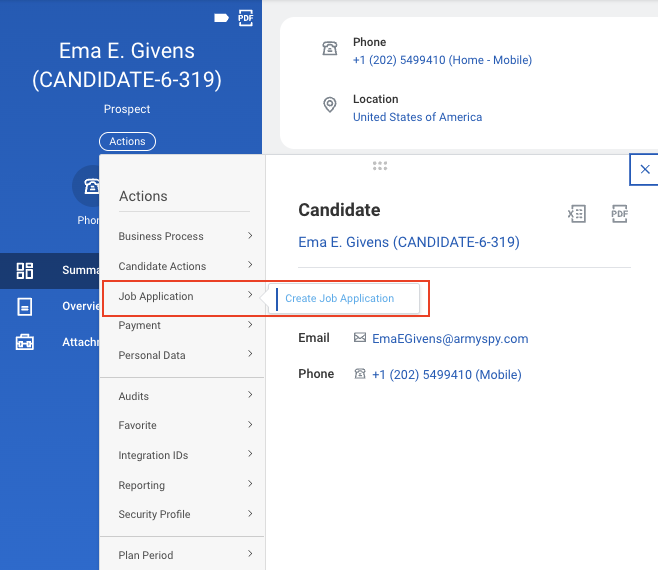
Job Application under Actions to apply for the job.2
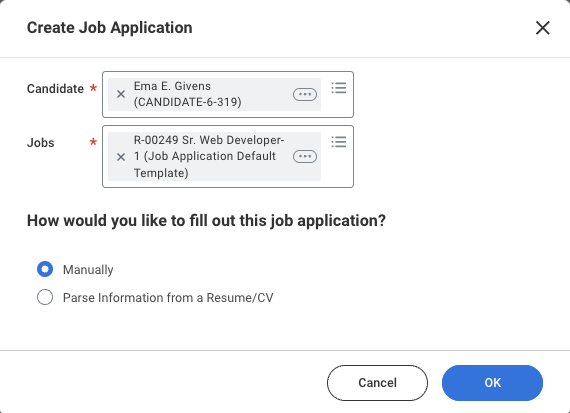
Select the job requisition
From the dropdown menu, select the relevant job.
Finding Job Requisitions within your Supervisory Organisation
Finding Job Requisitions within your Supervisory Organisation
1
Available job requisitions
Navigate to your Supervisory Organisation page and go to the 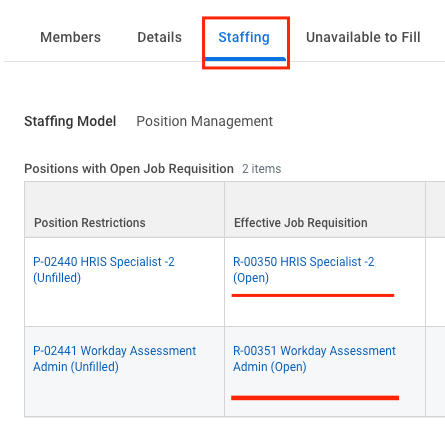
Staffing tab.Ensure the Supervisory Organisation’s Staffing Model is
Position ManagementPositions with Open Job Requisition section, you’ll find a list of job requisitions that are configured to send notifications for the background check stage.1
Creating a new job requisition
If no jobs are listed under 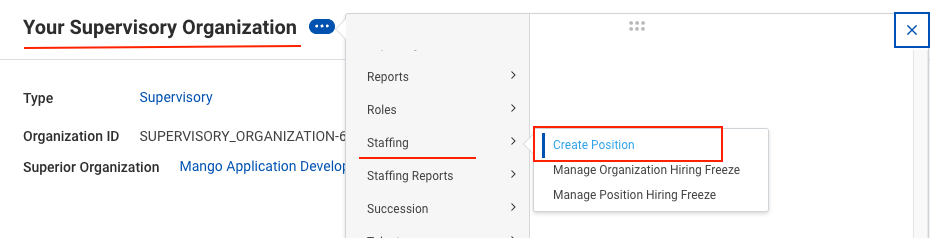
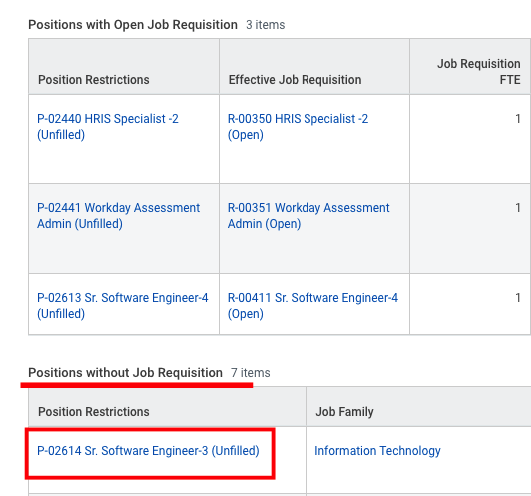
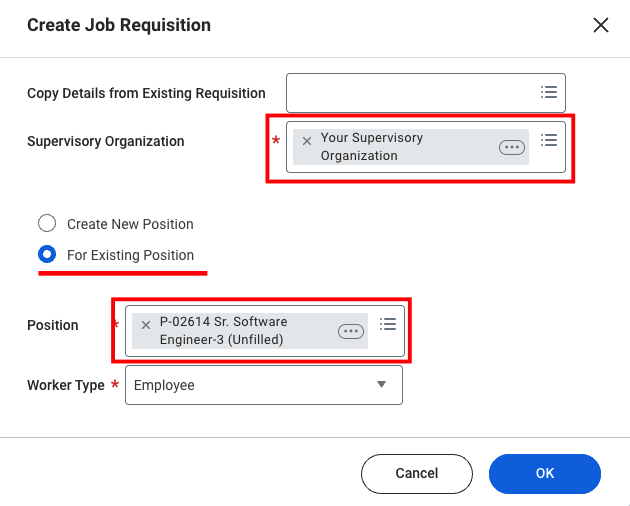


Positions with Open Job Requisition, find Create Position under the Staffing tab in the three-dot menu.Positions without Job Requisition section.Create Job Requisition, select your supervisory organisation and position, click OK, complete the Job Requisition form, and then Submit it.In Progress Requisition Actions section.Positions with Open Job Requisition section and will be enabled for notifications.OK button to submit the job application.Move the candidate to the Background Check stage in Workday
1
Navigate to the Job Requisition
Go to the Job Requisitions page by selecting the same Job Requisition for which the candidate has applied.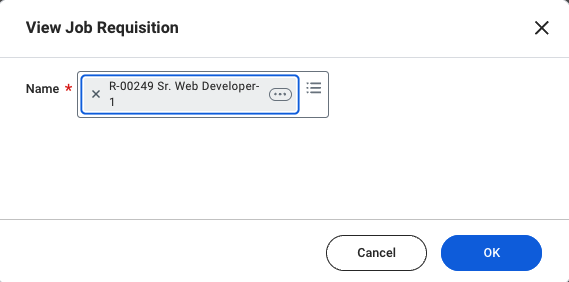
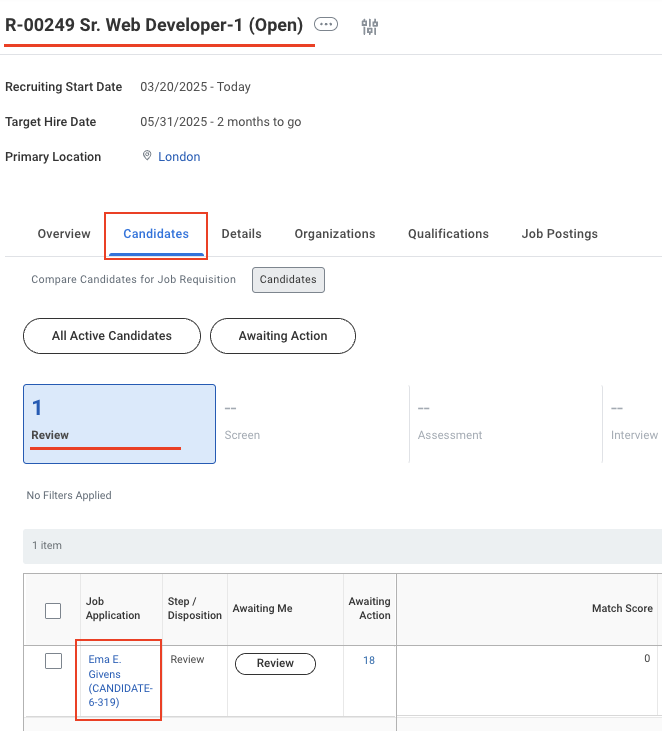
Candidate tab and select the Review tab, where the candidate will be displayed in the grid.2
Move the candidate from Review to Background Check stage
Select the candidate in the grid and click the 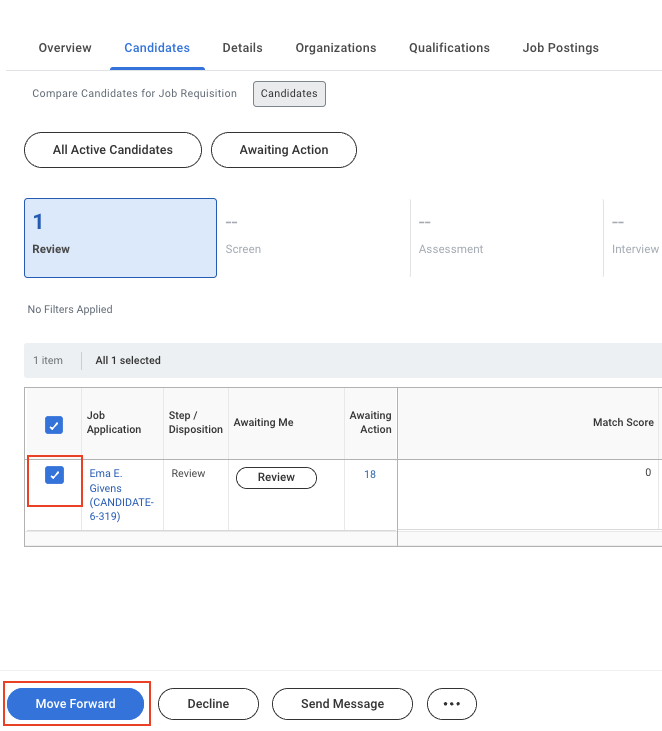
Move Forward button.3
Select the Background Check stage
In the pop-up window, select the next stage. If the Background Check stage isn’t immediately available, you may need to move through stages one at a time. For the Background Check stage, choose 
Background Check in both dropdown menus.OK button to move the candidate.4
Confirm the candidate has moved to the Background Check stage
Navigate to the 
Background Check tab to confirm the candidate is now in the Background Check stage.Send a background check invitation to the candidate
1
Submit a background check as a recruiter
As the recruiter, you should see the 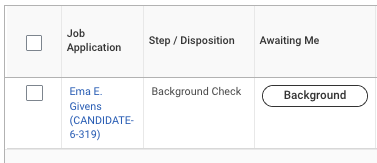
Background Check button next to the candidate’s name.2
Send the background check invitation
Select the Background Check Package from the dropdown menu.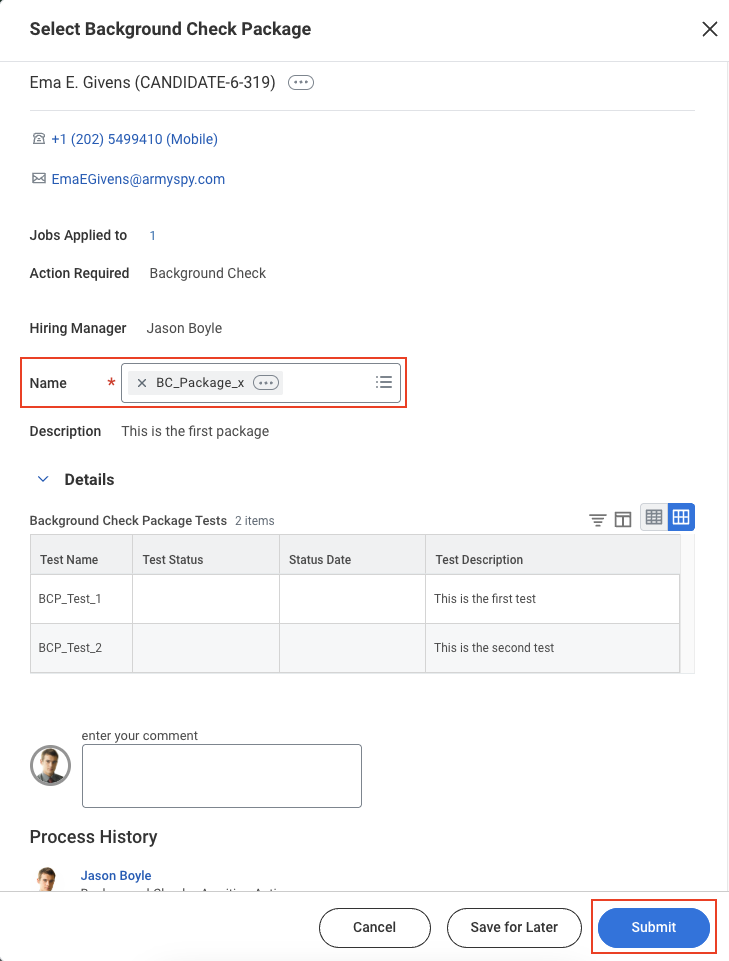
Submit button to trigger and send the webhook notification from Workday.Verify the background check invitation has been sent
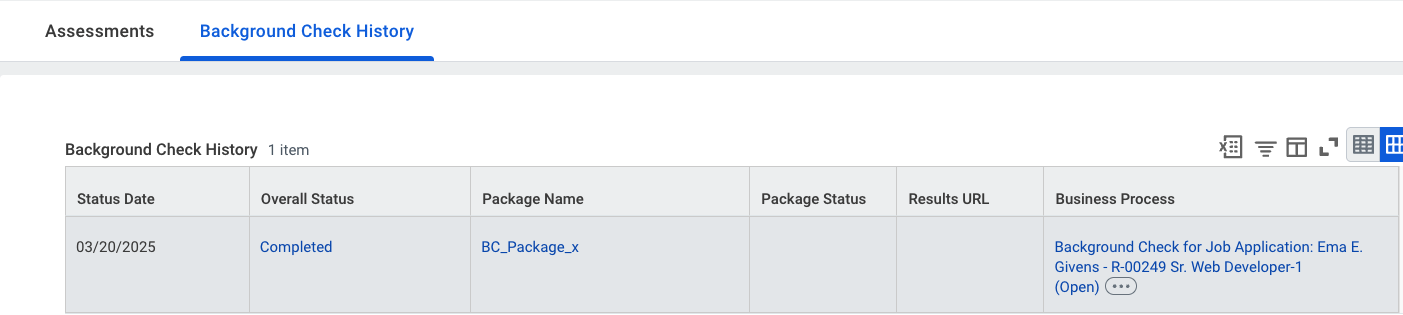
To access the Job Application, click on the candidate’s name. Navigate to Screening > Background Check History tab to view the invitation status.
View the candidate’s background check results
To access the Job Application, click on the candidate’s name. Navigate to Screening > Background Check History tab to view the updated results.