Configure Application Custom Fields
1
Search for Manage Templates
Type Manage Templates into the search bar and select it from the results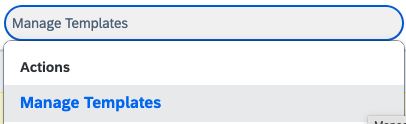
2
Select Job Application template
Go to the Recruiting Management tab, select Job Application, and choose the default active template to which you want to add a custom fields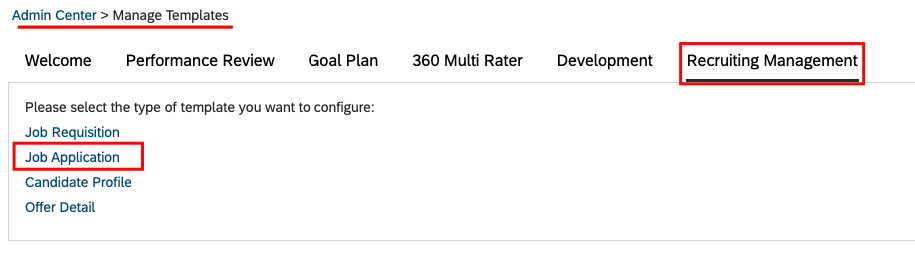
3
Add application custom fields in template
Click on 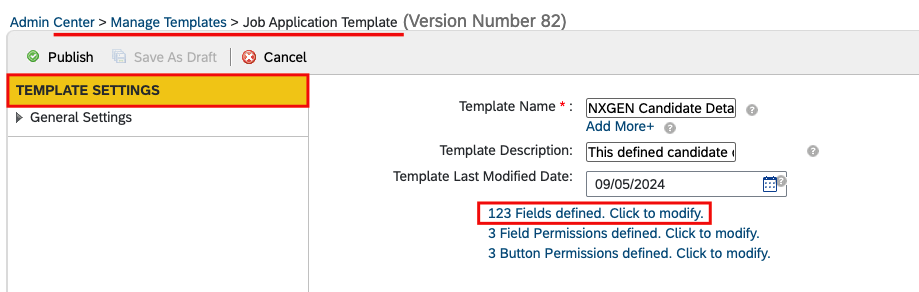
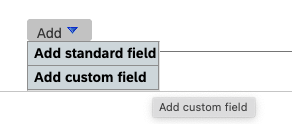
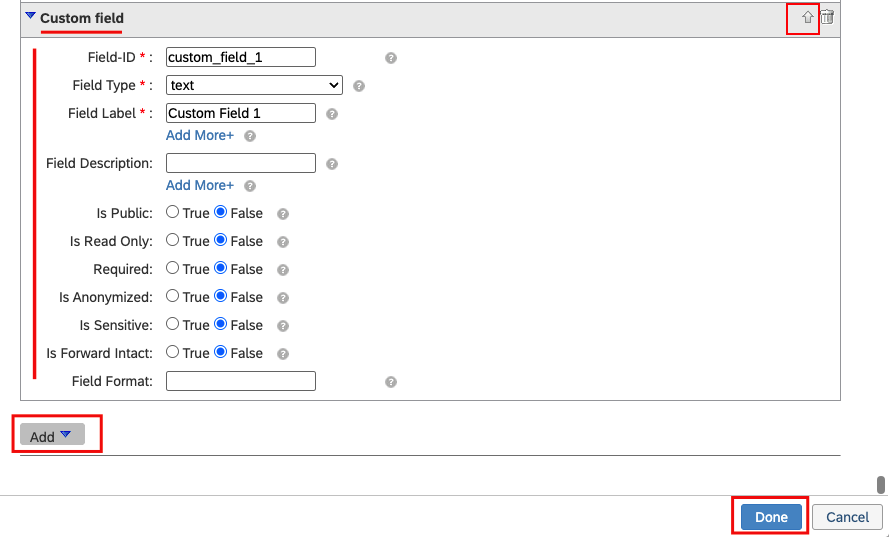
Fields definedAdd button and select Add Custom Field to add a new custom field block- Field ID: Enter the ID of the field.
- Field Type: Select the type of field (e.g., text).
- Field Label: Enter a label for the field.
- Field Description: Provide a description for the field.
You can select other field’s values either as shown in the image or according to your preferences.
Done to save your changes.You can set the position of the custom fields using the top and bottom arrows.
4
Add application custom fields permissions
Click on 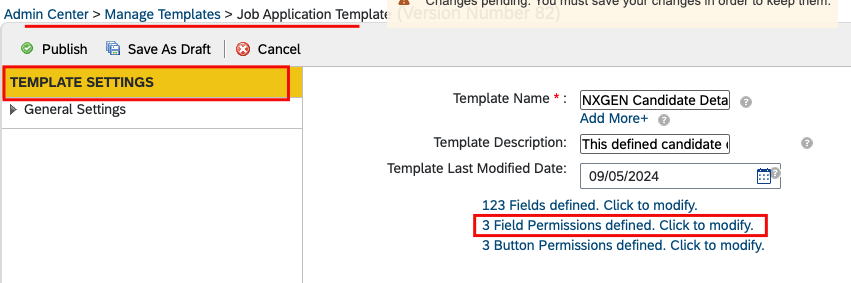
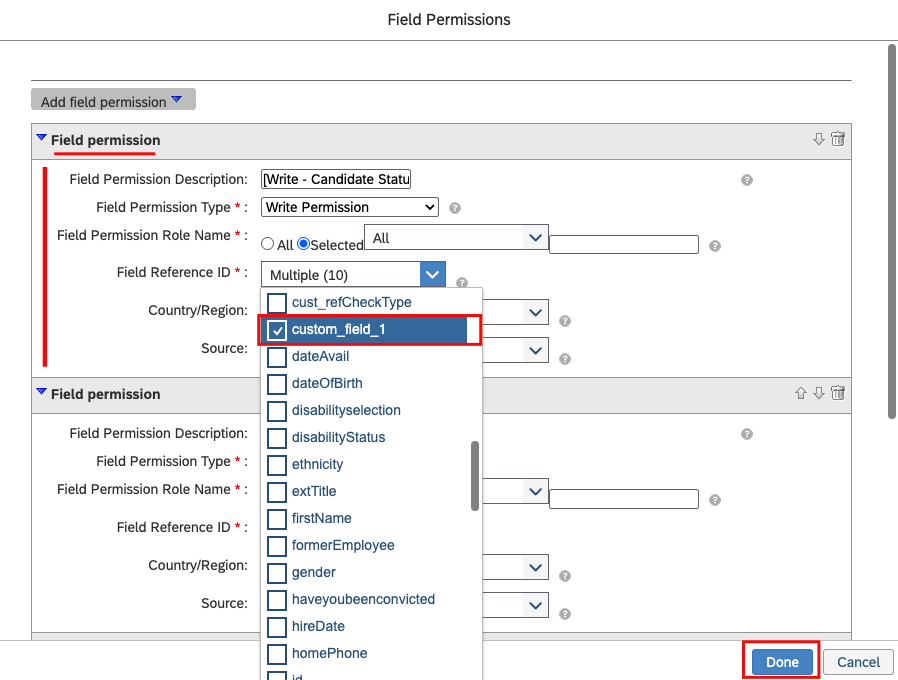
Fields Permissions defined- Field Permission Description: You can enter any description as this field allows free text.
- Field Permission Type: Select
Write Permission. - Field Permission Role Name: Choose the role for which you want to make this custom field visible.
- Field Reference ID: Select the custom field ID that you added in the step above.
You can choose other field’s values based on your preferences.
Done to save your changes.5
Ensure that you save all of your changes
To save your changes, click on 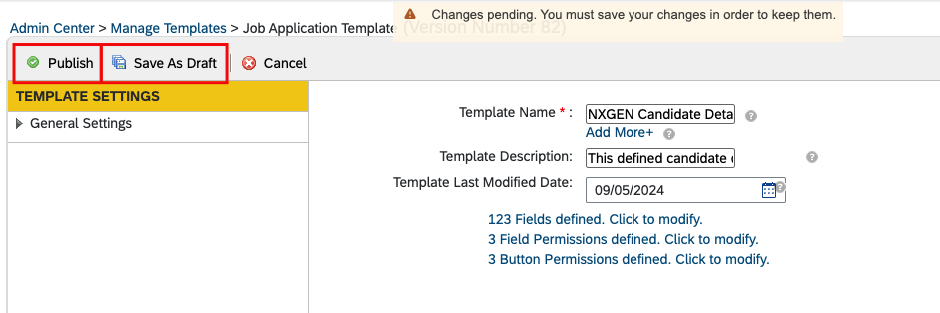
Save & Draft and then select Publish.Configure Job Requisition Template to Add Custom Fields
1
Search for Manage Templates
Type Manage Templates into the search bar and select it from the results
2
Select Job Requisition template
Navigate to Recruiting Management tab > Job Requisition,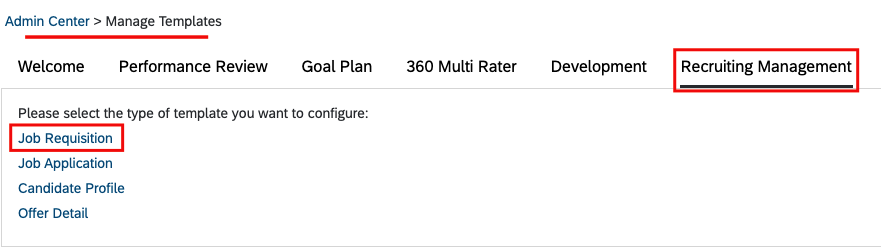
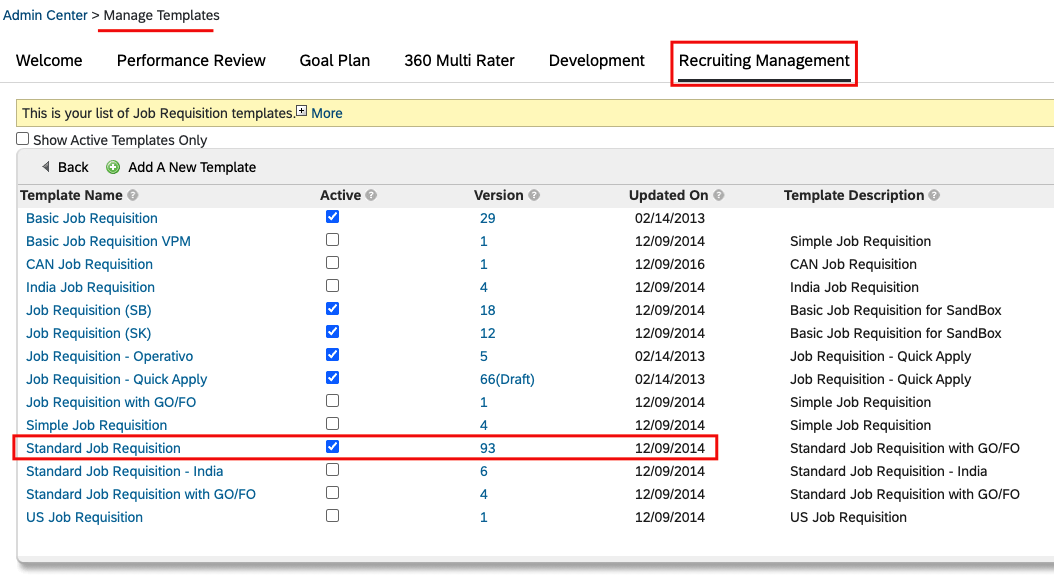
Standard Job Requisition3
Add permissions for application custom fields into the Job Requisition template
Click on 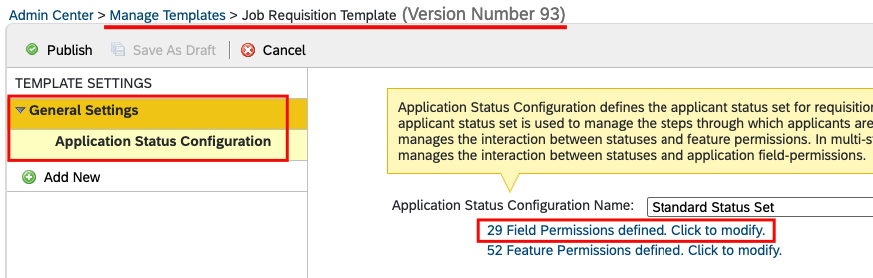
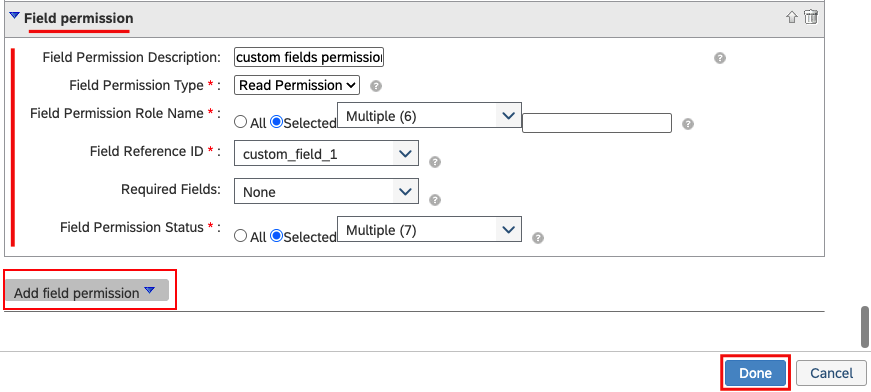
General Settings > Application Status Configuration > Field Permissions definedAdd button to add a new field permission block, then Enter the following field values:- Field Permission Description: You can enter any description as this field allows free text.
- Field Permission Type: Select
Read Permission. - Field Permission Role Name: Choose the permission role for which the fields will be displayed.
- Field Reference ID: Select the custom field ID you added in the previous step 3 under “Configure Application Custom Fields” process that needs to be displayed on the UI.
- Required Fields: Choose the fields that you want to make mandatory.
- Field Permission Status: Select the application status indicating when the fields should be displayed.
Done to save your changes.4
Ensure that you save all of your changes
Click on 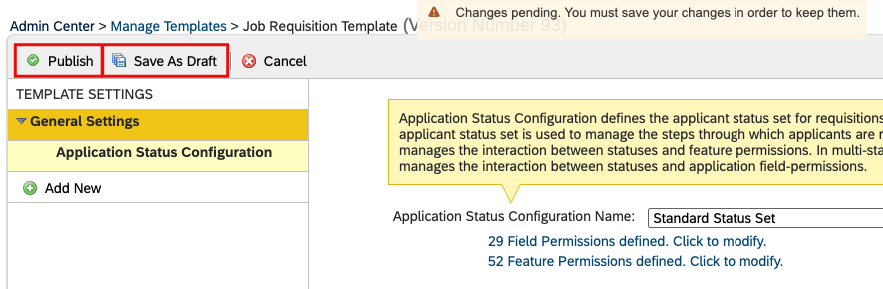
Save & Draft, and then click Publish to save your changes.View Application Custom Fields in the Job Application
1
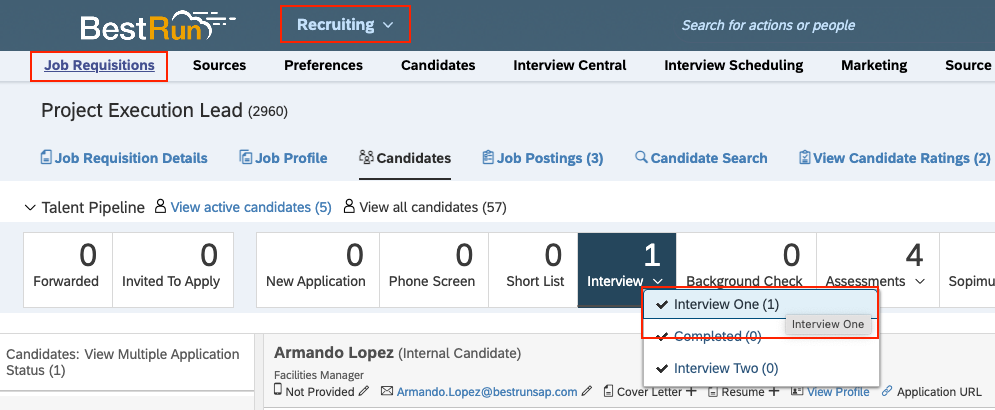
Go to Job Requisition
The custom fields will be displayed for applications associated with job requisition templates for which custom fields are configured.
View or Edit Requisition.How to check the Job Requisition Template Name
How to check the Job Requisition Template Name
Go to the Recruiting and select any specific job requisition.
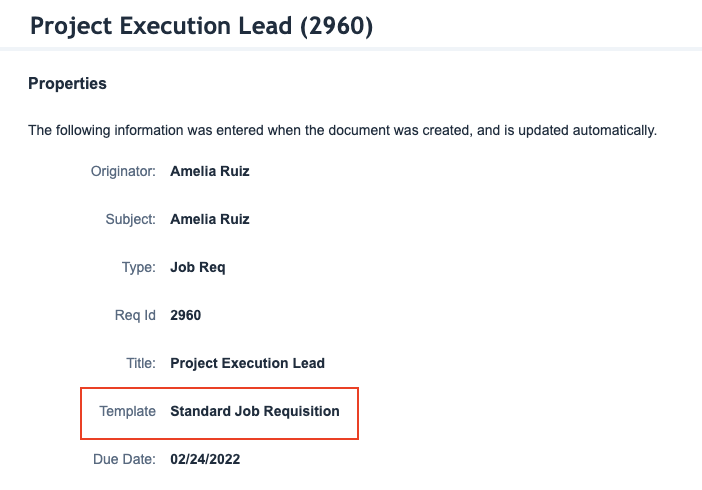
i icon to view the Job Requisition Template.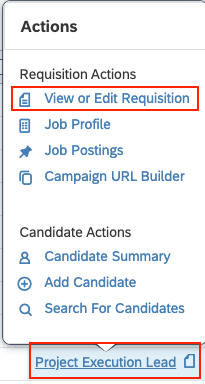
If fields are not visible after adding fields & permissions in above steps
If fields are not visible after adding fields & permissions in above steps
Navigate to Admin Center and search for 
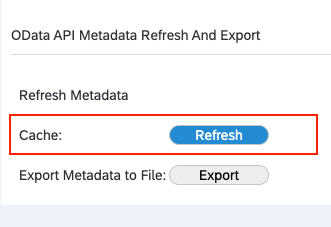
OData API Metadata Refresh and ExportRefresh button next to Cache.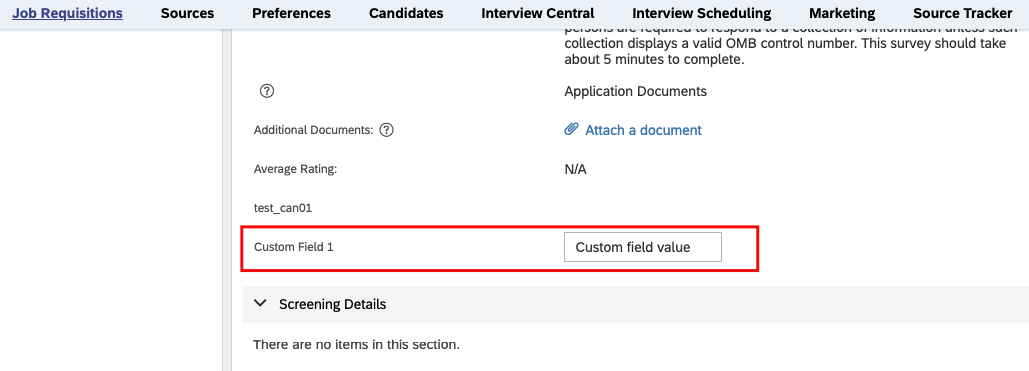
To adjust the placement of custom fields, refer to step 3 in the “Configure Application Custom Fields” process.