Configure Bullhorn Job Custom Fields
1
Access the Main Menu
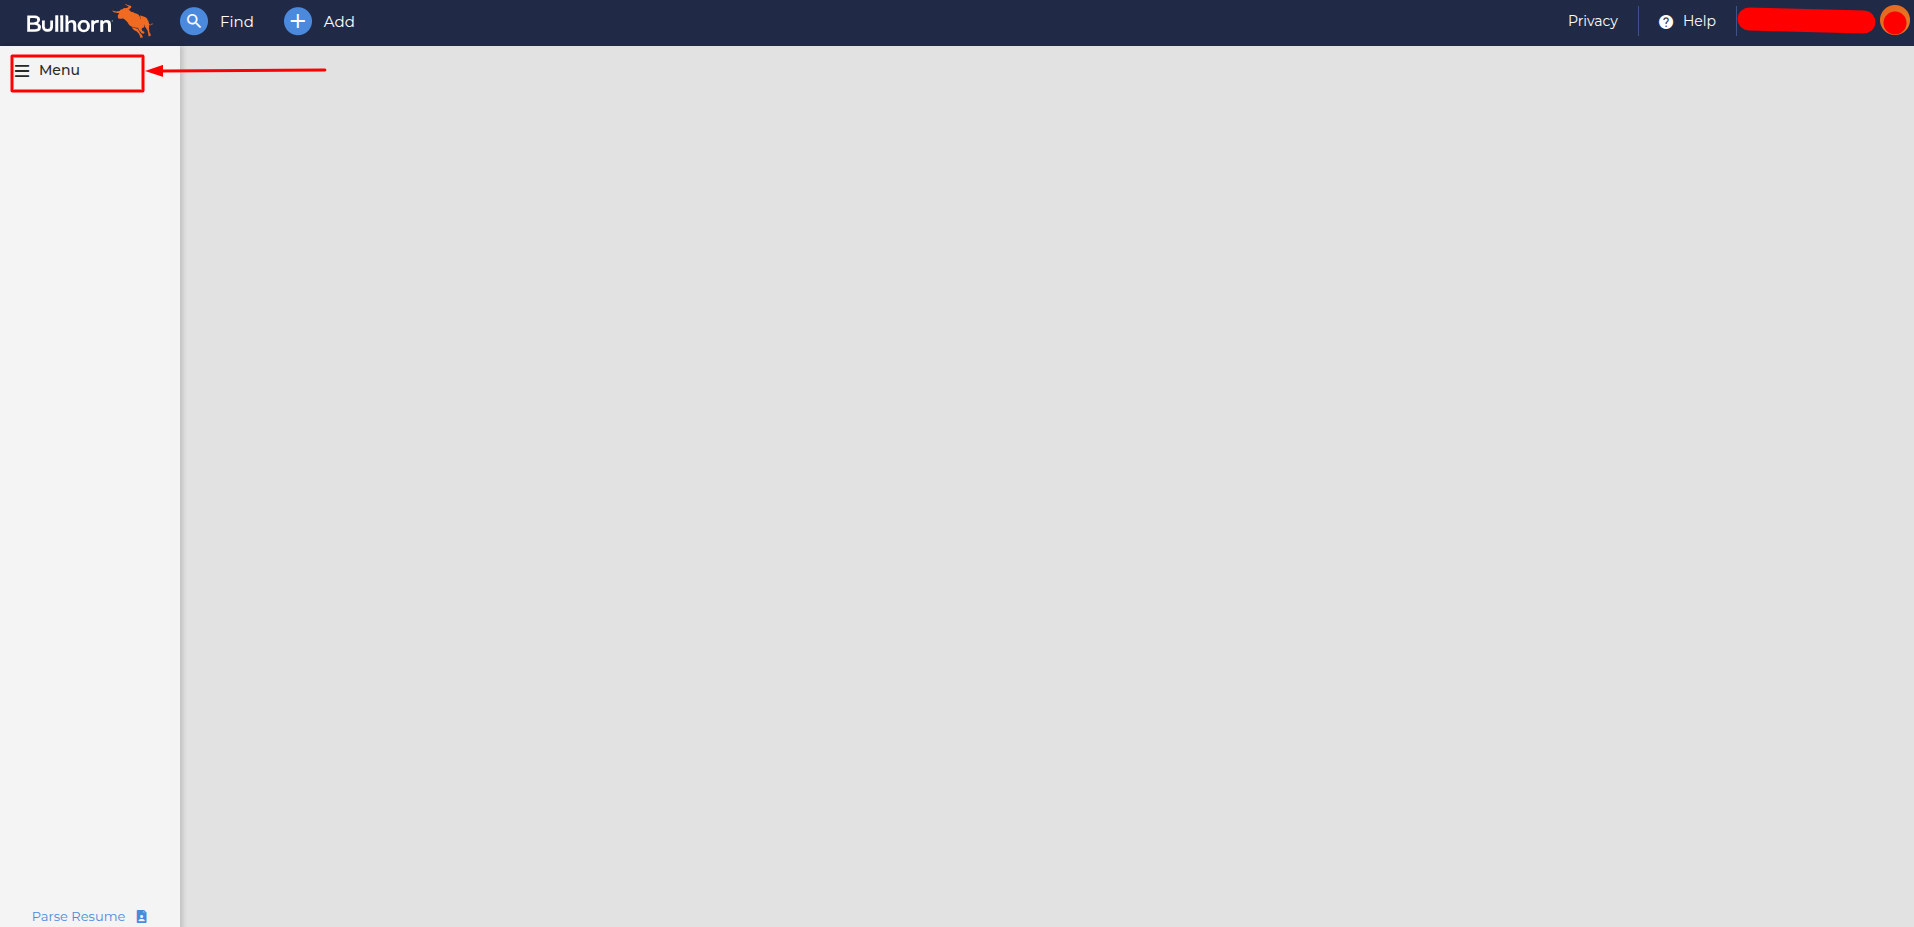
2
Open Field Mappings
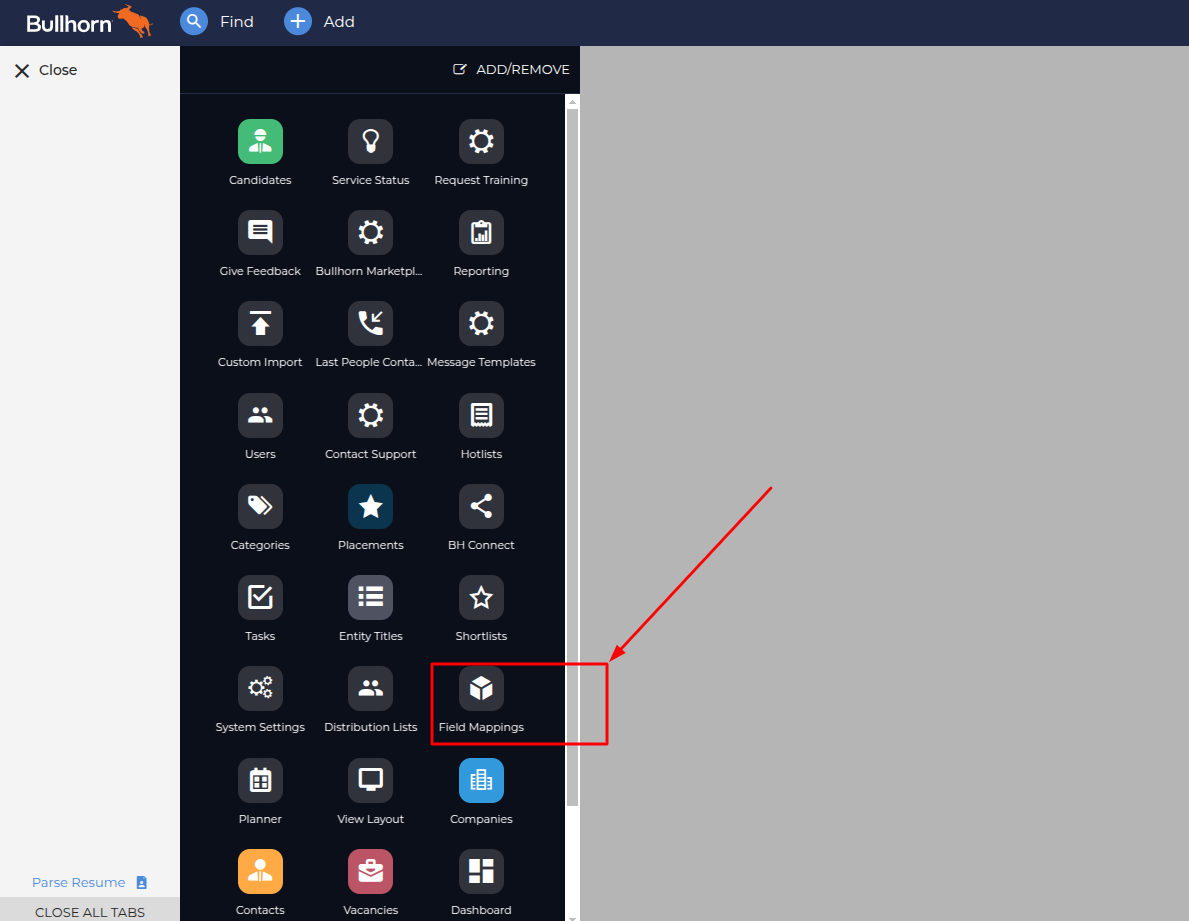
3
Choose Field Group
Scroll down and select the 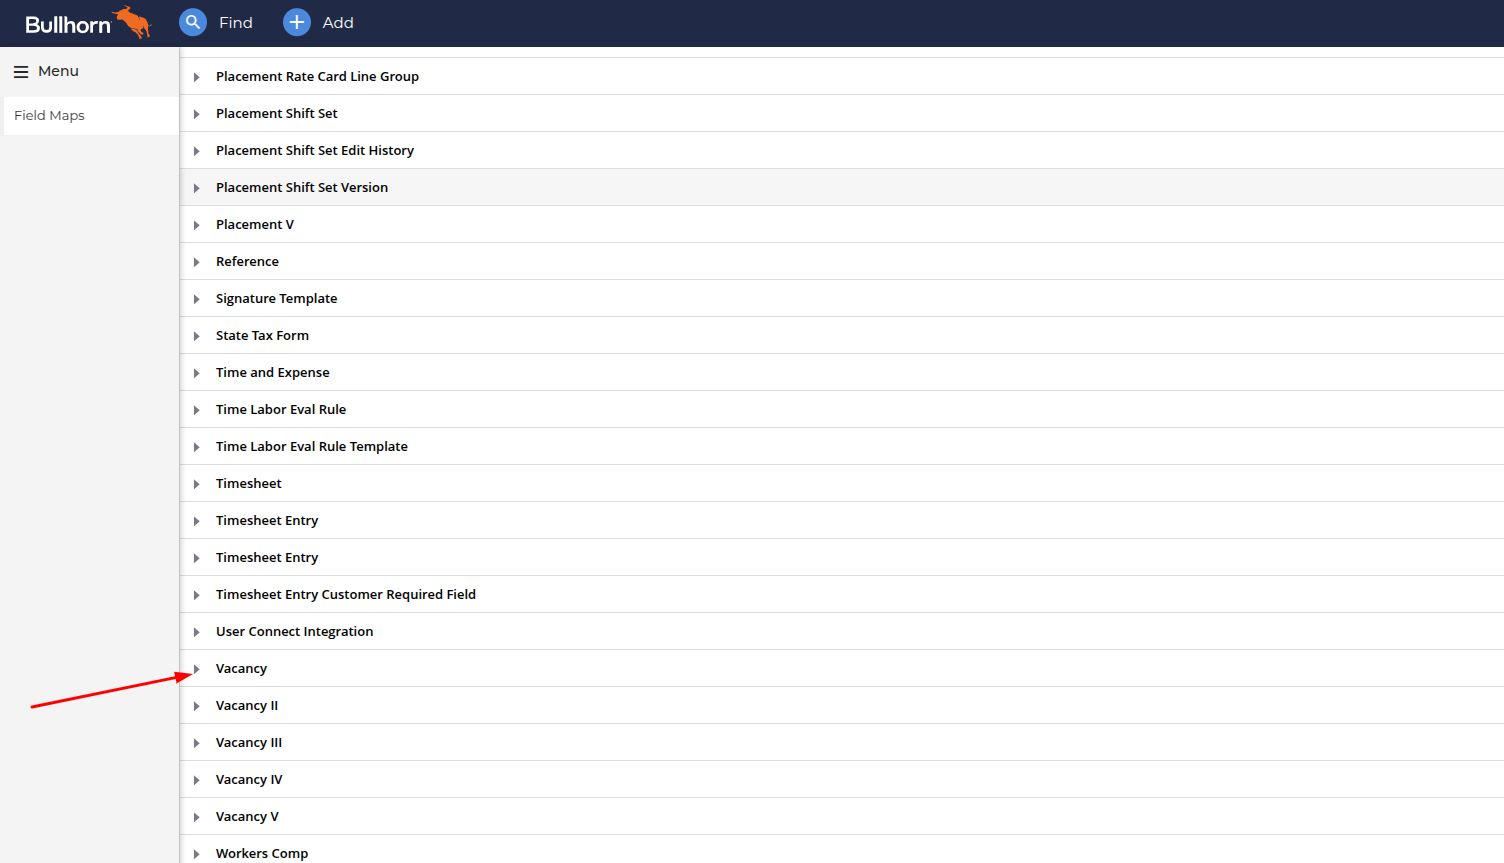
Vacancy group to configure the custom field.4
Review Job Fields
Review the vacancy-related fields and select an unused one to configure.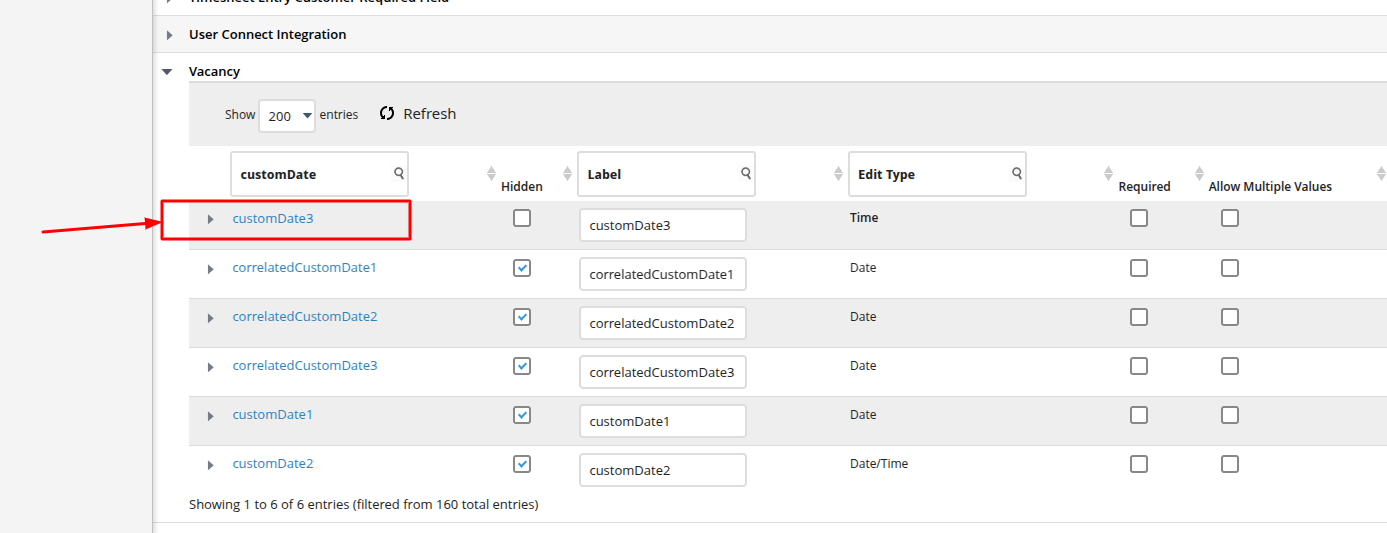
5
Configure Field Settings
In the custom fields configuration form, set your desired values and click the 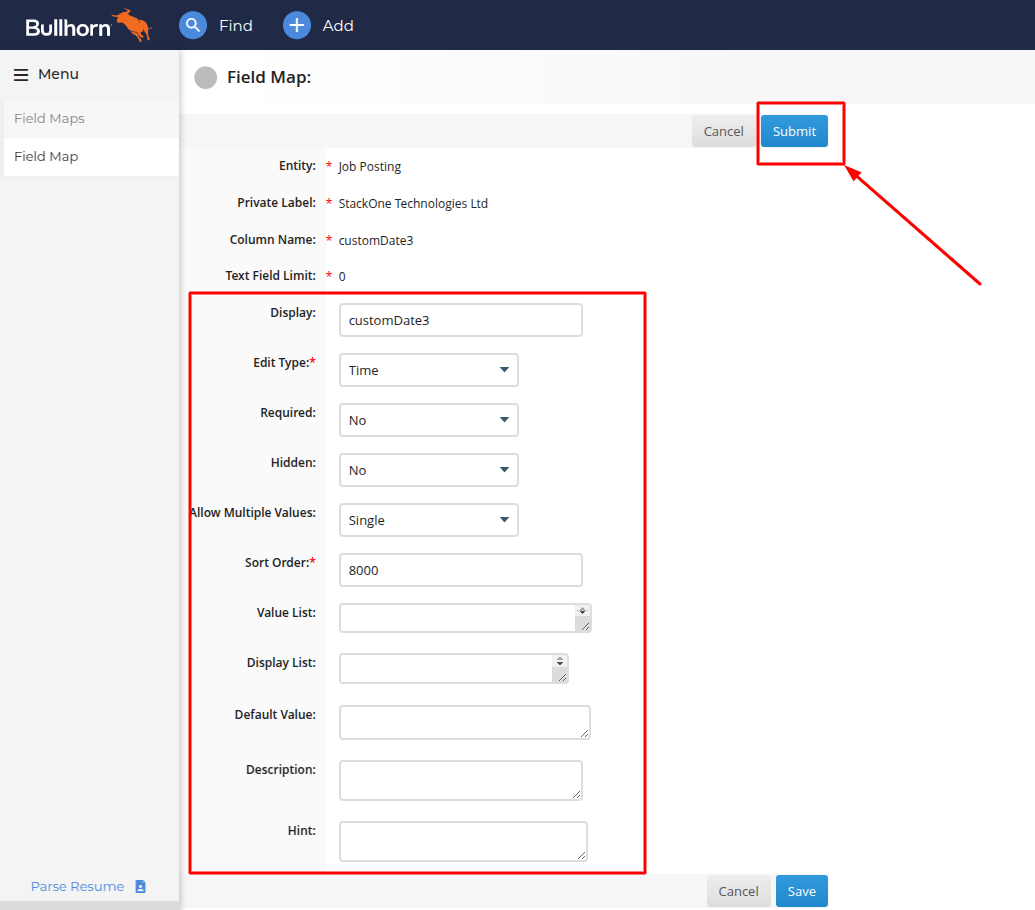
Save button to apply your changes.6
Save Field Configuration
Return to the top of the page and click the 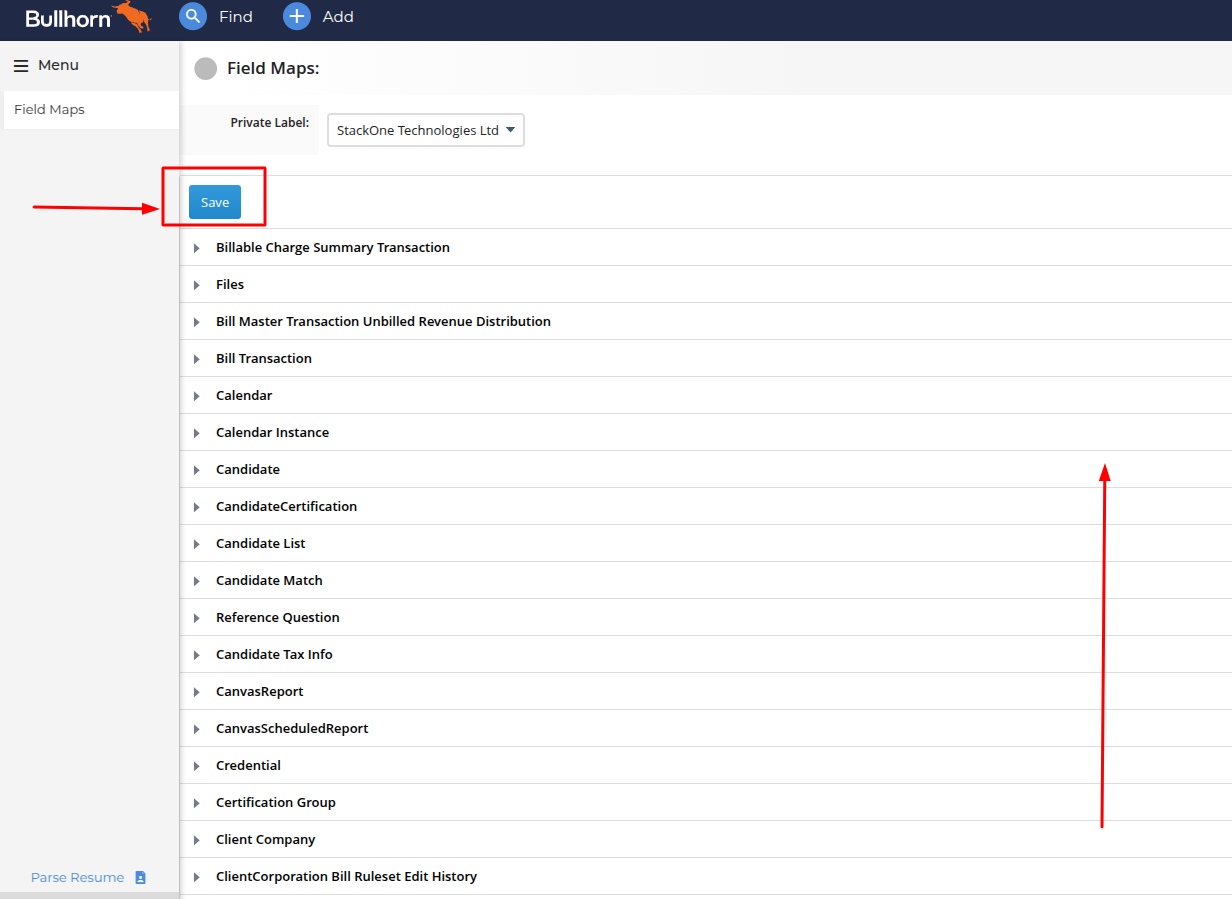
Save button to finalize your changes.7
Confirm Configuration
A confirmation message will appear once your configuration has been successfully saved.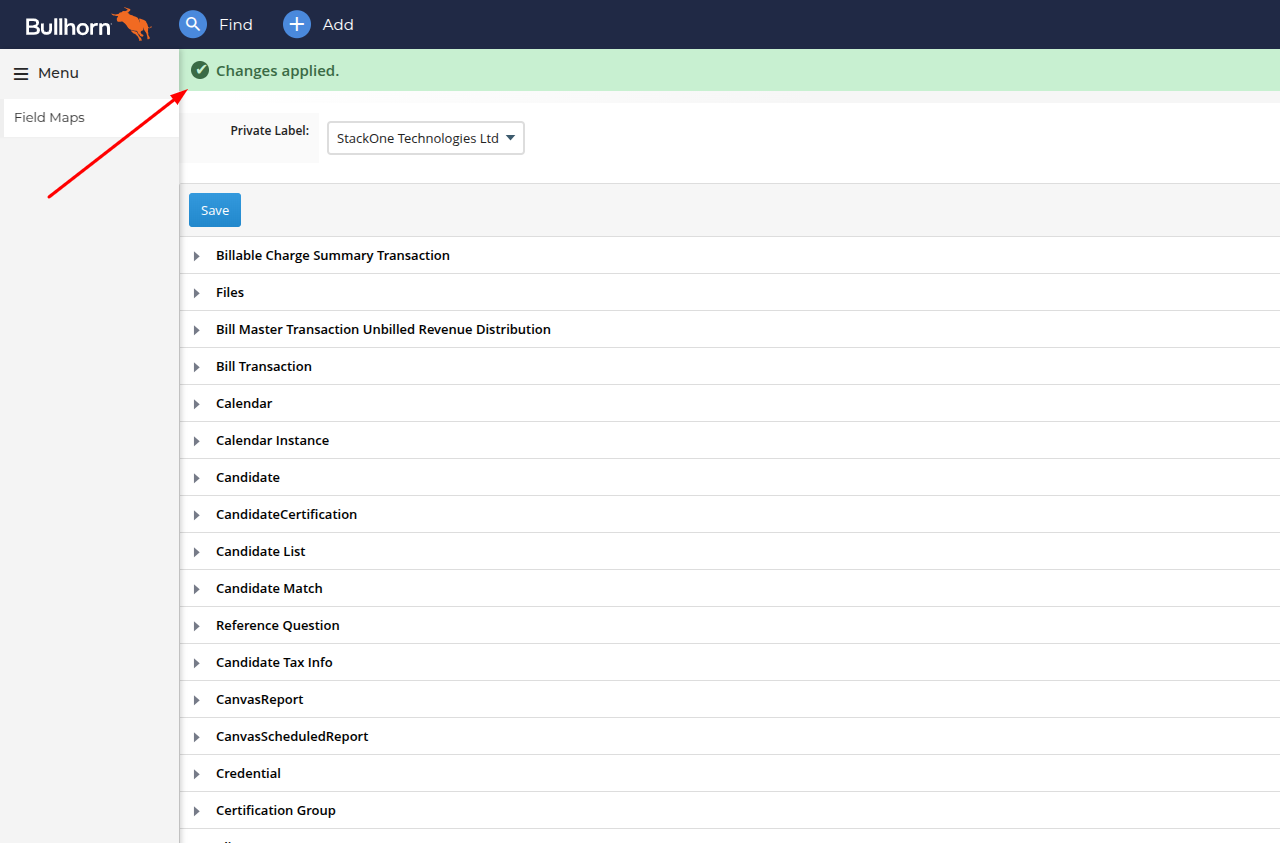
Using Bullhorn Job Custom Fields
1
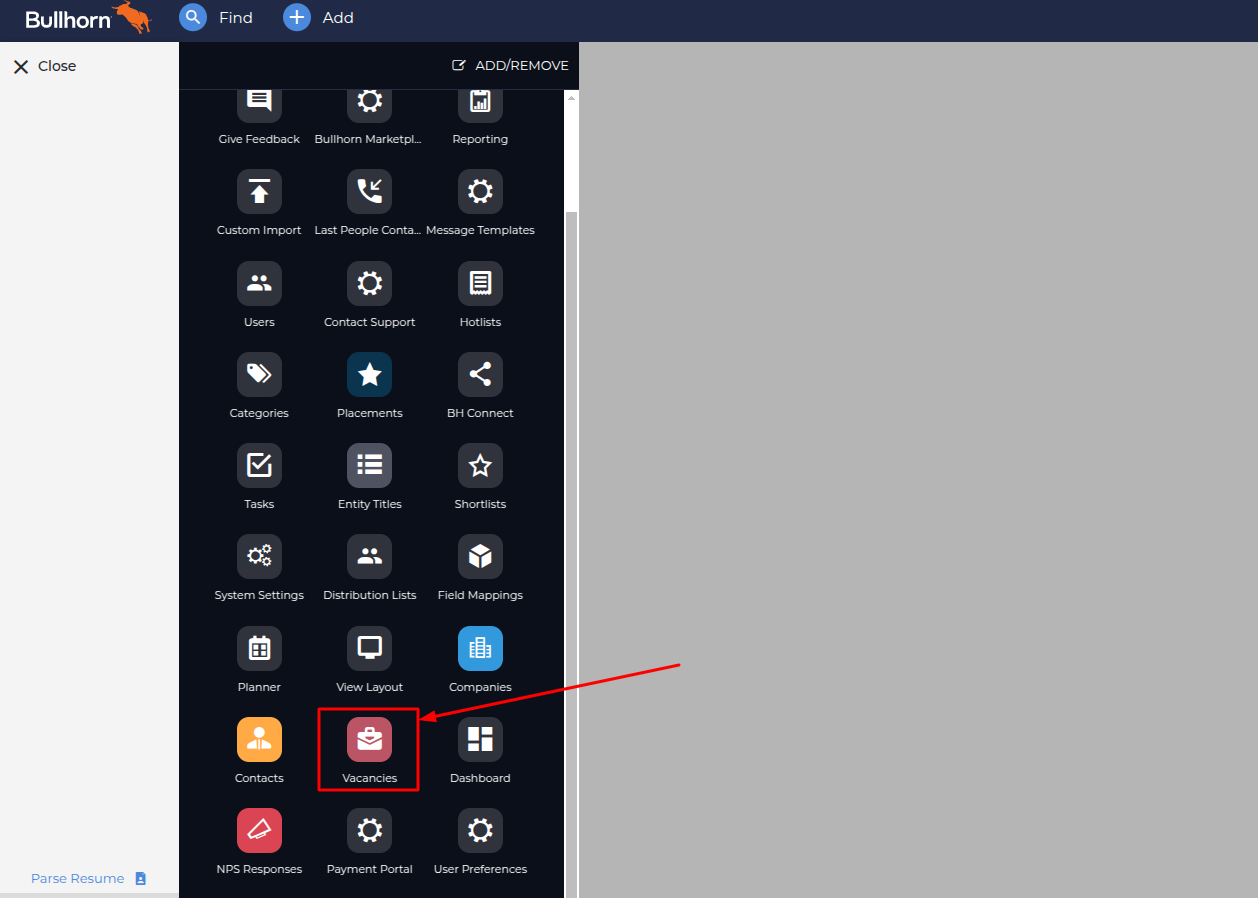
Access the Main Menu
2
Navigate to Vacancies
3
Open Column Settings
In the custom fields table, scroll down and select the desired custom fields by checking their corresponding checkboxes in the dropdown menu.
Then, click the
Then, click the
Save button to apply your changes.4
Arrange Custom Fields in Table
The custom field will now appear in the Vacancies Table. You can reposition it by dragging and dropping to your preferred location.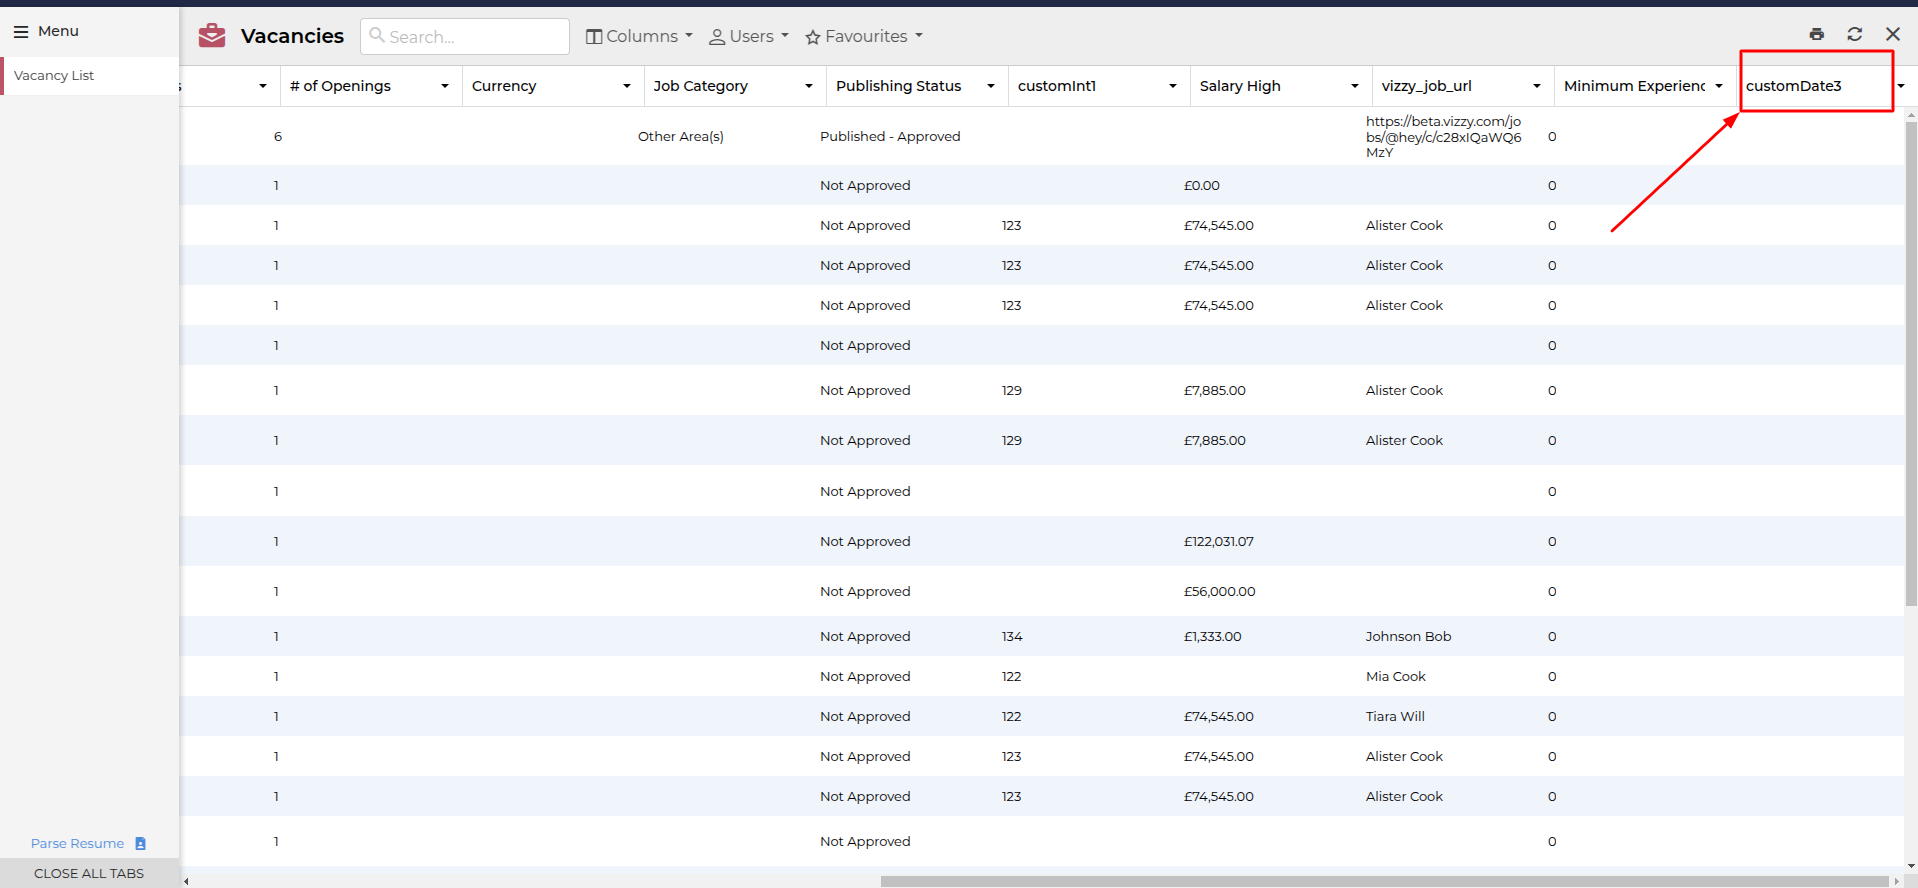
5
Access Vacancy Details
In the Vacancies table, click on any vacancy to view its detailed information.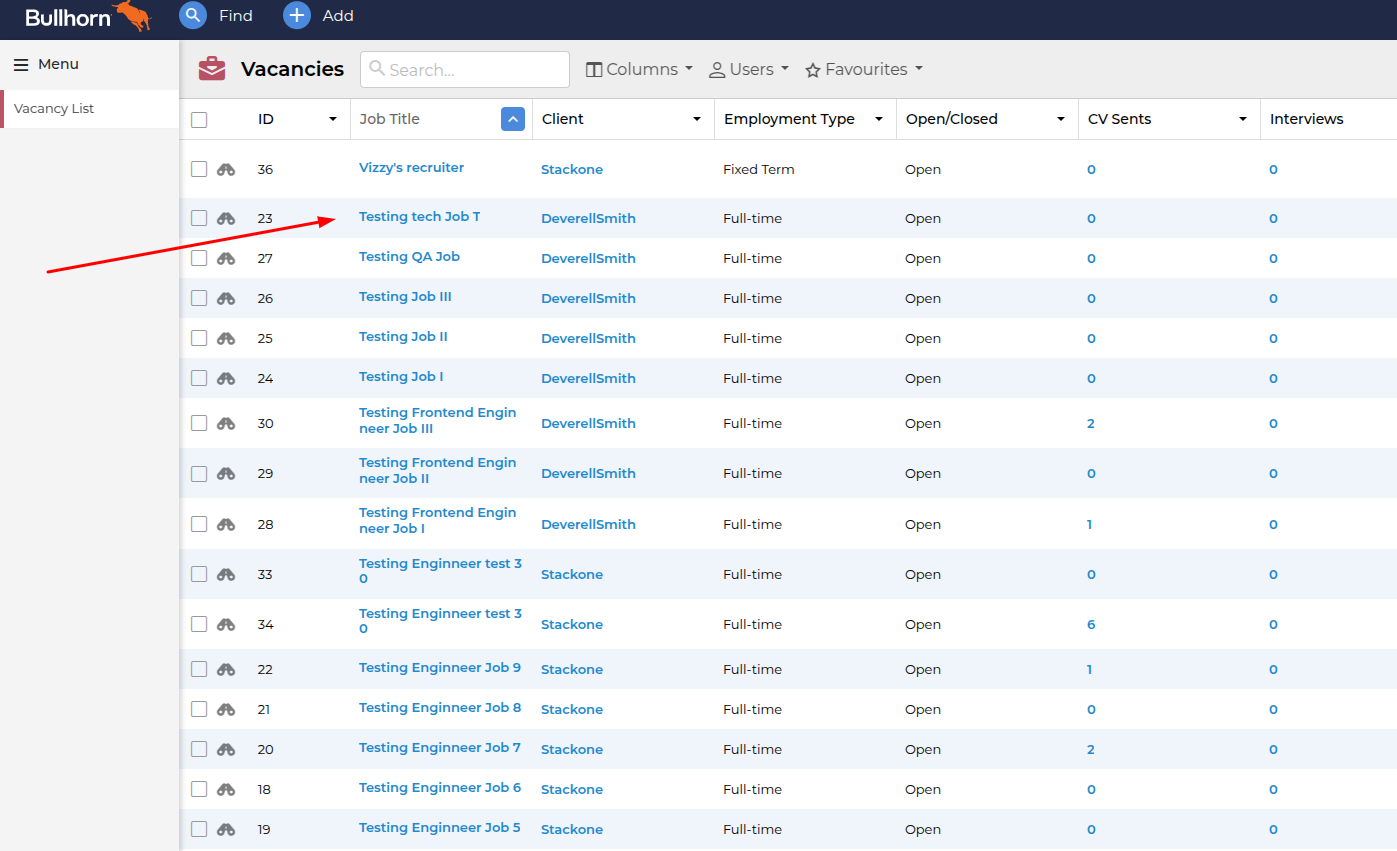
6
Enter Edit Mode
In the vacancy detail view, click the 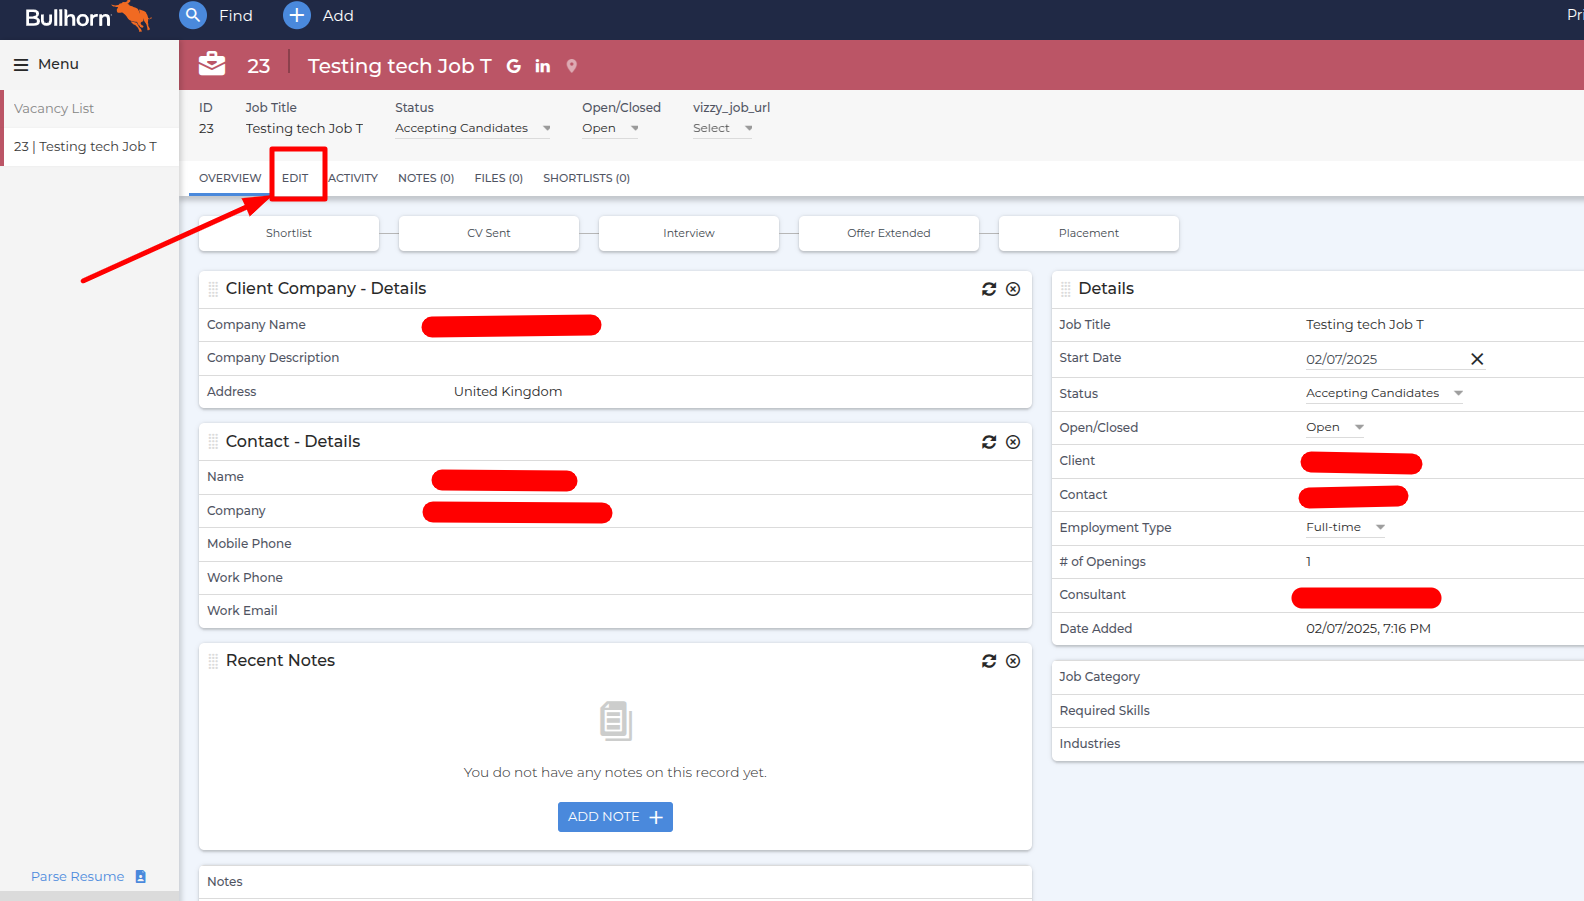
Edit button to modify or add custom field values.7
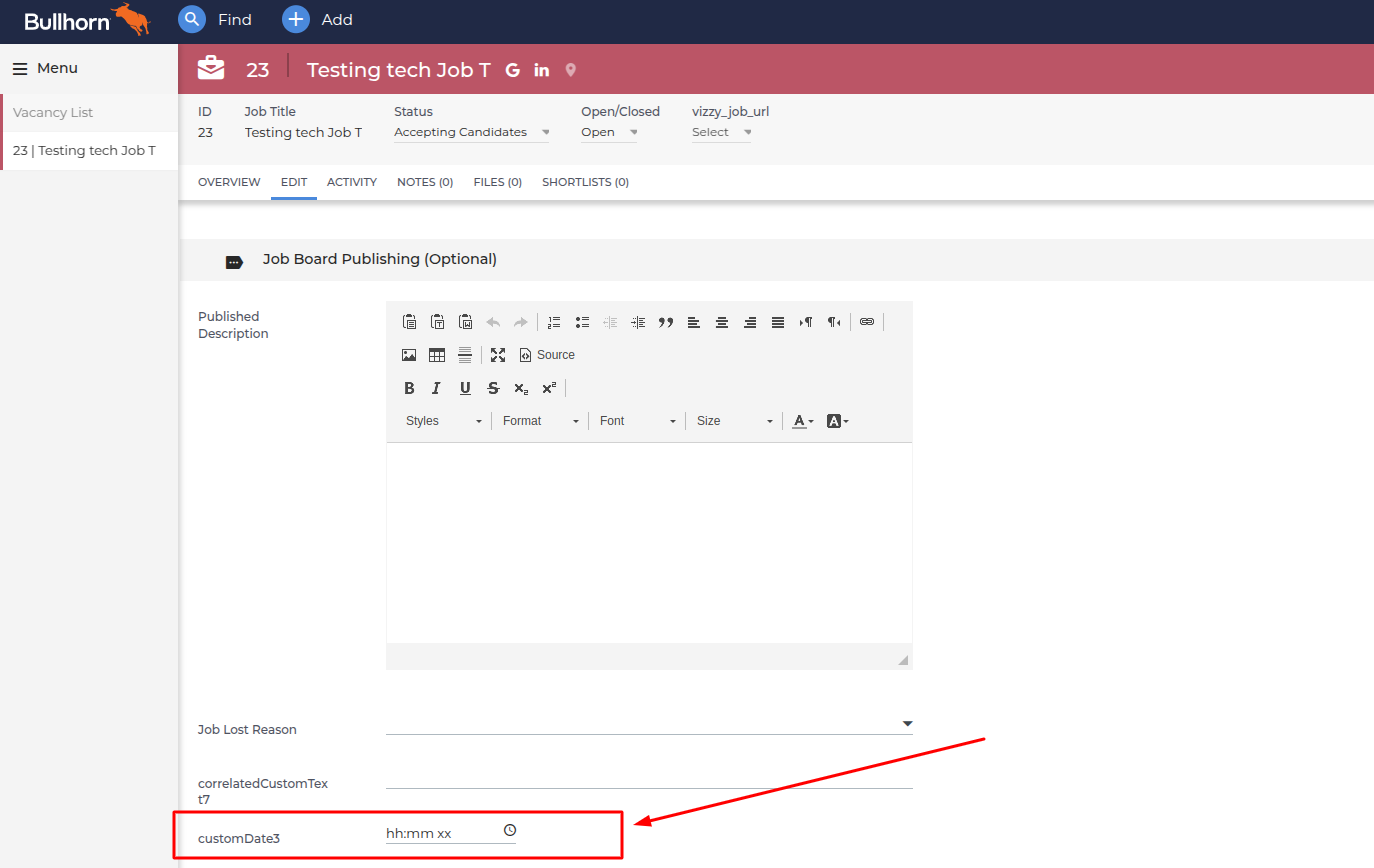
View and Edit Custom Field
The custom field will be displayed in the vacancy edit section, where you can view and modify its value.