Creating a new Service User
1
Navigate to Service Users
Using the left menu, select Settings > Integrations, select Automation under Categories. Click Manage under the Service Users Icon.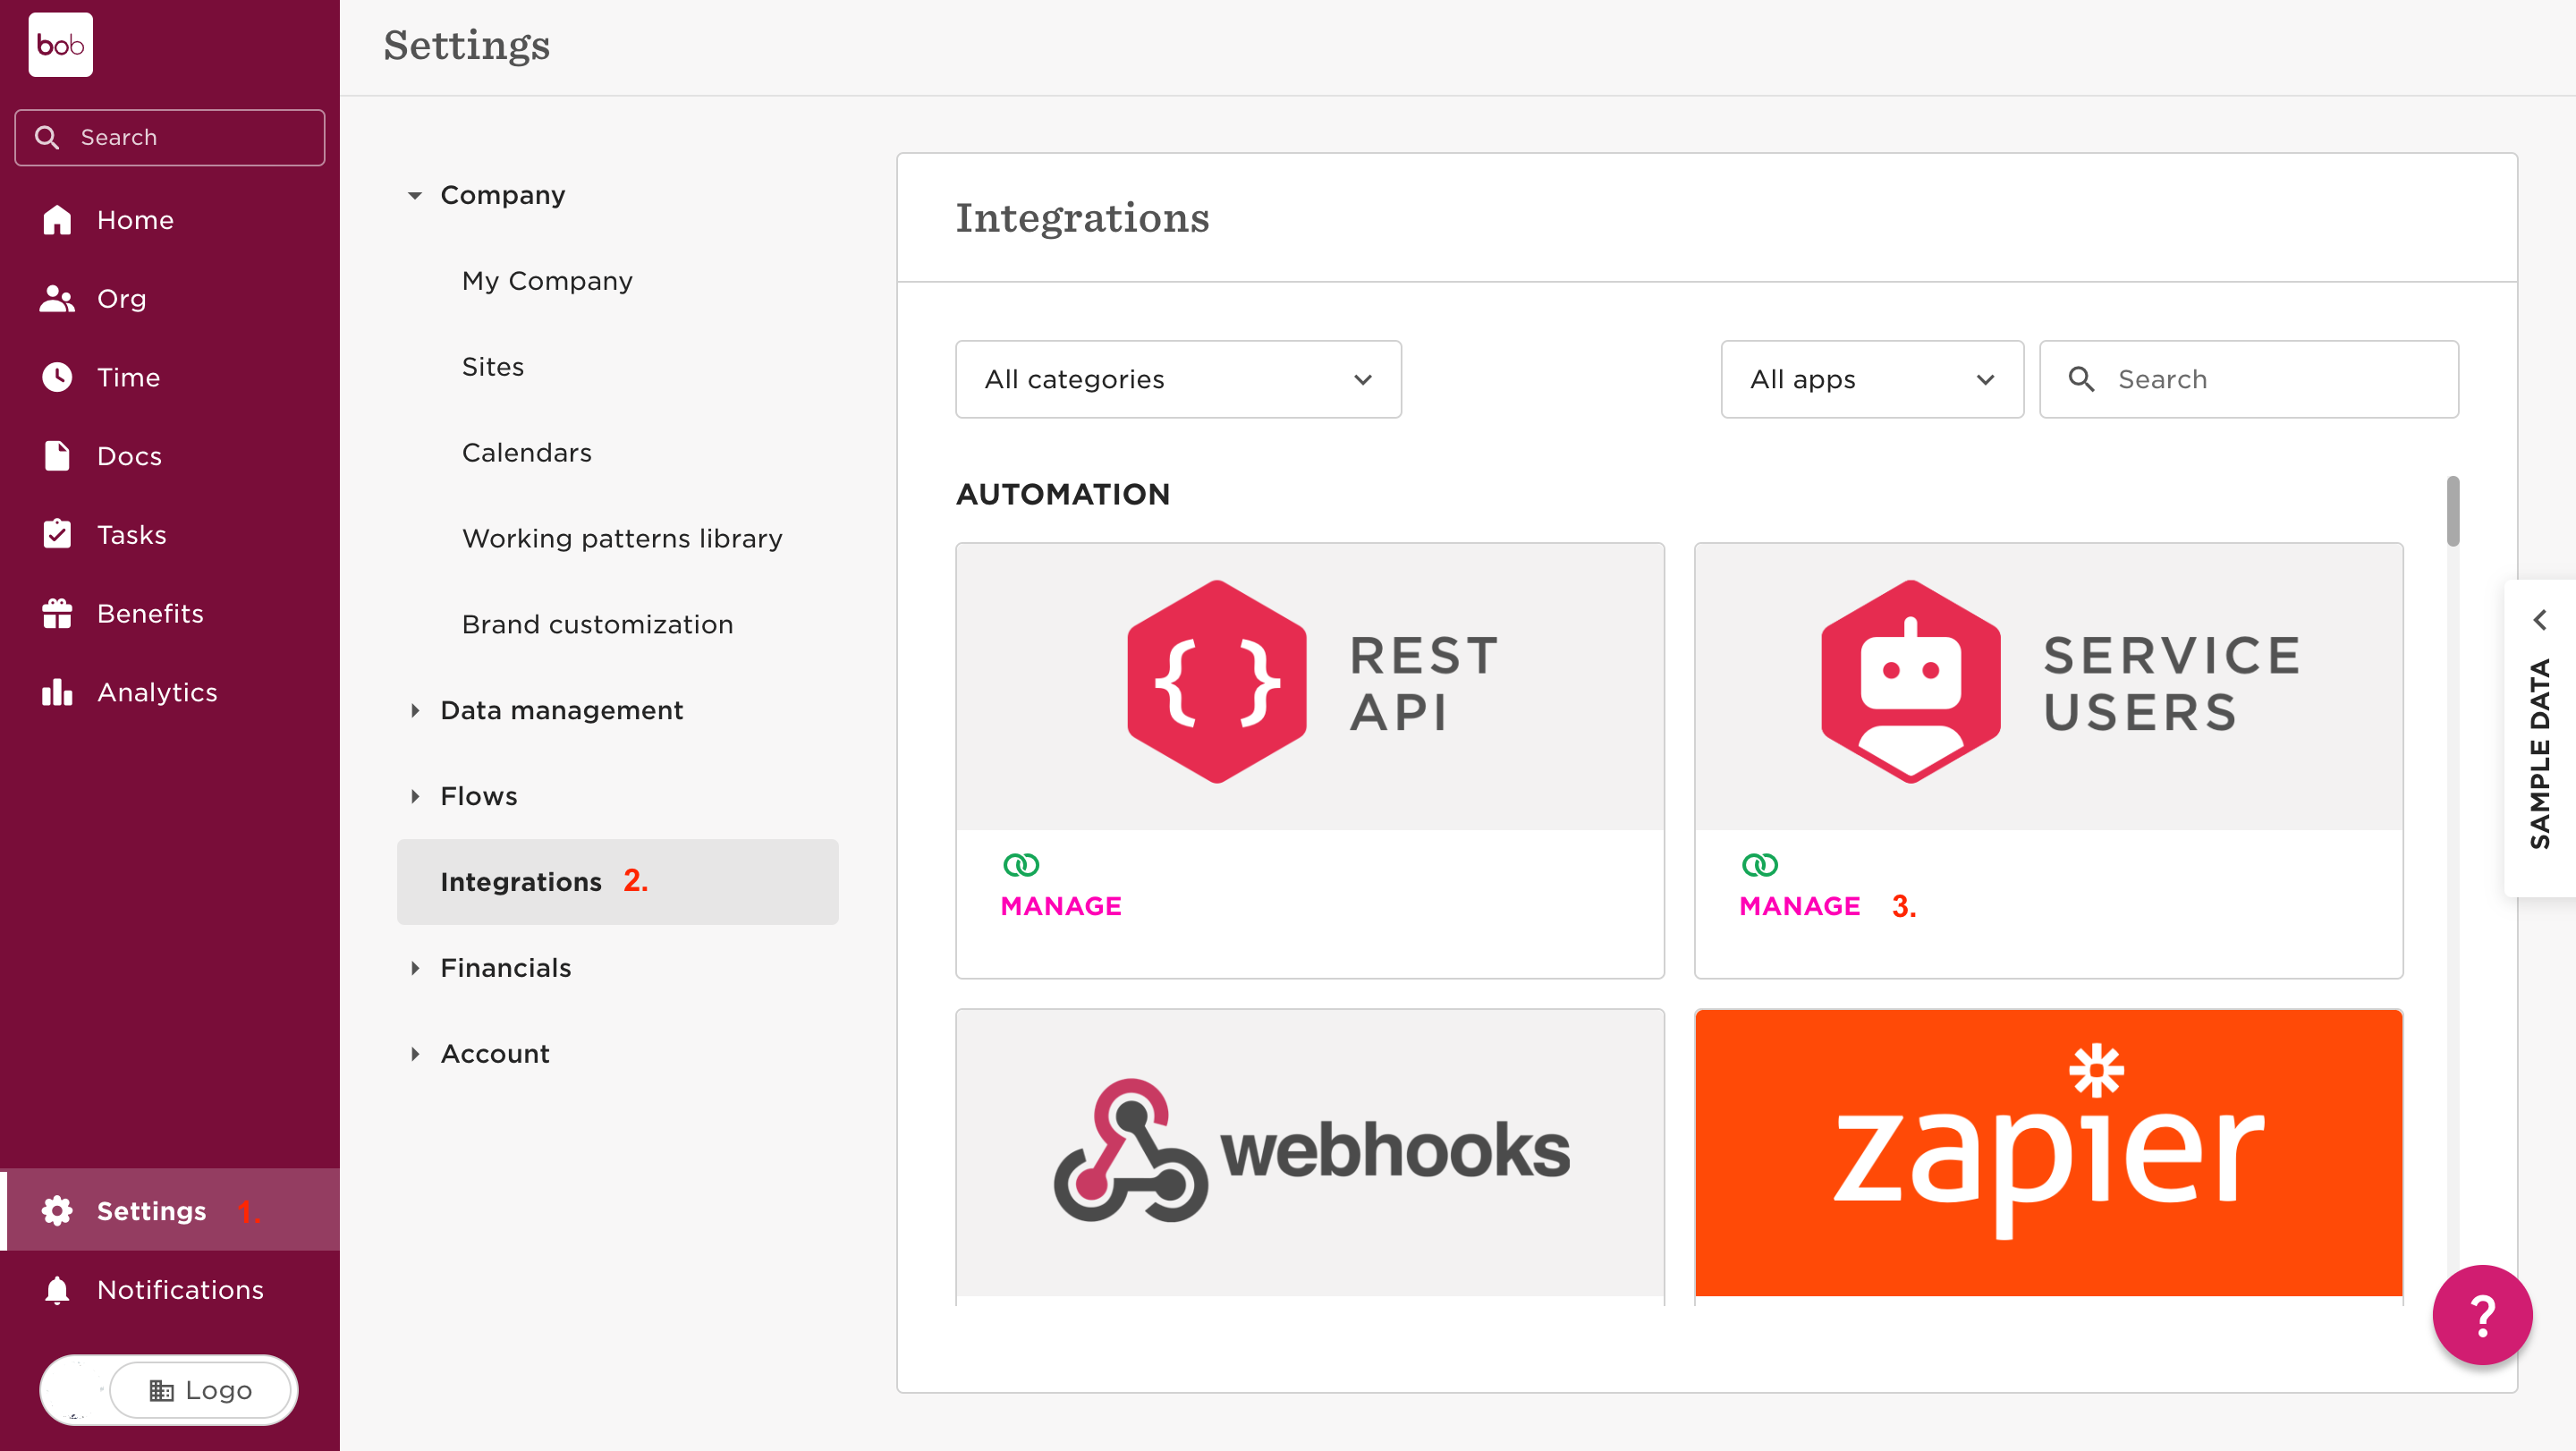
2
Create New Service User
Click on the New Service User button.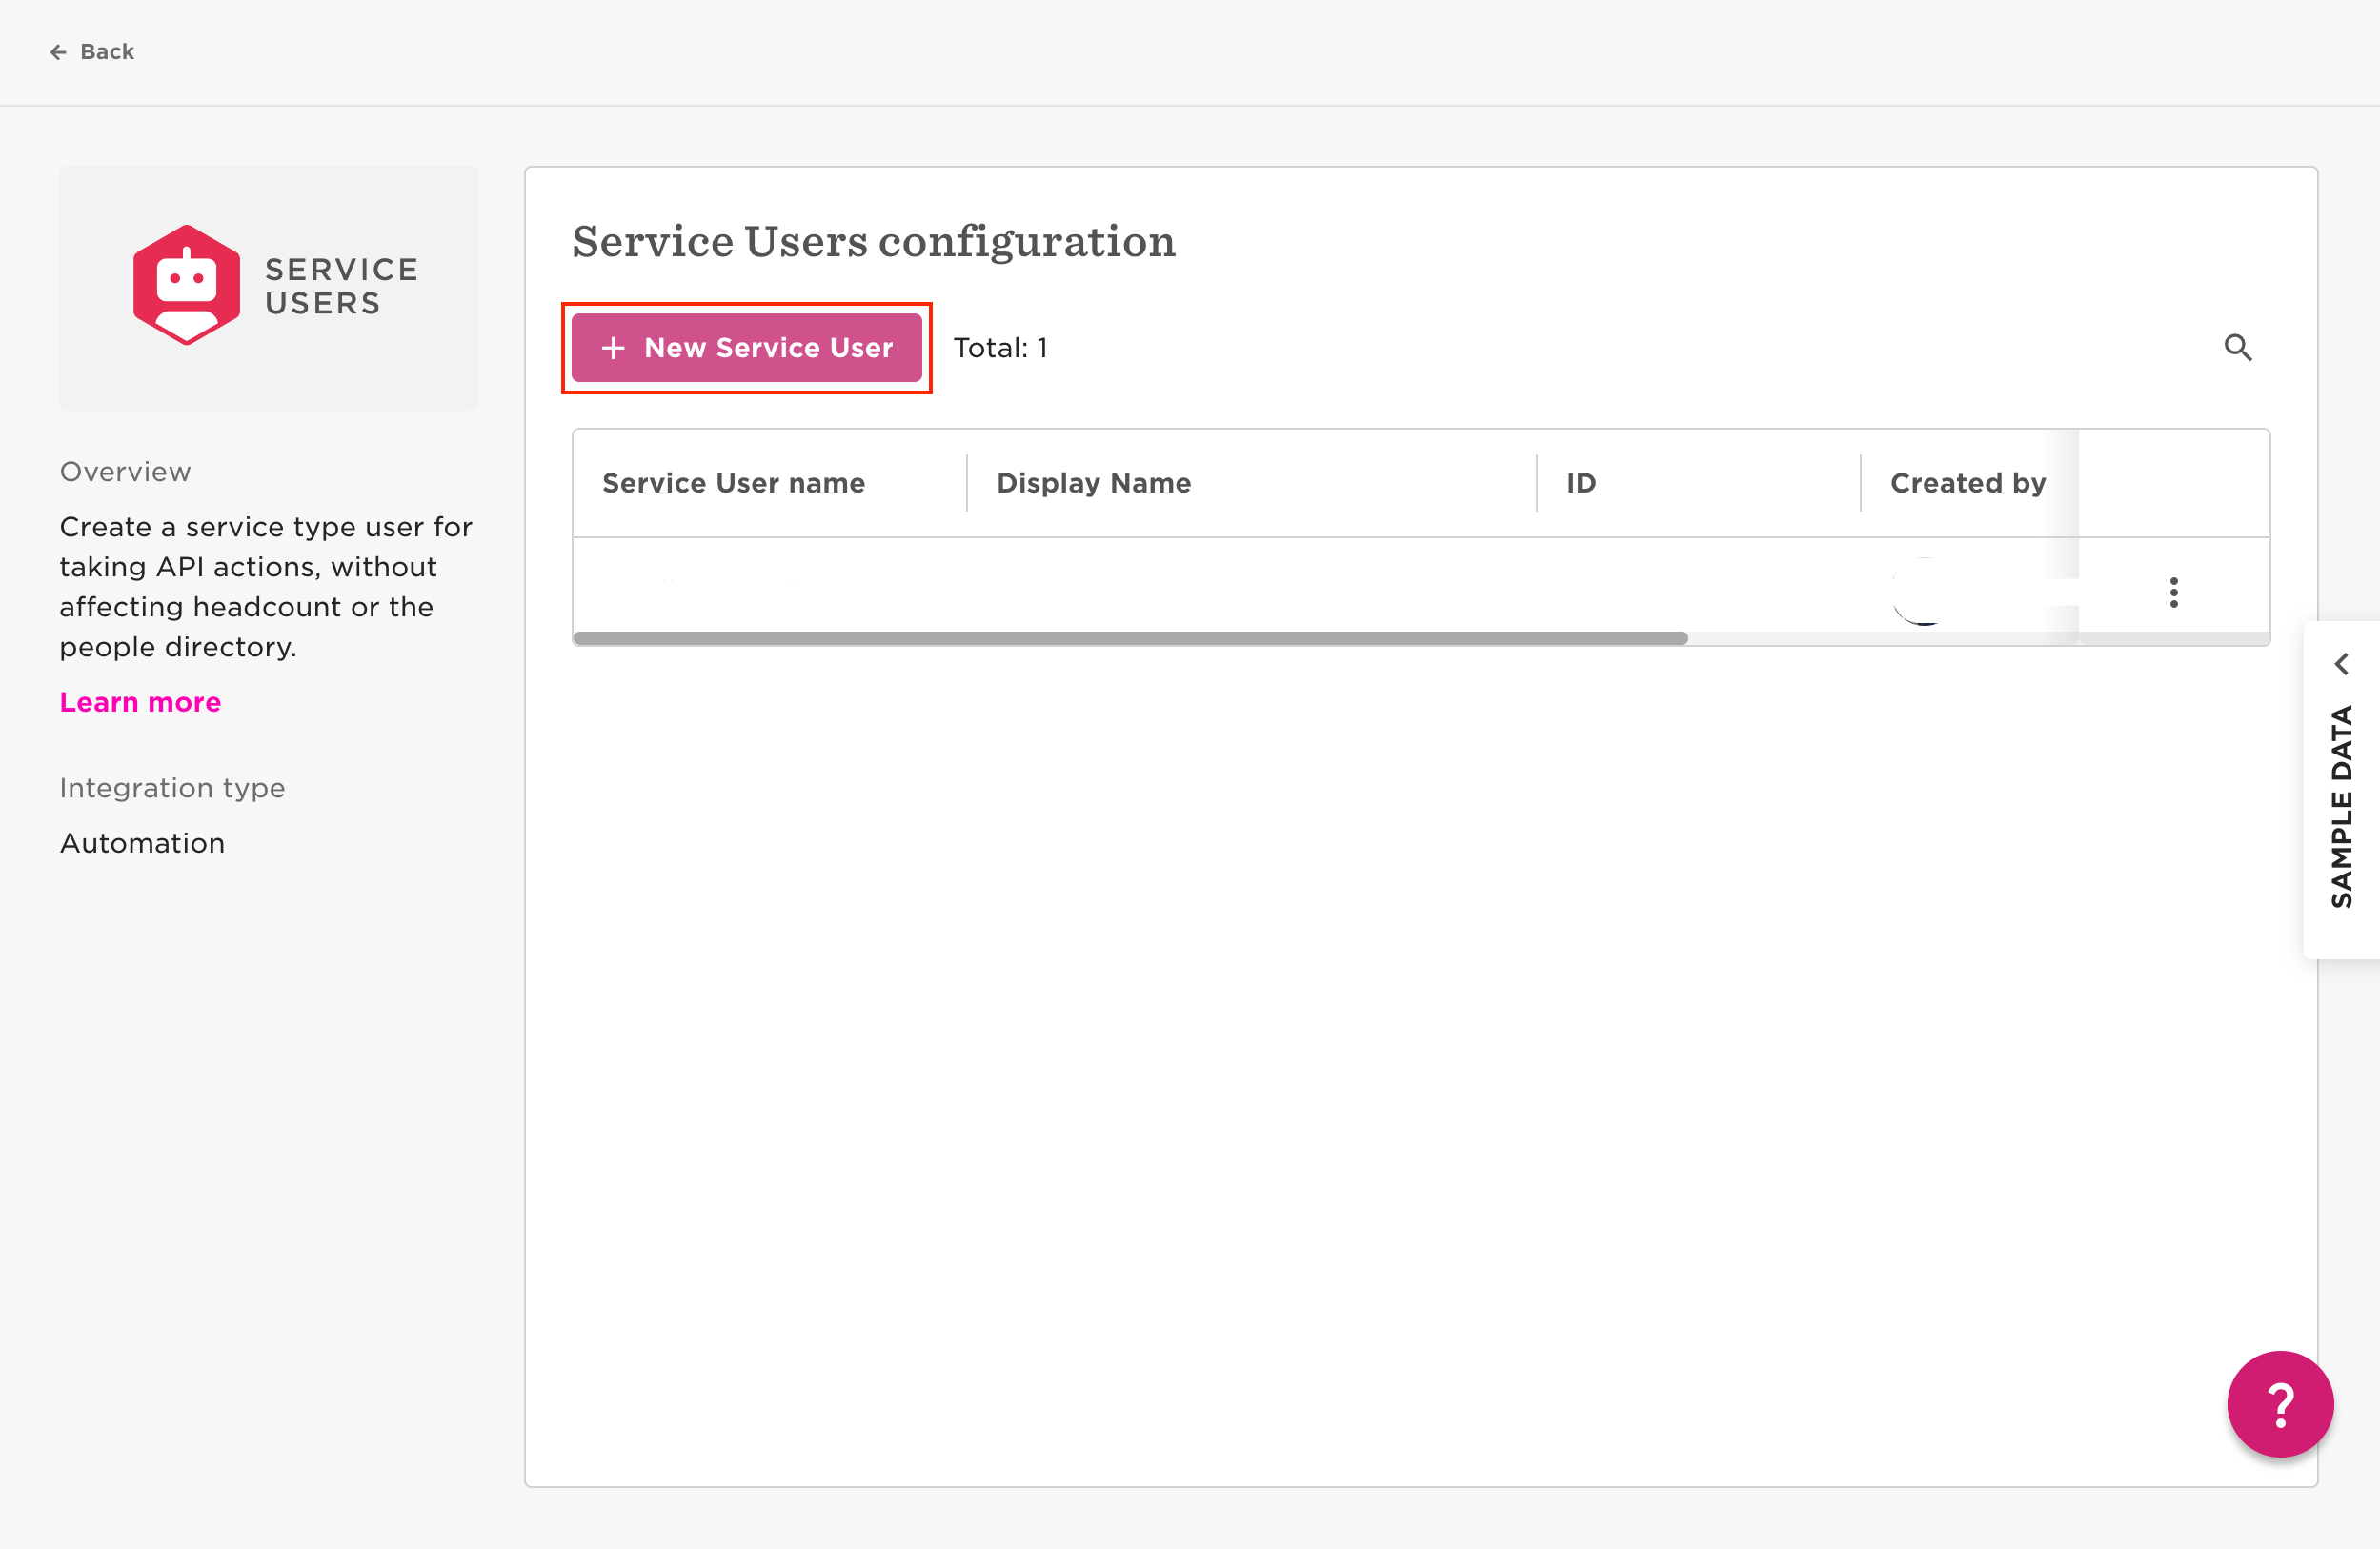
3
Fill in Details
Fill in the details with relevant information and click Next.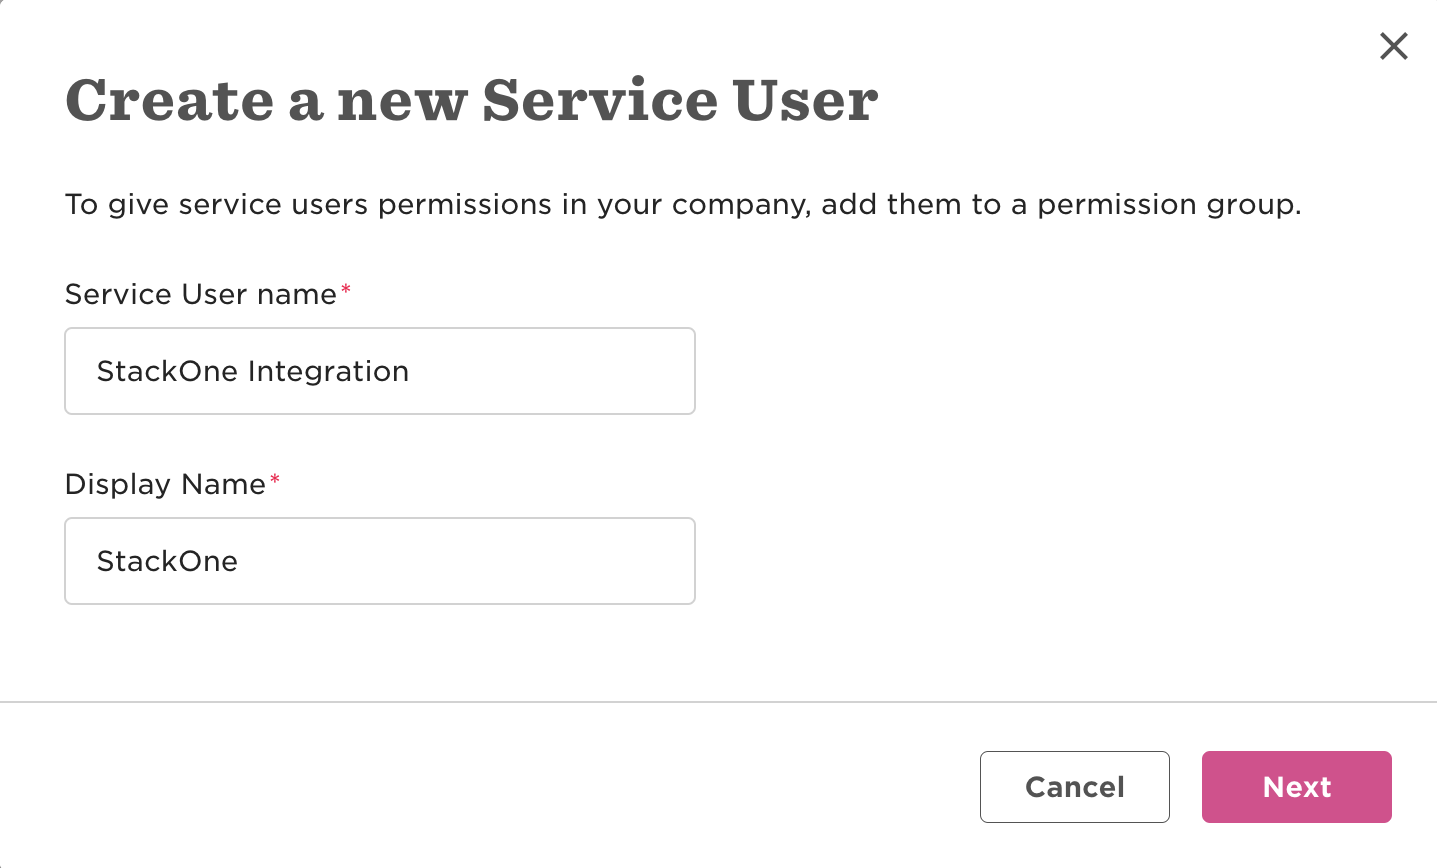
4
Copy Service User ID and Token
Copy Service User ID and Token to a safe place, since the token cannot be retrieved after this. However, the token can be reset and a new one created.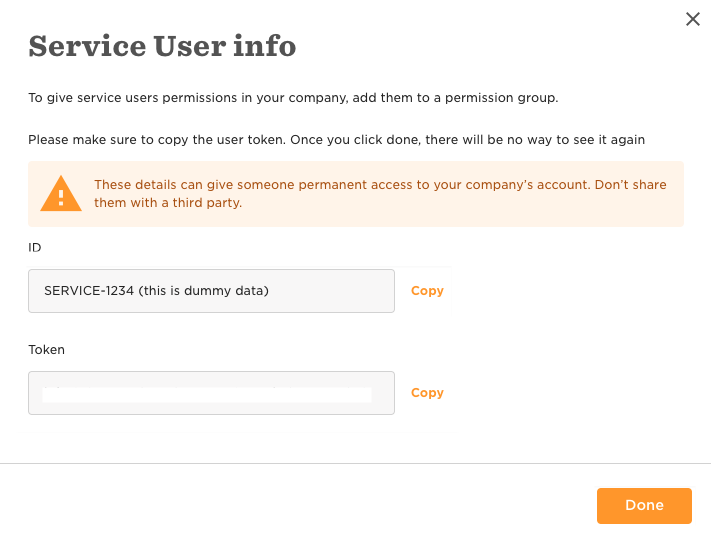
5
Finish Creation
Click Done and the Service User is created.
Access permissions for the Service User
The newly created Service User account has no access permissions, so you won’t be able to retrieve data. Creating Permissions Groups is an additional process that is best described by Hibob: Creating a Custom Permissions Group Once you have a permissions group for your service users, or already have a permissions group set up, you can add your new Service User to this group. Ensure the following are enabled: InFeatures tab
People
People
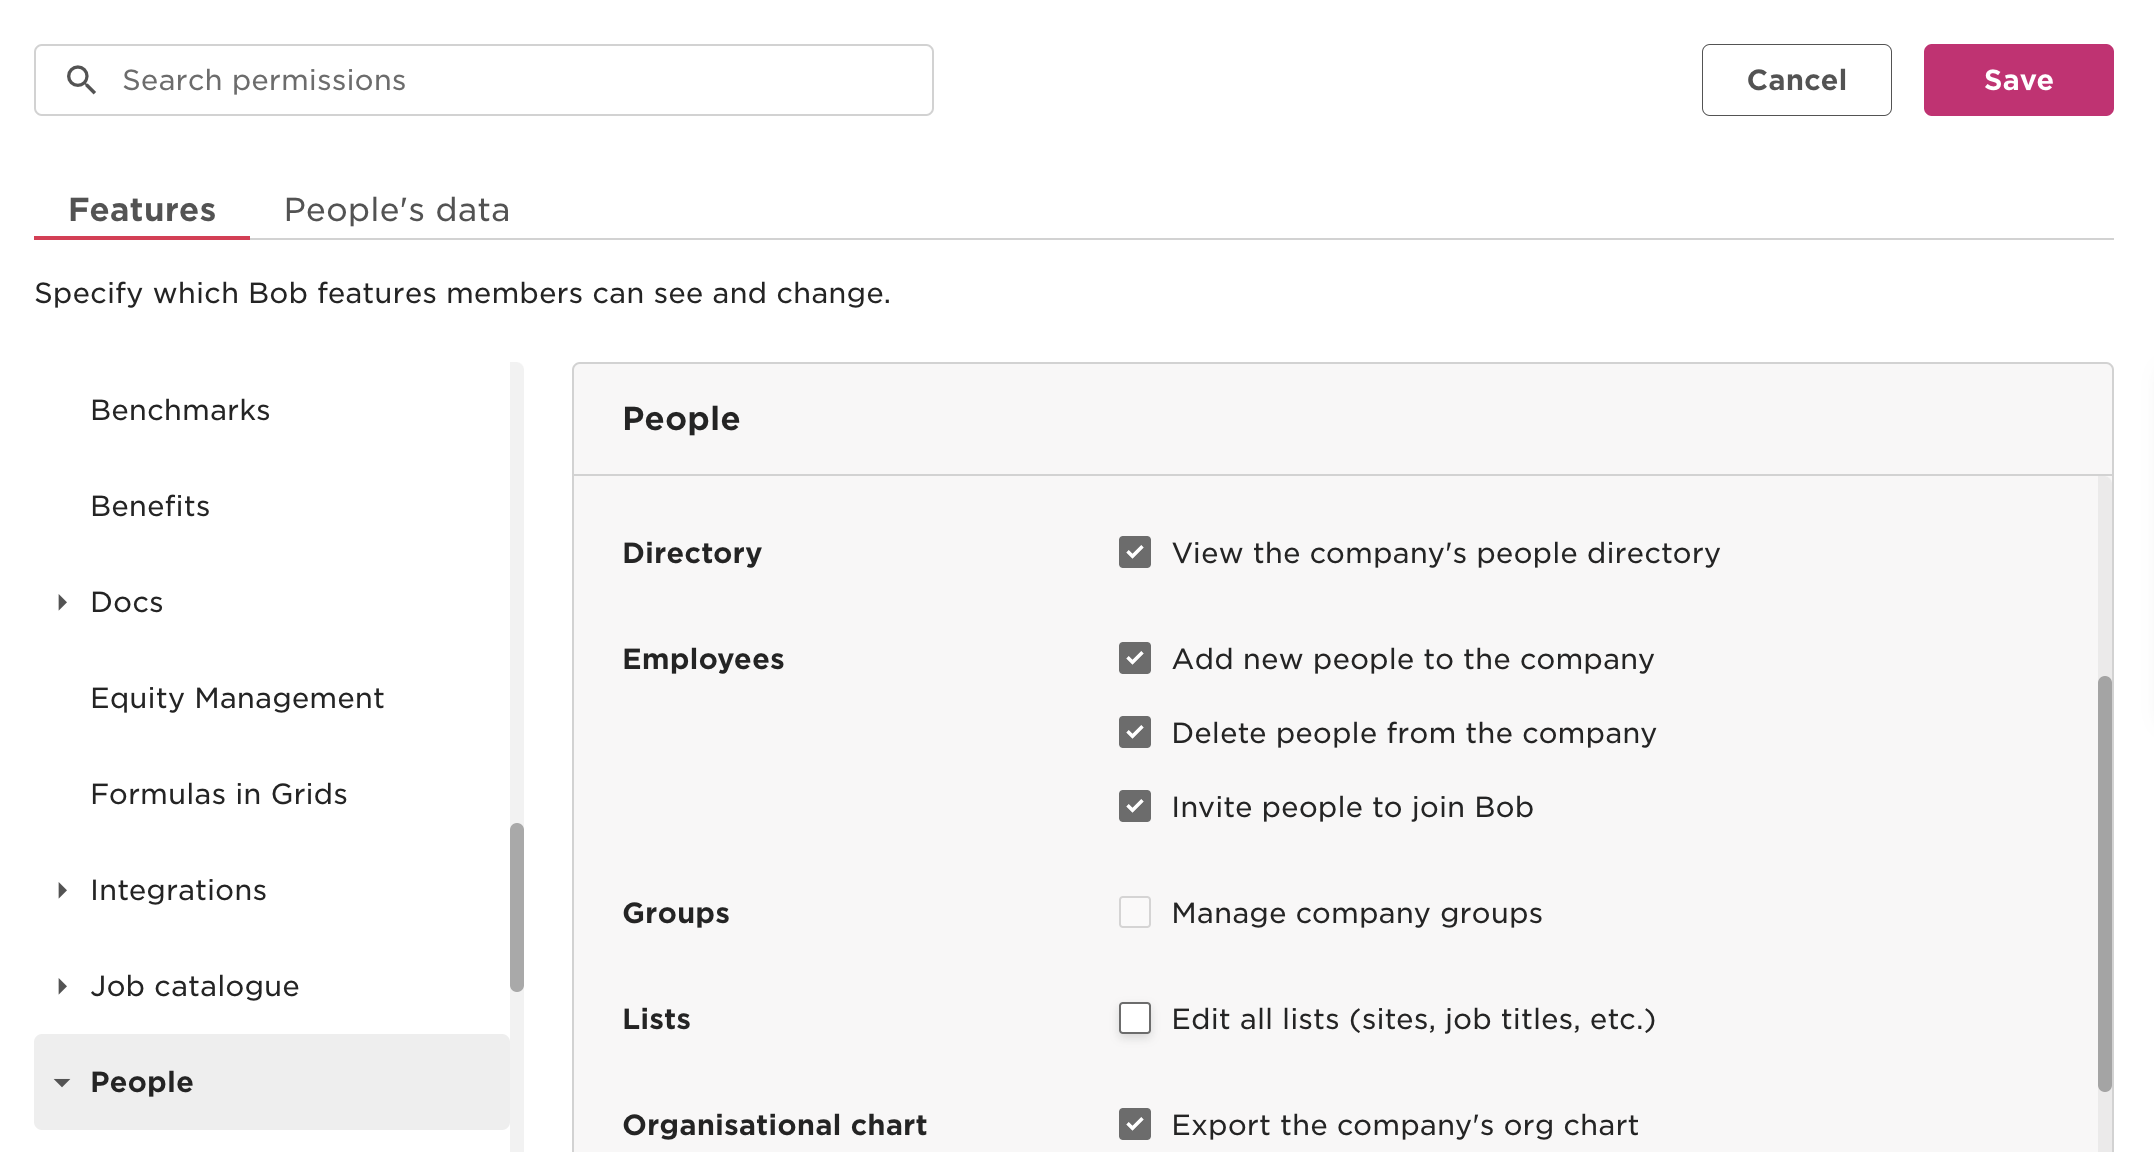
- Directory
- View the company’s people directory
- Employees
- Add new people to the company
- Organisational chart
- Export the company’s org chart
- View the company’s org chart
Time off
Time off
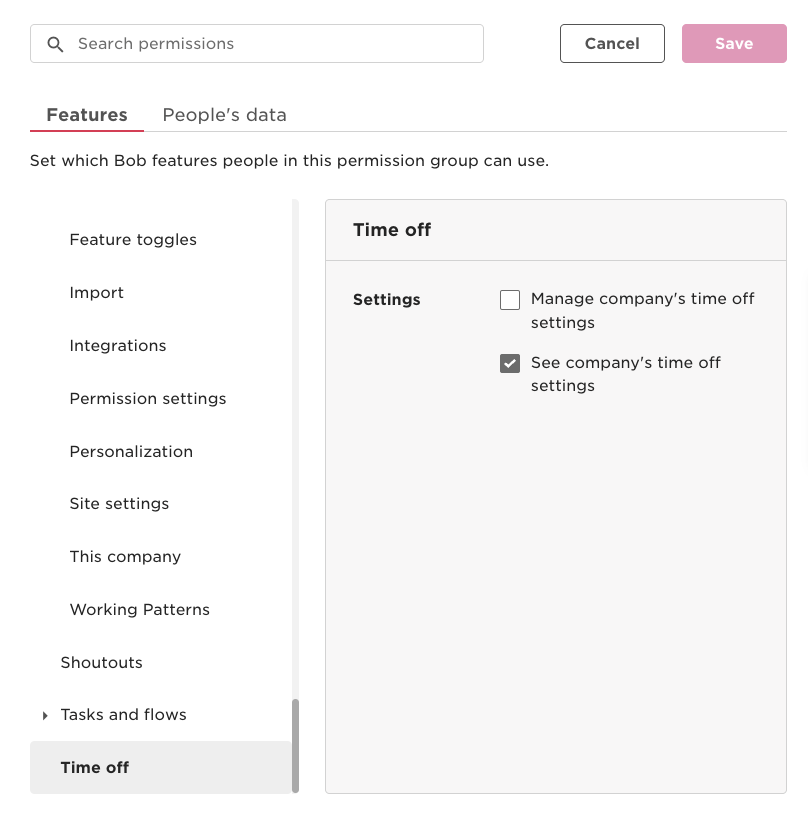
- Settings
- See company’s time off settings
Reports
Reports
- Reports
- View reports according to people’s data access rights
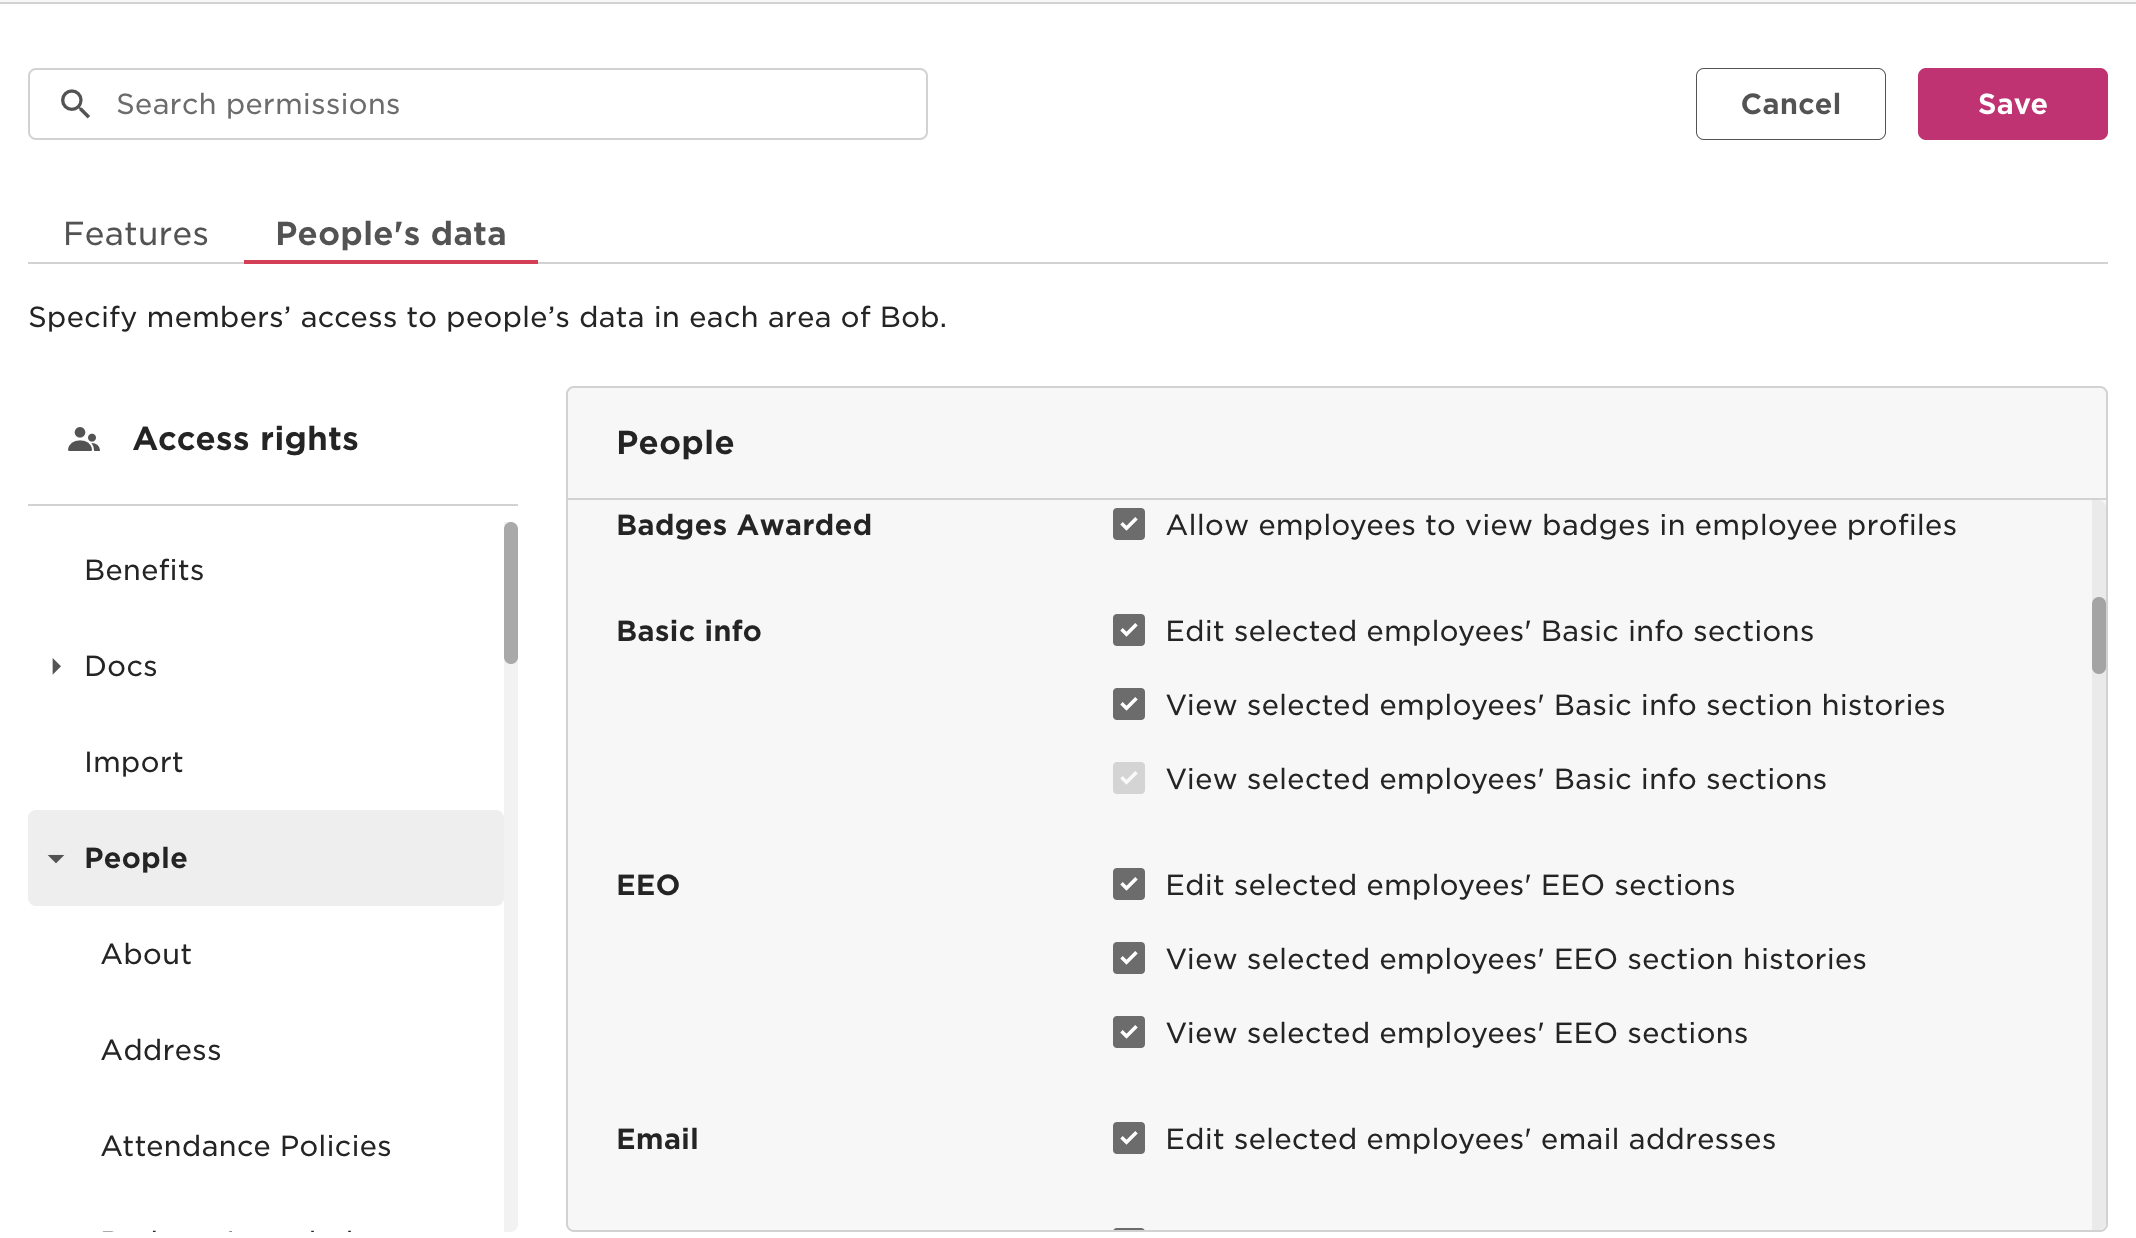
People's Data tab
People
People
- About
- Edit selected employees’ About sections
- View selected employees’ About sections
- Address
- Edit selected employees’ Address sections
- View selected employees’ Address section histories
- View selected employees’ Address sections
- Basic info
- Edit selected employees’ Basic info sections
- View selected employees’ Basic info sections
- EEO
- Edit selected employees’ EEO sections
- View selected employees’ EEO sections
- Email
- Edit selected employees’ email addresses
- Emergency
- Edit selected employees’ Emergency sections
- View selected employees’ Emergency sections
- Employment
- Edit selected employees’ Employment sections
- View selected employees’ Employment section histories
- View selected employees’ Employment sections
- History
- View selected employees’ profile changes history
- Home
- Edit selected employees’ Home sections
- View selected employees’ Home sections
- Identification
- Edit selected employees’ Identification sections
- View selected employees’ Identification section histories
- View selected employees’ Identification sections
- Jobs
- Edit selected employees’ Jobs sections
- View selected employees’ Jobs section histories
- View selected employees’ Jobs sections
- Lifecycle
- Edit selected employees’ Lifecycle sections
- View selected employees’ Lifecycle section histories
- View selected employees’ Lifecycle sections
- Payroll
- Edit selected employees’ Payroll sections
- View selected employees’ Payroll section histories
- View selected employees’ Payroll sections
- People analytics
- View selected employees’ People analytics section histories
- View selected employees’ People analytics sections
- Personal
- Edit selected employees’ Personal sections
- View selected employees’ Personal section histories
- View selected employees’ Personal sections
- Personal contact details
- Edit selected employees’ Personal contact details sections
- View selected employees’ Personal contact details sections
- Training
- Edit selected employees’ Training sections
- View selected employees’ Training sections
- User data
- Edit selected employees’ User data sections
- View selected employees’ User data sections
- Work
- Edit selected employees’ Work sections
- View selected employees’ Work section histories
- View selected employees’ Work sections
- Work contact details
- Edit selected employees’ Work contact details sections
- View selected employees’ Work contact details sections
- Work eligibility
- Edit selected employees’ Work eligibility sections
- View selected employees’ Work eligibility sections
Documents
Documents
- Confidential Docs
- Upload selected employees’ docs in the folder
- View selected employees’ docs in the folder
- Shared Docs
- Upload selected employees’ docs in the folder
- View selected employees’ docs in the folder
Time off
Time off
- Balance
- Bank overtime on behalf of their employees
- See selected people’s time off and sick leave balances
- Requests
- View, approve or decline requests that are pending approval of others
- See who’s out today
- See who’s out today
The permissions above do not include Custom Fields configured in your Account. Please make sure to grant View and/or Edit permissions for all Custom Fields to be included in this integration.
1
Navigate to Permissions Groups
Go to Settings in the left menu and click Permissions Groups under the Account heading. Click on the group you have made for your Service Users.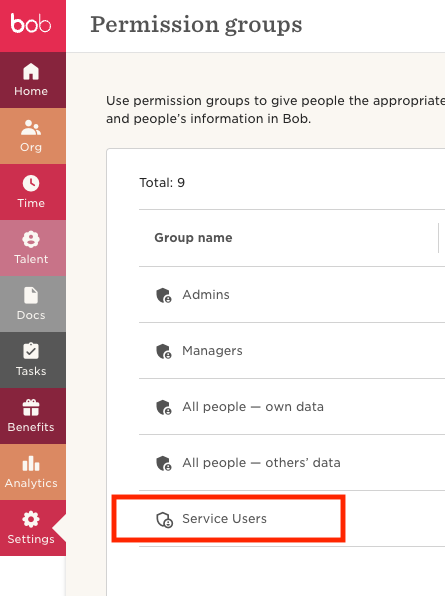
2
Edit Permissions Group
In the permissions group page, click the Group Actions dropdown and select Edit Details from the list; this will open a new modal.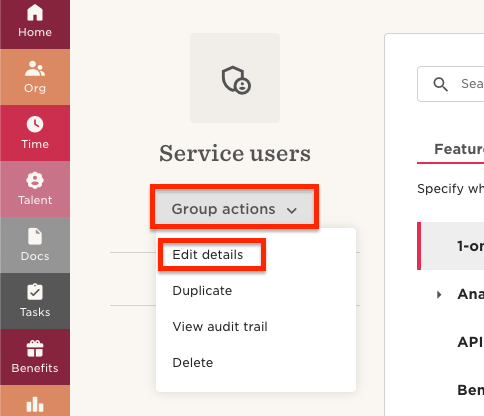
3
Select People By Condition
If you’re updating an existing Group, you may not want to change the setting in the radio button selection. But if it is a new group, click Select People By Condition; if it is already selected, continue.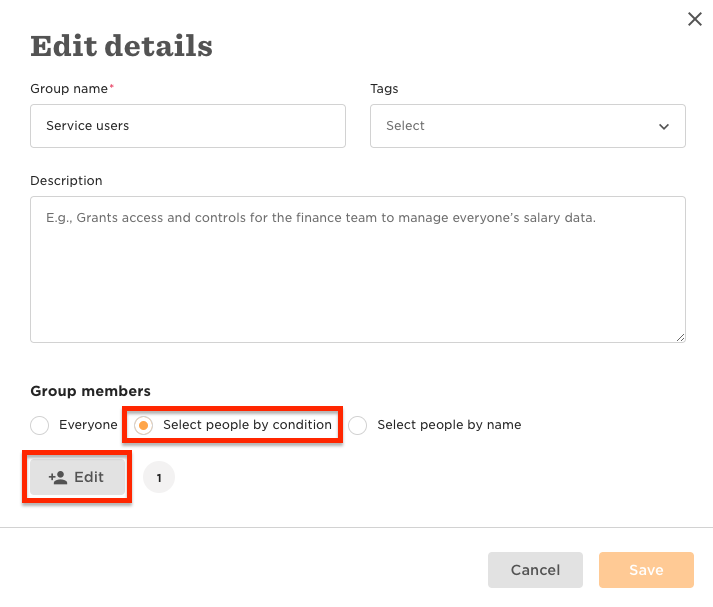
4
Add Specific Employees
Once the new modal has opened titled Select People By Condition, click the dropdown under Add Specific Employees. You can select all Service Users or individually as required, then click Apply and Apply again and finally Save.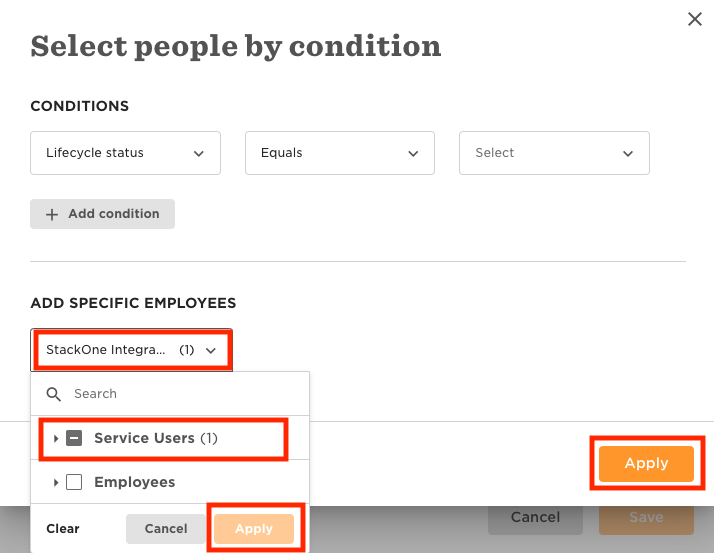
Link your Hibob account with StackOne
Use the Service User ID and the Service User Token generated in Step 1 to authenticate using the Service User account.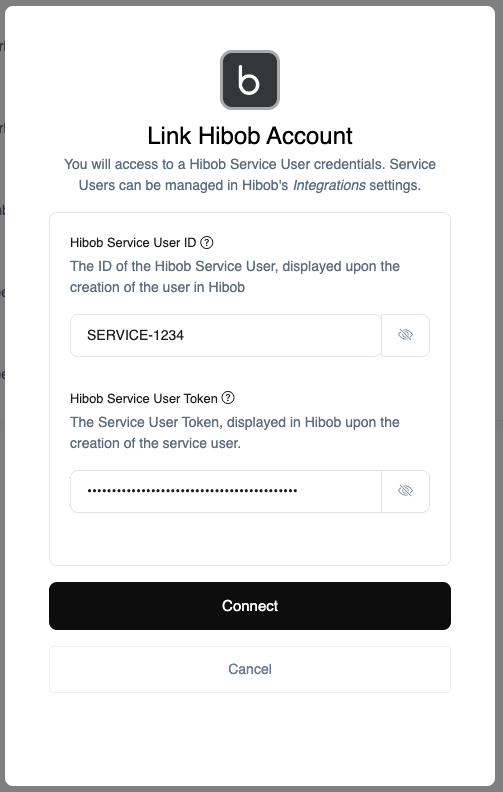
Configure Webhooks
To enable real-time data synchronization with time-off events, you need to configure webhooks in Hibob using the External Trigger Token provided by StackOne. For detailed instructions on configuring webhooks, see our Hibob Webhook Configuration Guide.Testing Your Webhook
To check if a webhook is working correctly:- From the Webhooks list, locate the webhook you want to test
- From the three-dot menu at the end of the row, select Test
- The test will send a test event to the URL you provided with the “Ping test” string