Get Your Netlify Account Slug
Log in to Netlify
Log in to your Netlify account. Your Account Slug is visible in the URL.Given the URL:
https://app.netlify.com/teams/user-12abcde/settings, the Account Slug is user-12abcde.Get Your Netlify Personal Access Token
Open User Settings
In your Netlify account, click your profile icon in the top right, then click User settings.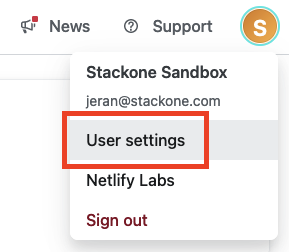
Create New Access Token
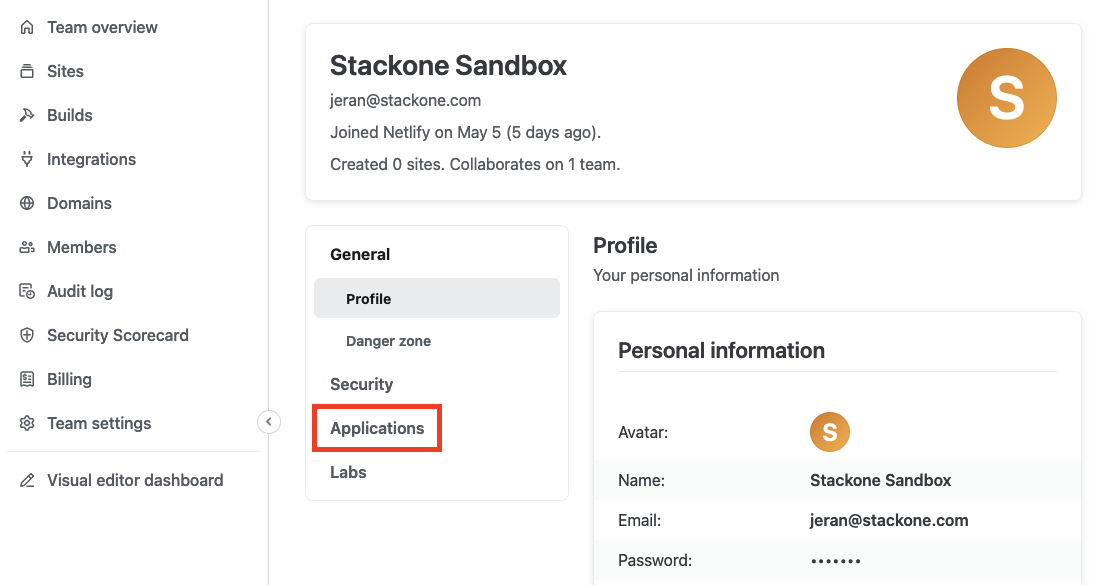
Scroll down to Personal access tokens and click the New access token button.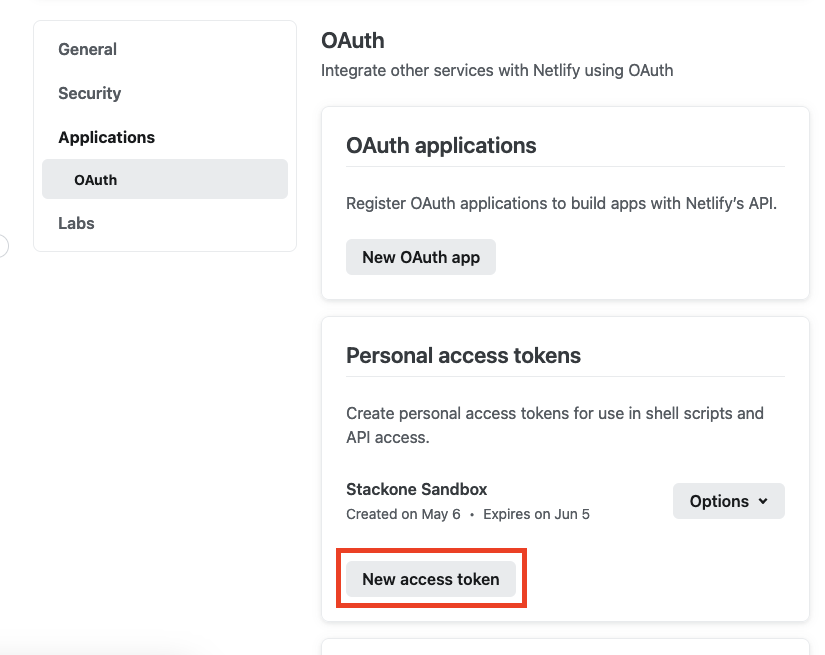
Enter Token Details
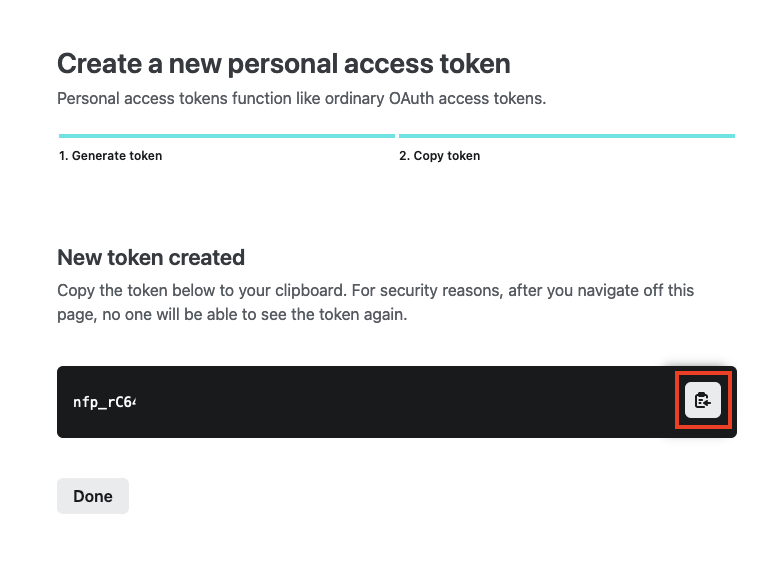
Under Create a new personal access token, enter a Description and Expiration Date for the new token. Then click the Generate token button.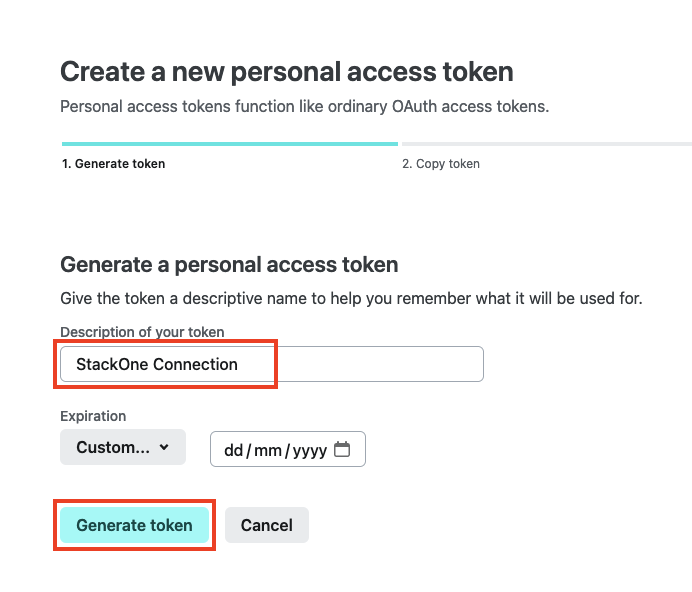
Connecting with StackOne
Enter Credentials
Upon reaching the Link Account page, enter your Account Slug and Personal Access Token from the previous steps.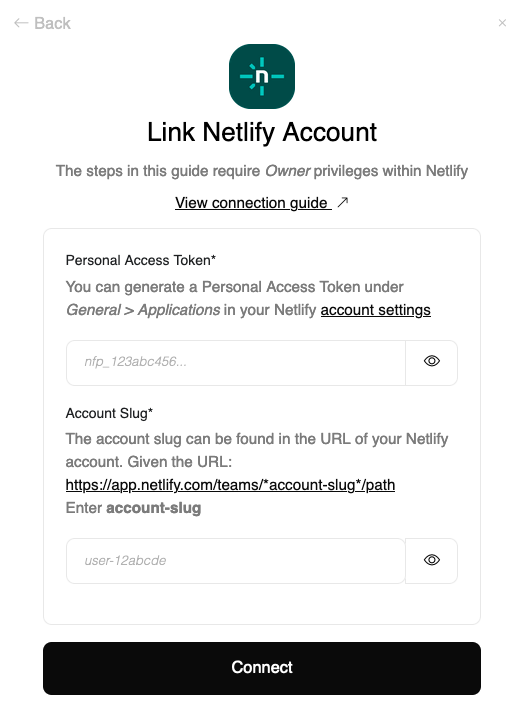
Congratulations, you’re all set! If you face any issues with the steps mentioned above, please contact us by emailing integrations@stackone.com. We’re always here to assist you!
Available data
This integration has the following IAM Resources available from the provider:- Users
- Roles