> ## Documentation Index
> Fetch the complete documentation index at: https://hub.stackone.com/llms.txt
> Use this file to discover all available pages before exploring further.
# LastPass
> Follow these steps to connect LastPass via the StackOne Hub successfully.
Ensure you have Admin privileges for your LastPass Enterprise account.
If you've been directed to StackOne to integrate with LastPass, the following steps will help you understand the process and any necessary actions to configure successful integration.
## Get your LastPass CID (Account Number)
Log in to your LastPass Admin Console at [https://admin.lastpass.com](https://admin.lastpass.com)
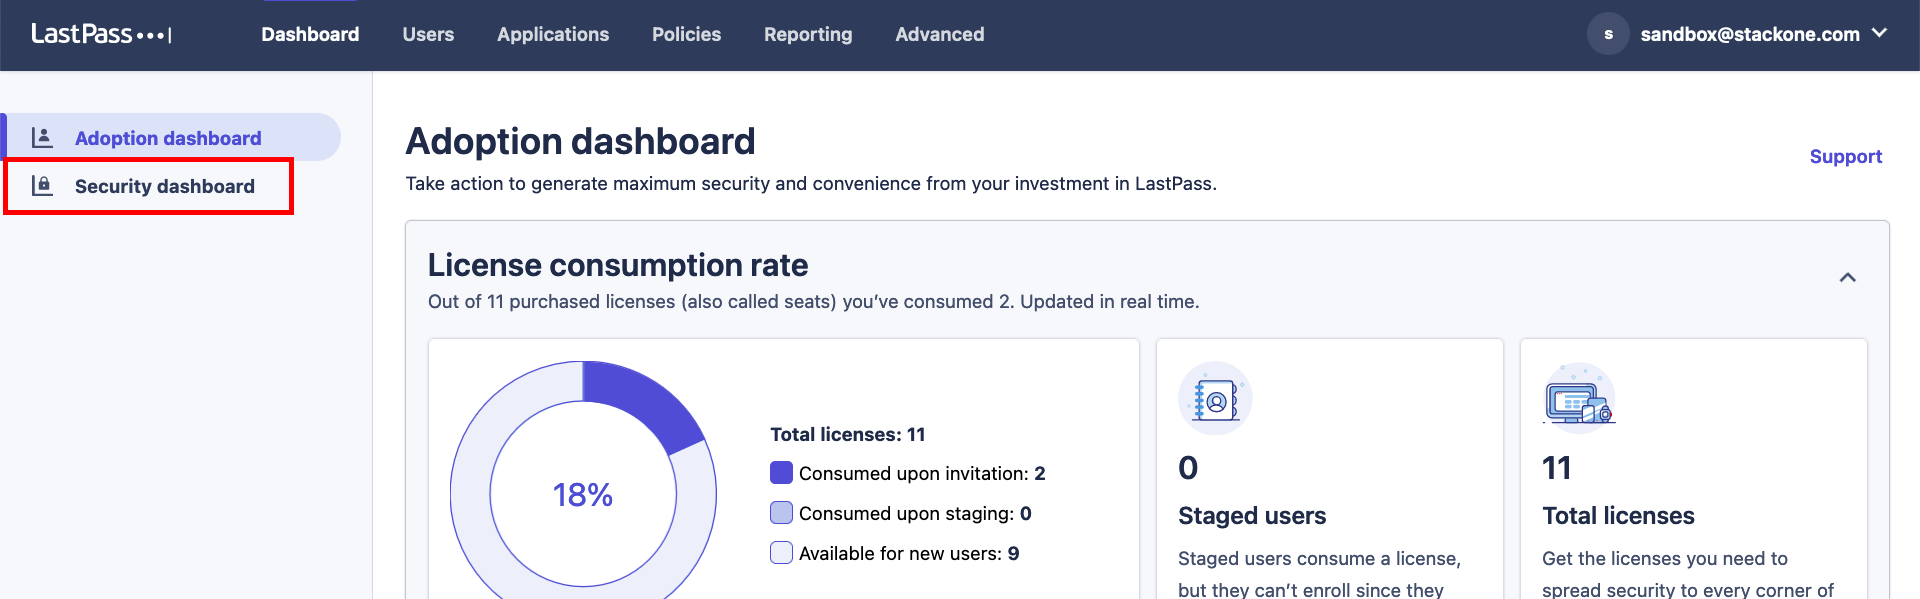
On the left, click Security dashboard.
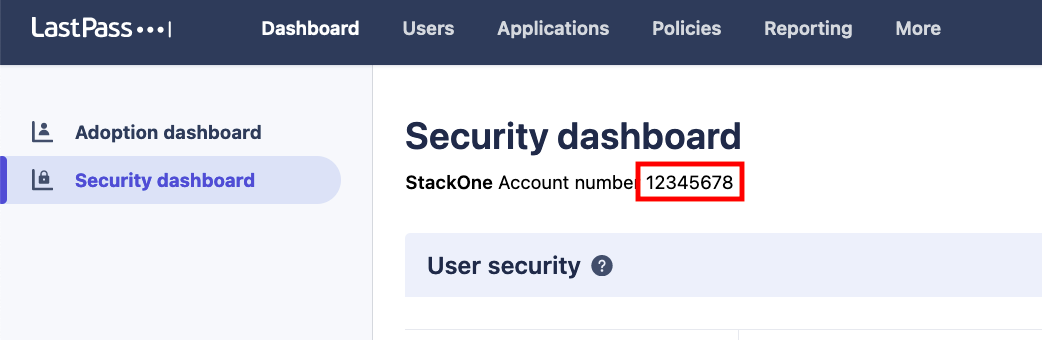
 In the Security Dashboard, your CID is located next to "Account number". Store this safely.
 ## Get your LastPass Provisioning Hash
This token is required for accessing the LastPass Enterprise API.
Within the Admin Console, click Advanced in the top navigation.
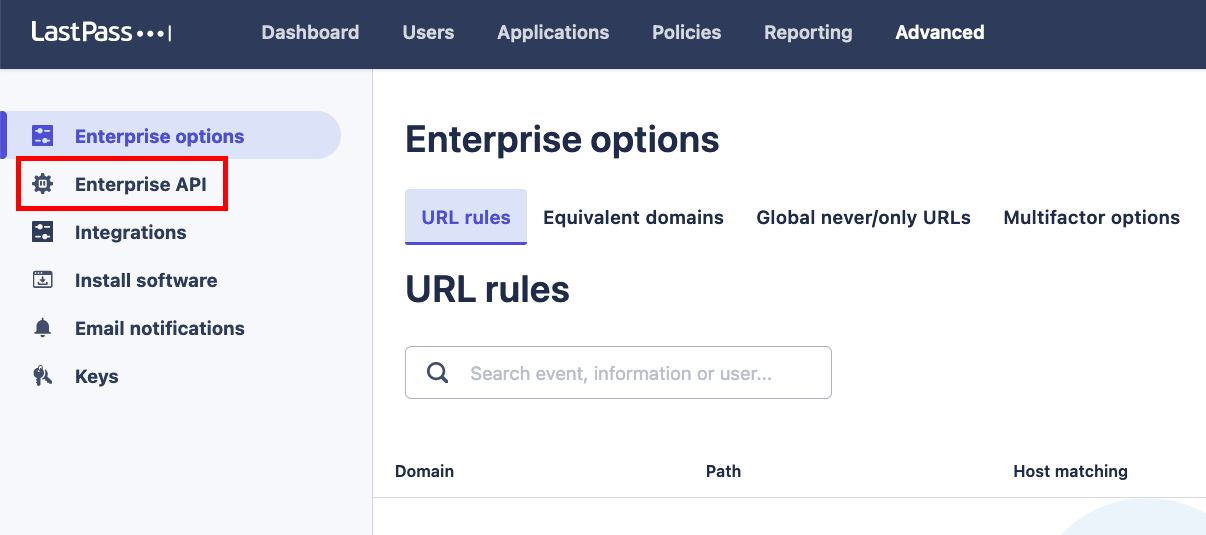
On the left, click Enterprise API.
## Get your LastPass Provisioning Hash
This token is required for accessing the LastPass Enterprise API.
Within the Admin Console, click Advanced in the top navigation.
On the left, click Enterprise API.
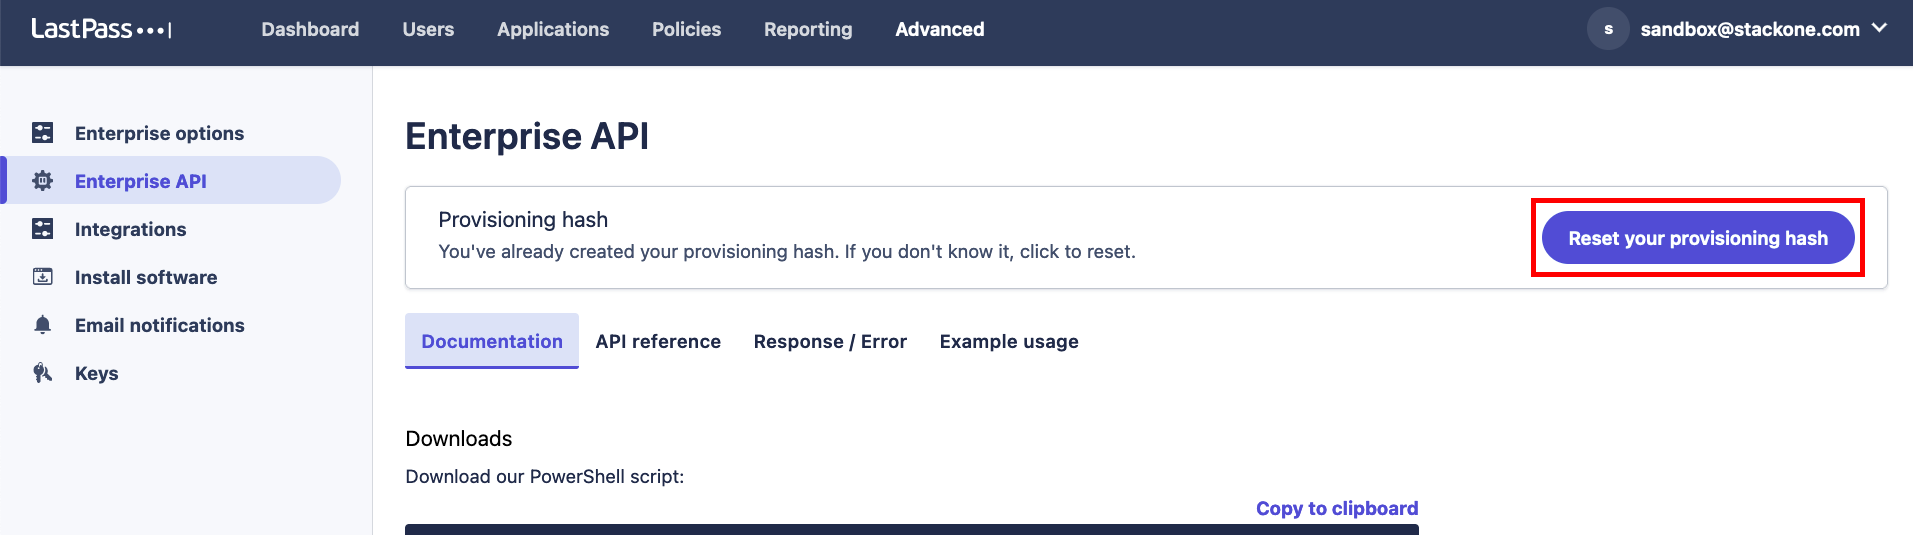
 Click the Create your provisioning hash button. If this hash has already been generated but is lost, click the Reset your provisioning hash button.
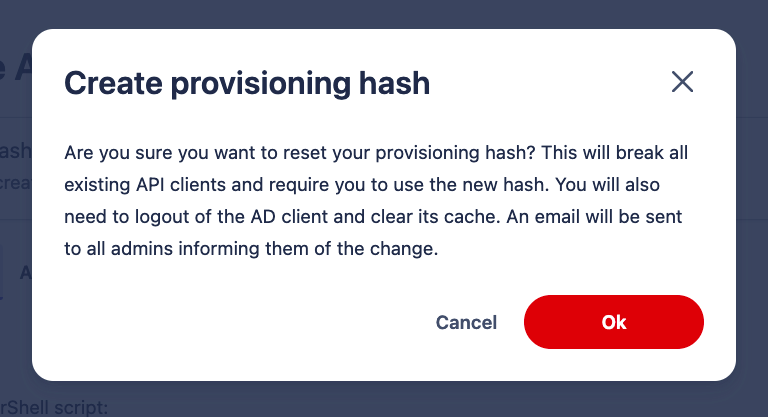
 If resetting the hash, a warning message will appear. Click Ok to proceed.
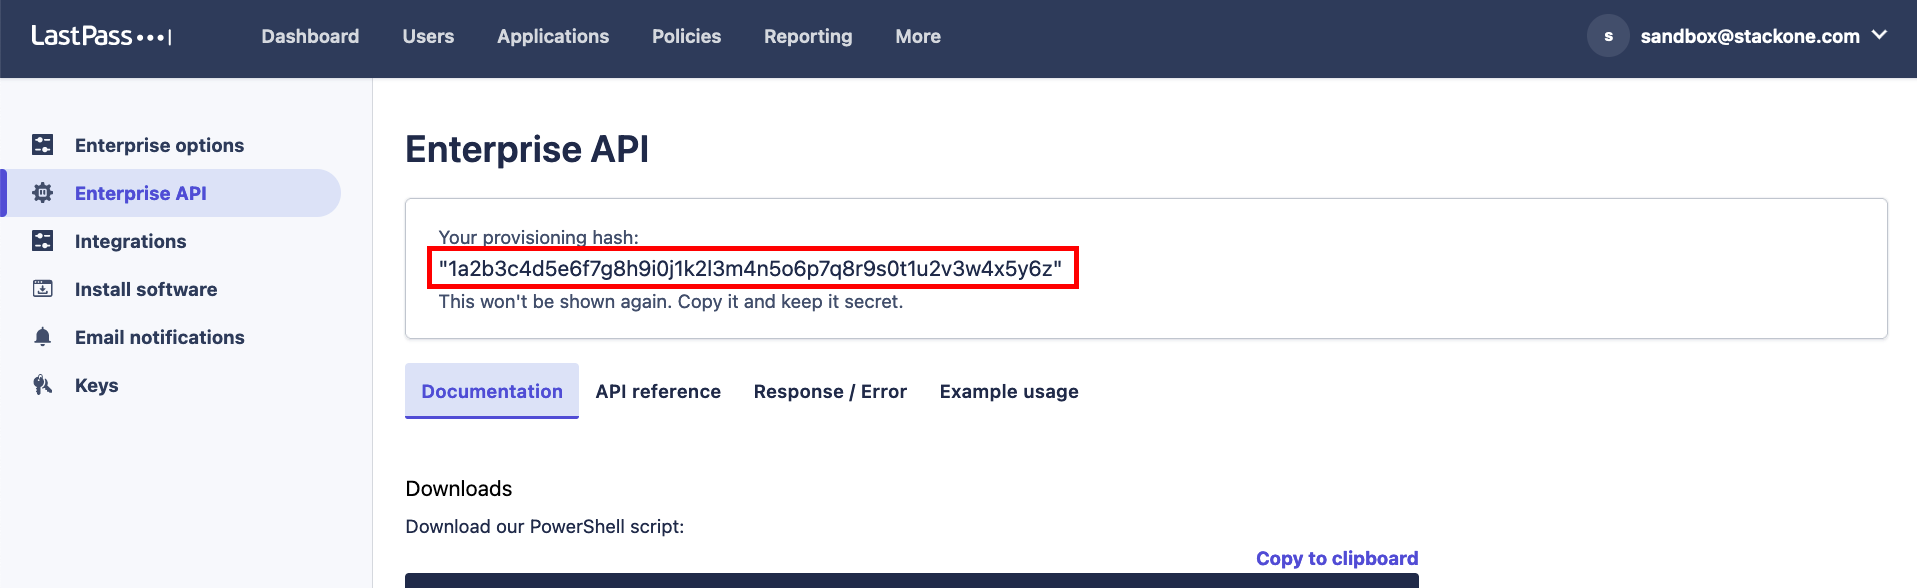
 Your new provisioning hash will be displayed only once. Copy and store it safely.
 ## Connecting to StackOne
Upon reaching the Link Account page, enter your CID (Account Number) and Provisioning Hash from the previous steps.
## Connecting to StackOne
Upon reaching the Link Account page, enter your CID (Account Number) and Provisioning Hash from the previous steps.
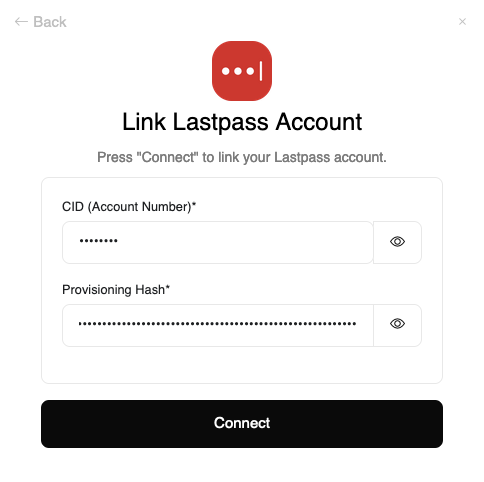 Proceed by clicking the Connect button.
## Available data
This integration has the following [IAM Resources](https://docs.stackone.com/reference/iam_list_users) available from the provider:
Proceed by clicking the Connect button.
## Available data
This integration has the following [IAM Resources](https://docs.stackone.com/reference/iam_list_users) available from the provider:
- Users
- Roles
- Groups
- Policies
## Useful Links
[https://support.lastpass.com/s/document-item?language=en\_US\&bundleId=lastpass\&topicId=LastPass/use-provisioning-api.html&\_LANG=enus](https://support.lastpass.com/s/document-item?language=en_US\&bundleId=lastpass\&topicId=LastPass/use-provisioning-api.html&_LANG=enus)