Intercom
Follow these steps to connect Intercom via the StackOne Hub successfully.
Ensure you have Admin privileges within your Intercom account.
If you’ve been directed to StackOne to integrate with Intercom, the following steps will help you understand the process and any necessary actions to configure successful integration.
This guidance assumes that you are an Intercom Admin.
Get Your Intercom Access Token
This connection will be authenticated on behalf of a Private Intercom App you will create in your Intercom Developer Hub.
Log in to Developer Hub
Log in to your Intercom Developer Hub to view Your apps.
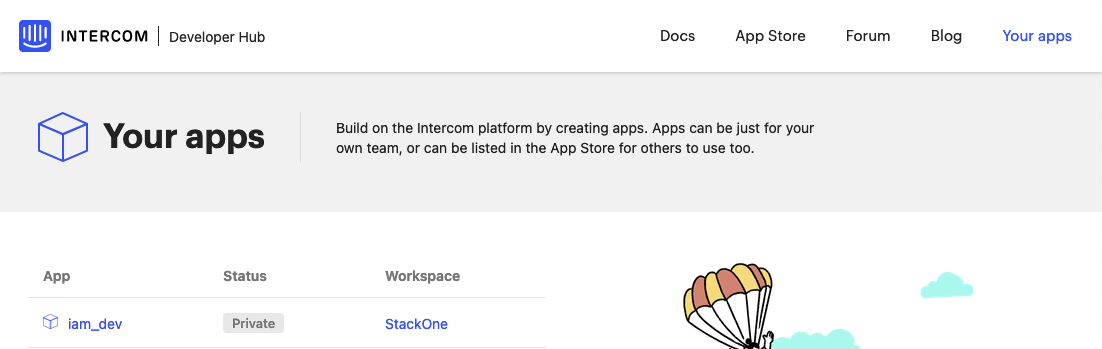
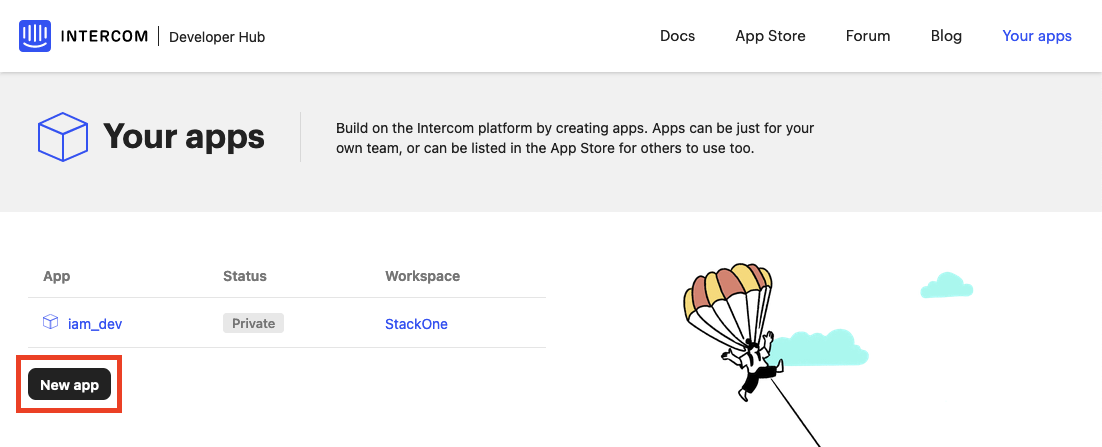
![Developer Hub](https://mintlify.s3-us-west-1.amazonaws.com/stackone-hub/images/intercom/image1.png)
Create a New App
Click the New app button.
![New App Button](https://mintlify.s3-us-west-1.amazonaws.com/stackone-hub/images/intercom/image2.png)
Enter App Details
Under New app, enter the new App name and ensure the correct Workspace is selected.
![App Details](https://mintlify.s3-us-west-1.amazonaws.com/stackone-hub/images/intercom/image3.png)
Create App
Click the Create app button to proceed.
Copy Access Token
Your new App’s Access token will be listed under Authentication. Copy your Access token and store it safely.
![Access Token](https://mintlify.s3-us-west-1.amazonaws.com/stackone-hub/images/intercom/image4.png)
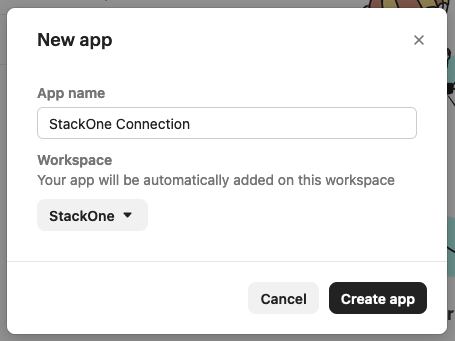
Connecting with StackOne
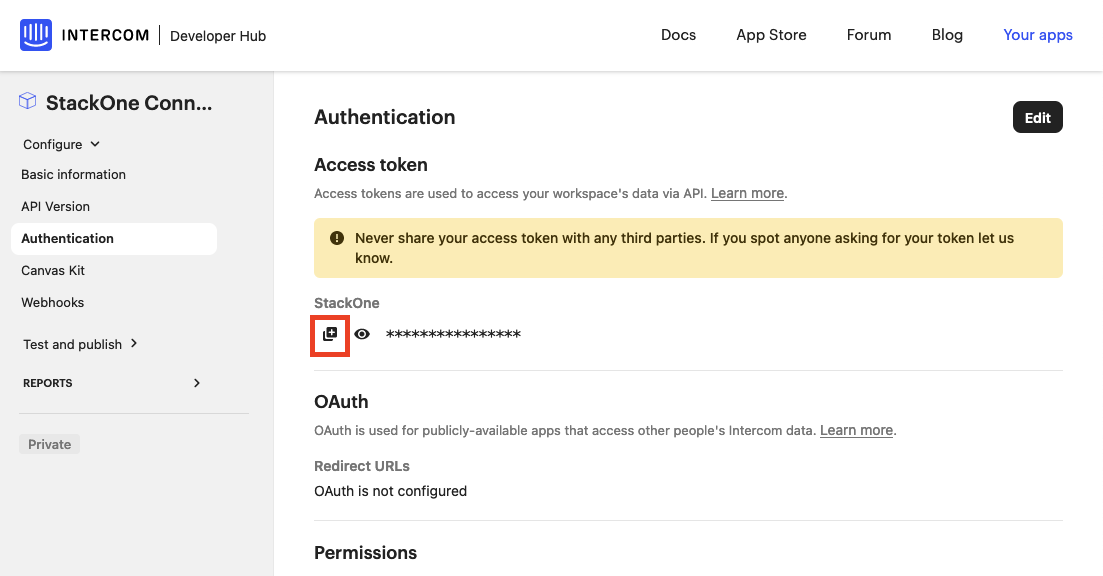
Enter Access Token
Upon reaching the Link Account page, enter your Access Token from the previous step.
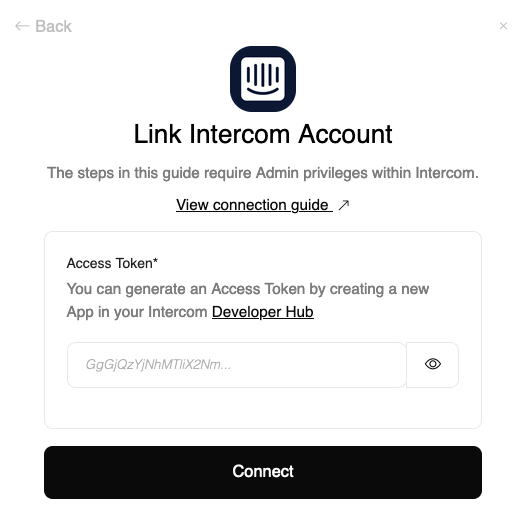
![Link Account](https://mintlify.s3-us-west-1.amazonaws.com/stackone-hub/images/intercom/image5.png)
Connect
Proceed by clicking the Connect button.
Congratulations, you’re all set! If you face any issues with the steps mentioned above, please contact us by emailing integrations@stackone.com. We’re always here to assist you!