Log in to Google Workspace
Log in to your Google Workspace Admin at https://admin.google.com/login
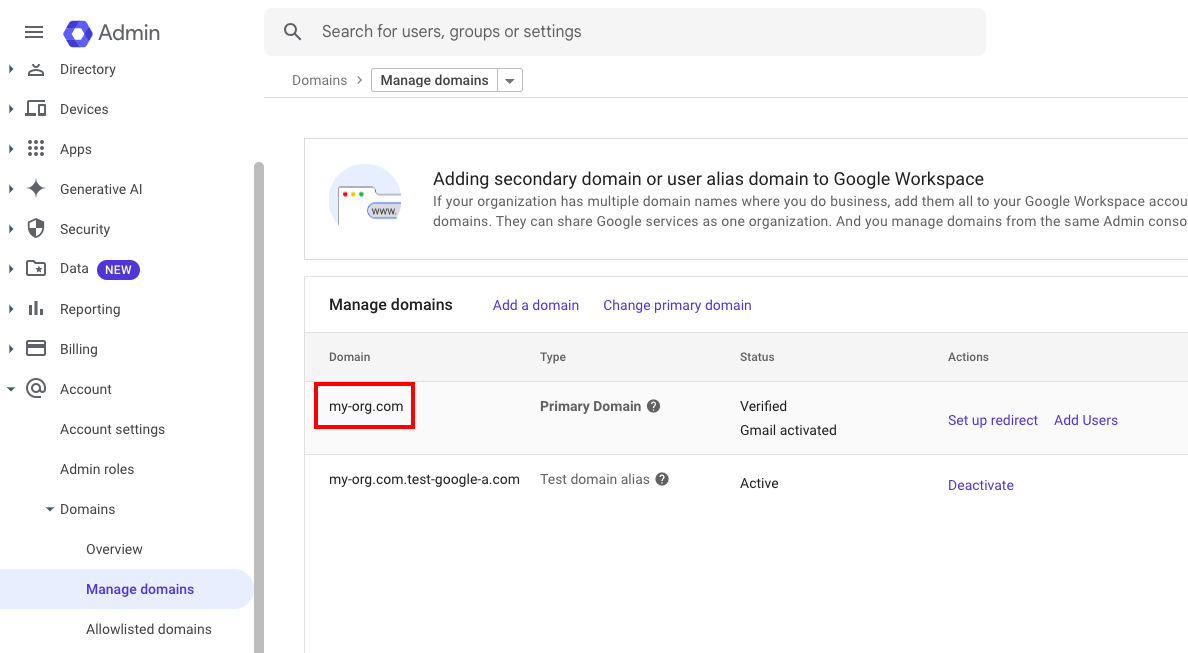
Get your Google Workspace Domain
Each connection will be associated with a single Google Workspace domain. If you wish to connect multiple domains, create a connection for each domain.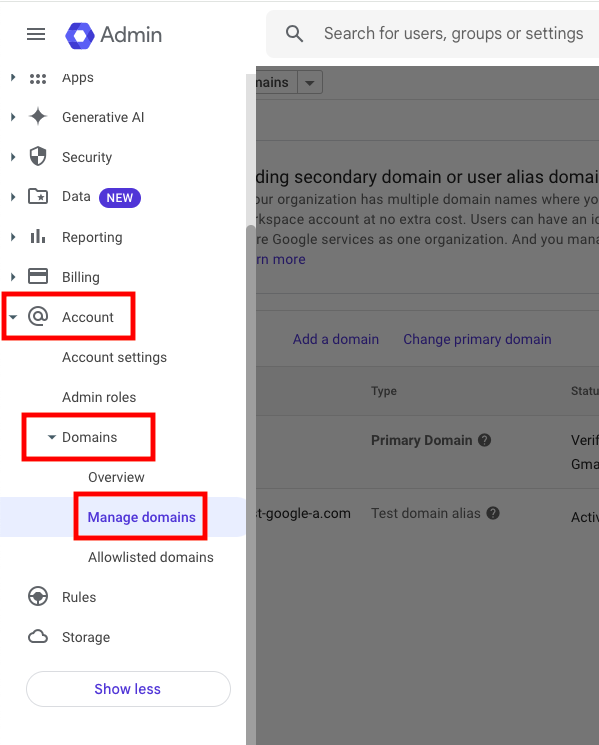
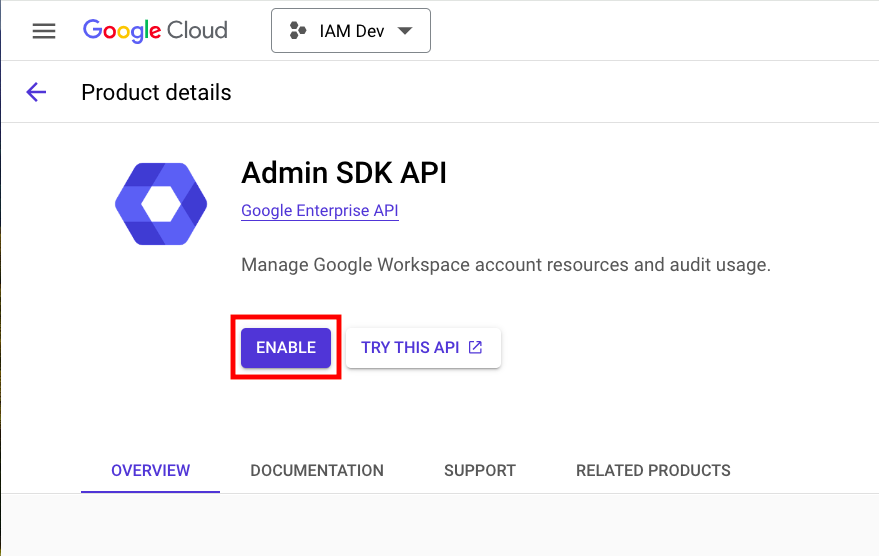
Enable the Admin SDK API
Google requires manually enabling APIs for your account. The Admin SDK API provides the underlying endpoints for this IAM connection.Go to Your Google Cloud Console
Go to your Google Cloud Console at https://console.cloud.google.com/

Locate the Admin SDK API
Using the search bar, enter a search for “admin sdk”. Click the Admin SDK API result.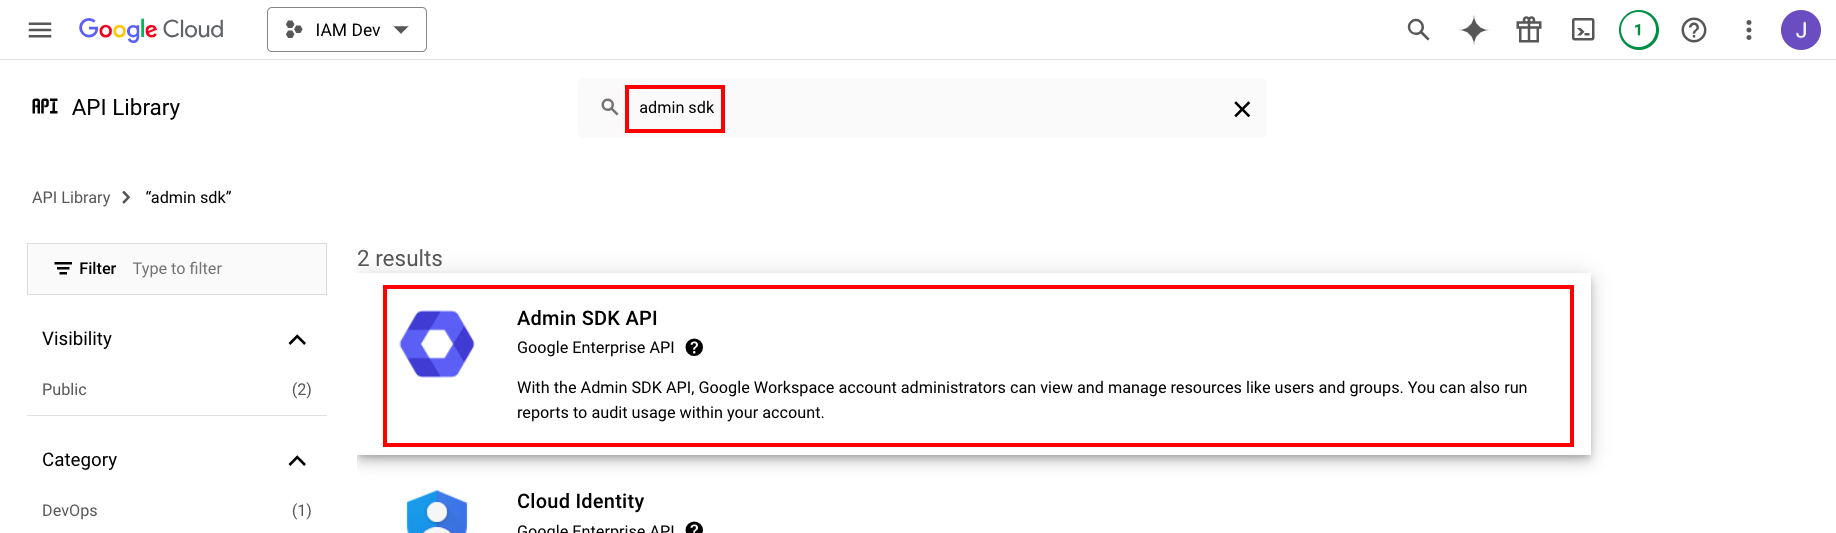
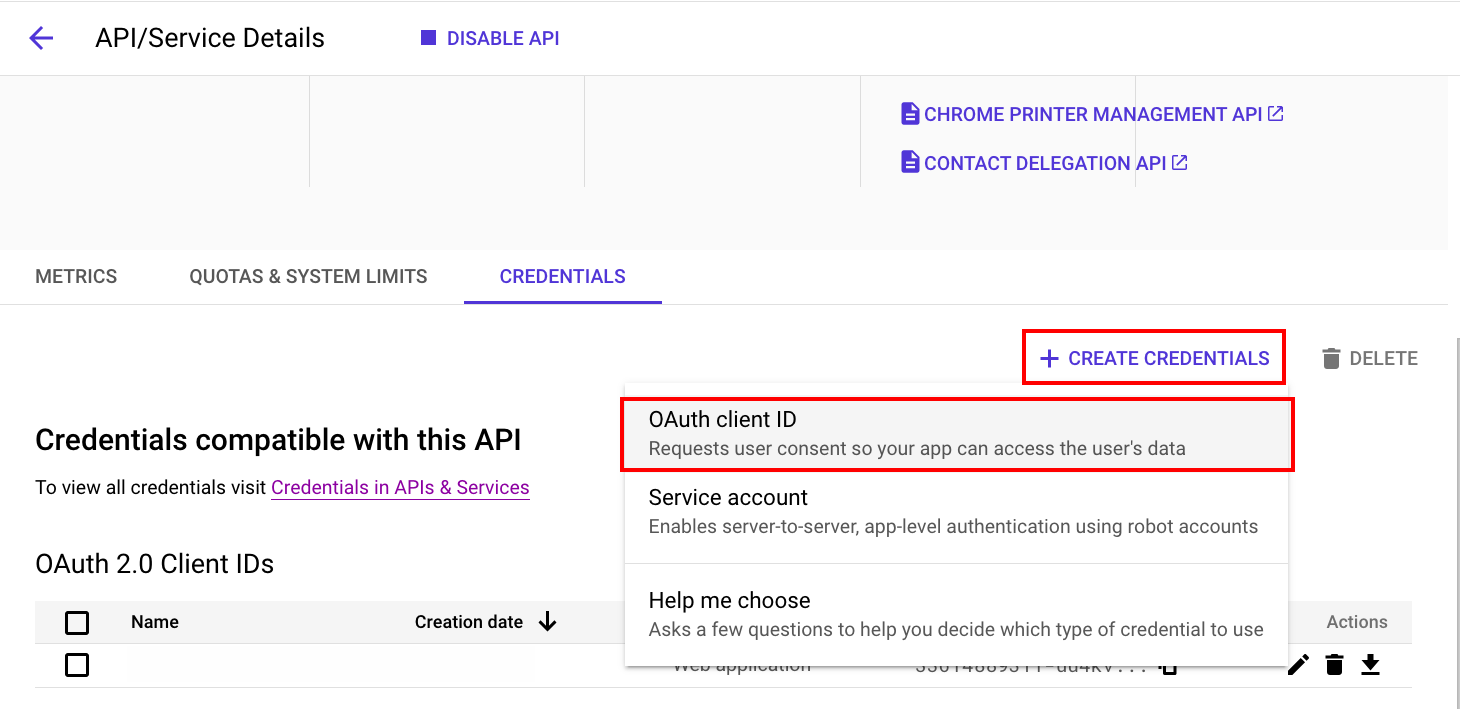
Create New OAuth Client Credentials
This connection will authenticate on behalf of a registered OAuth Client in Google Workspace.Navigate to Admin SDK API Credentials
In the Admin SDK API Manage page, scroll down to click Credentials.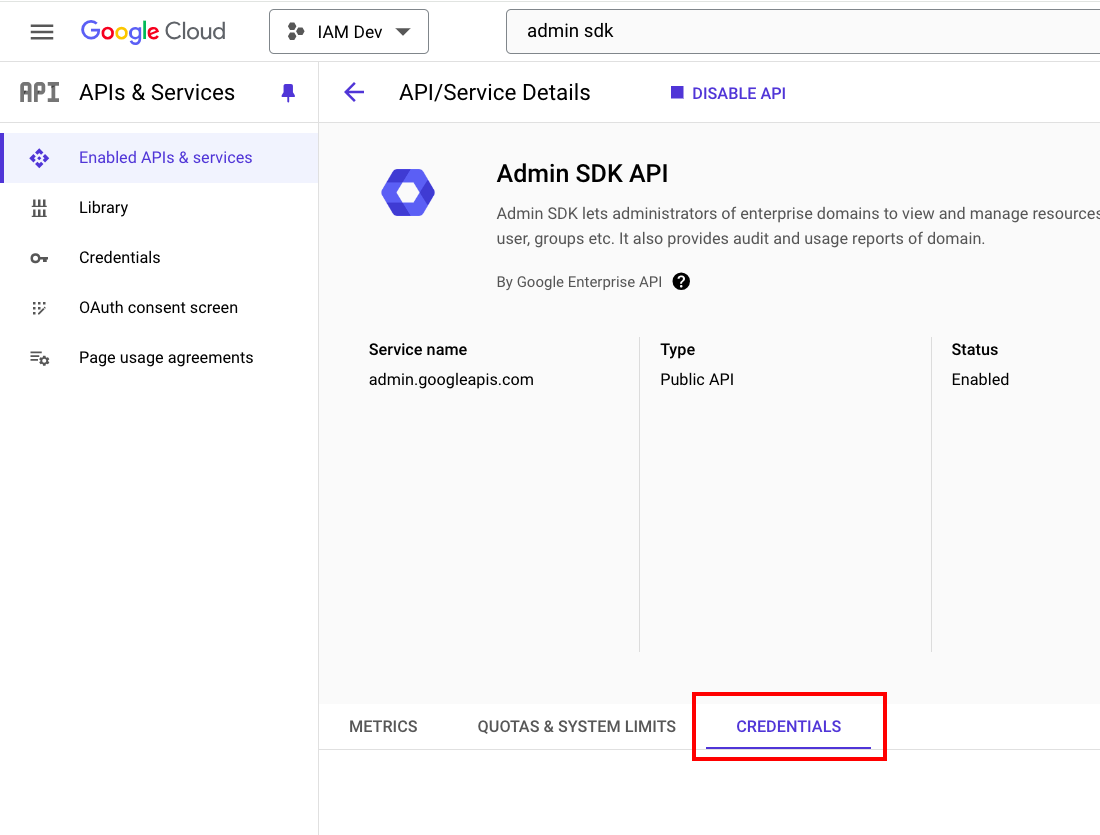
Enter Application Details
Under Create OAuth client ID, enter the following details: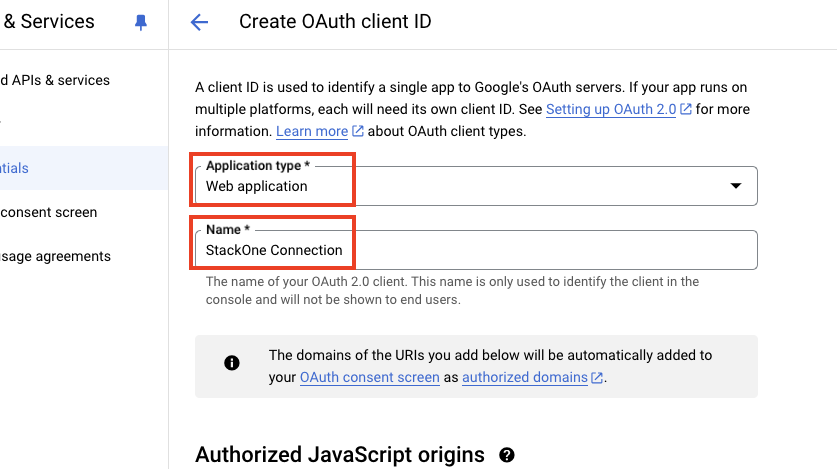
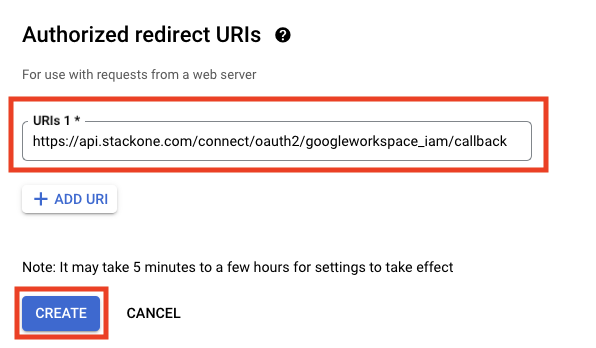
- Application type: Web application
- Name: Enter a name for the new application
- Authorized redirect URIs:
https://api.stackone.com/connect/oauth2/googleworkspace_iam/callback
Configure OAuth Consent
Google requires configuring a consent screen to be displayed when granting application access to your account.Go to OAuth Consent Screen Setup
After enabling the Admin SDK API, click APIs & Services > OAuth consent screen in the left navigation menu.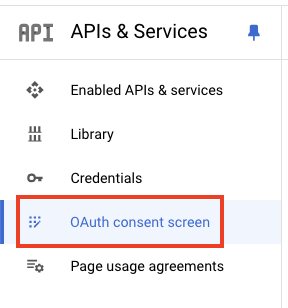

Enter Application Information
Under Edit app registration, enter the following required details:App information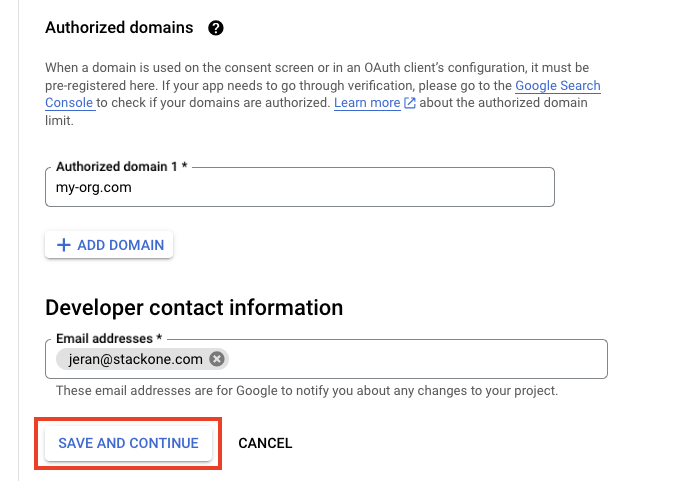
- App name: Enter a name for the new application
- User support email: Your Google Workspace account email
- Authorized domain 1: Enter the Domain you copied in a previous step. Example: my-org.com
- Email addresses: Your Google Workspace account email
Select Required Application Scopes
Click the Add or Remove Scopes button, and a popout window will appear on the right titled Update selected scopes.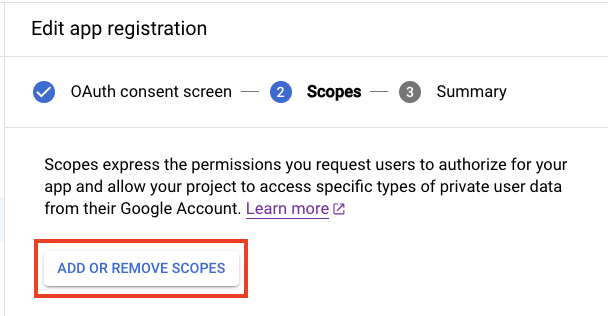
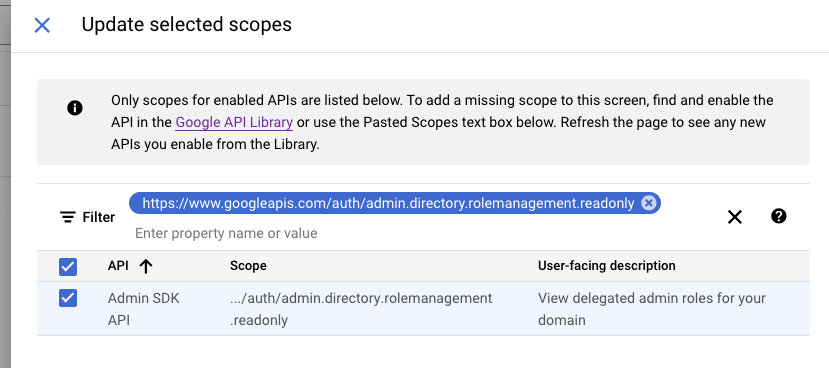
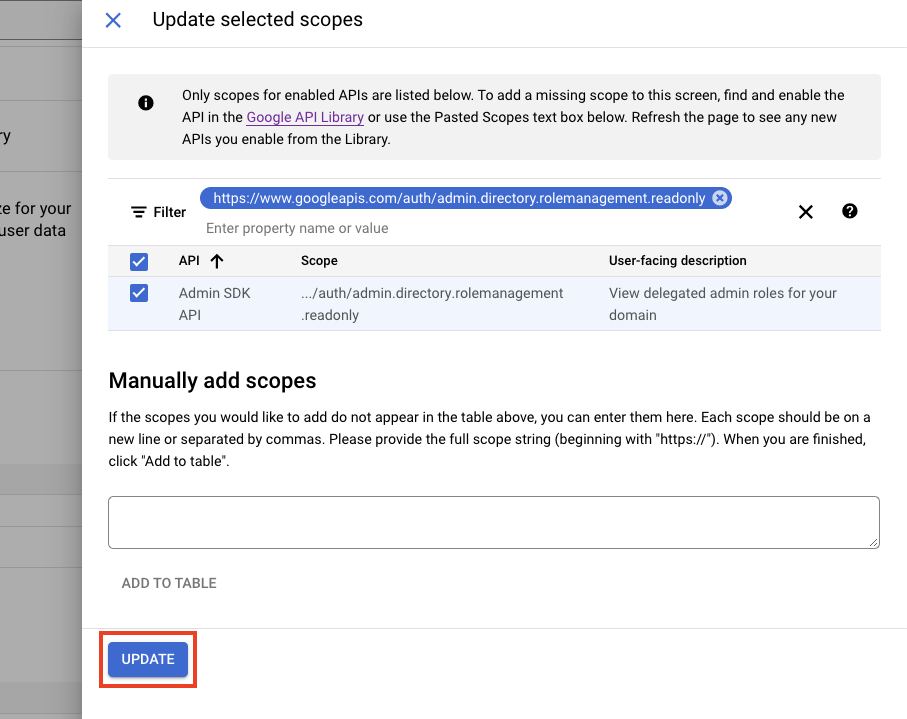
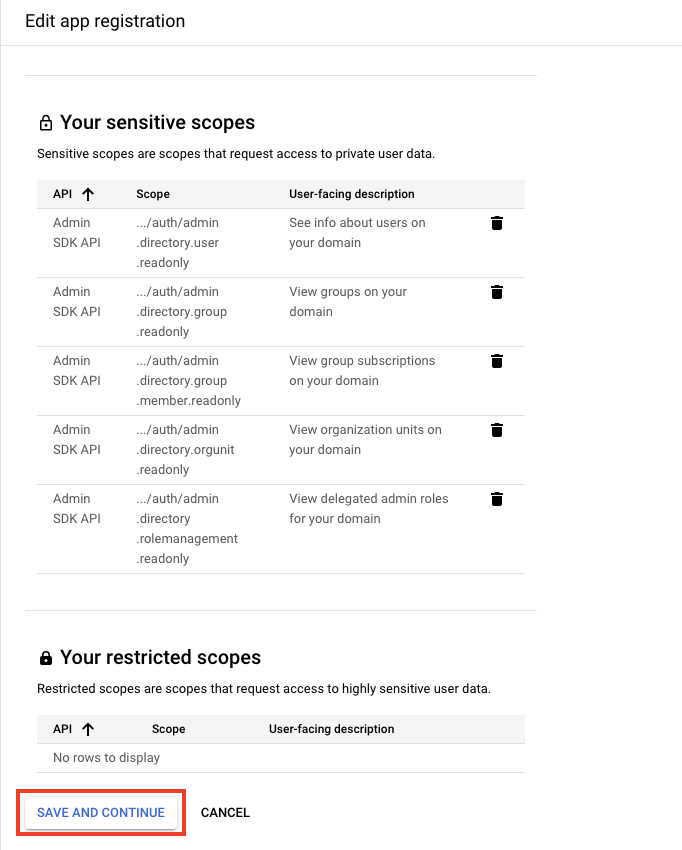
https://www.googleapis.com/auth/admin.directory.group.readonlyhttps://www.googleapis.com/auth/admin.directory.group.member.readonlyhttps://www.googleapis.com/auth/admin.directory.user.readonlyhttps://www.googleapis.com/auth/admin.directory.orgunit.readonlyhttps://www.googleapis.com/auth/admin.directory.rolemanagement.readonly
Connecting with StackOne
Enter Credentials
Upon reaching the Link Account page, enter the credentials from the previous steps: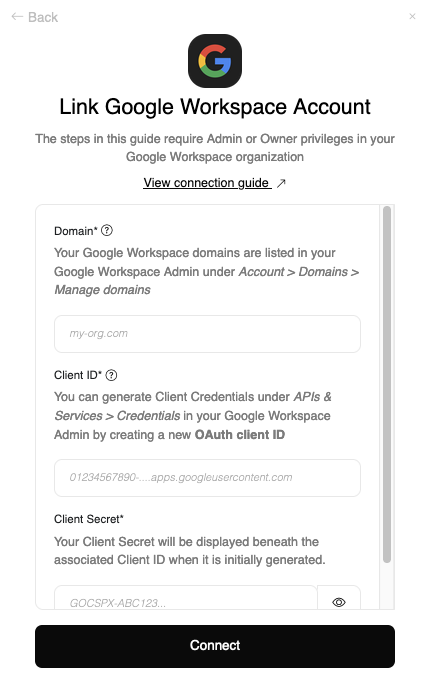
- Domain
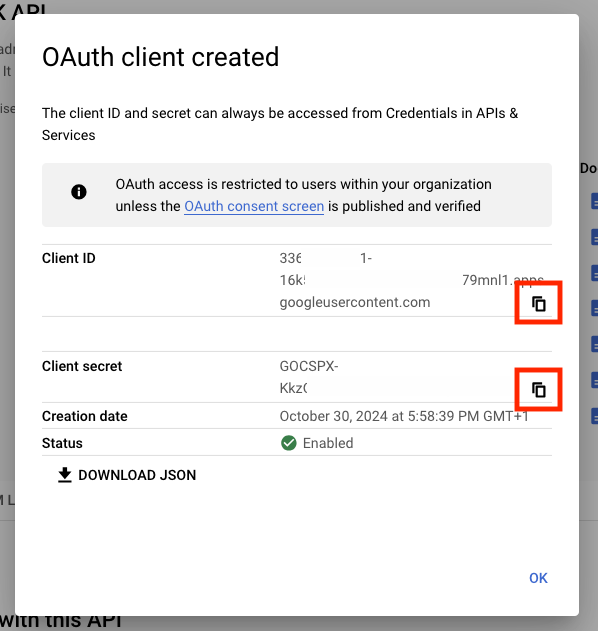
- Client ID
- Client Secret
- Scopes - If you selected only the required scopes in the previous steps, leave the default value for this field. Otherwise, enter the space-separated list of scopes granted to your application.
Grant OAuth Application Consent
A window will appear and may prompt you to log in to your Google Workspace account.After logging in, you will be displayed the OAuth consent screen you configured in a previous step.Click the Allow button to grant the application access to your Google Workspace account.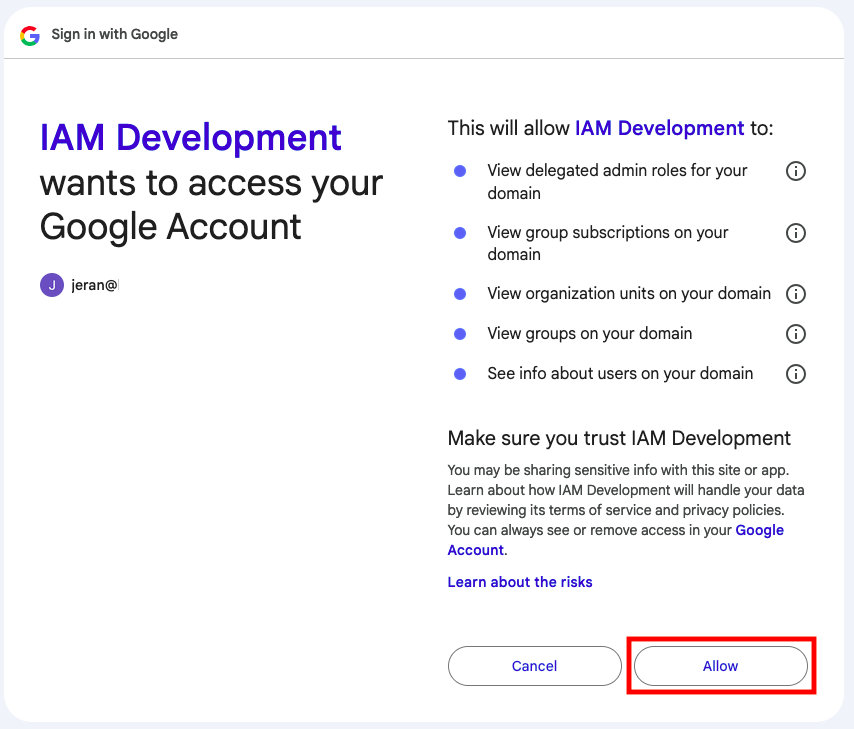
Congratulations, you’re all set! If you face any issues with the steps mentioned above, please contact us by emailing integrations@stackone.com. We’re always here to assist you!
Available data
This integration has the following IAM Resources available from the provider:- Users
- Groups
- Roles