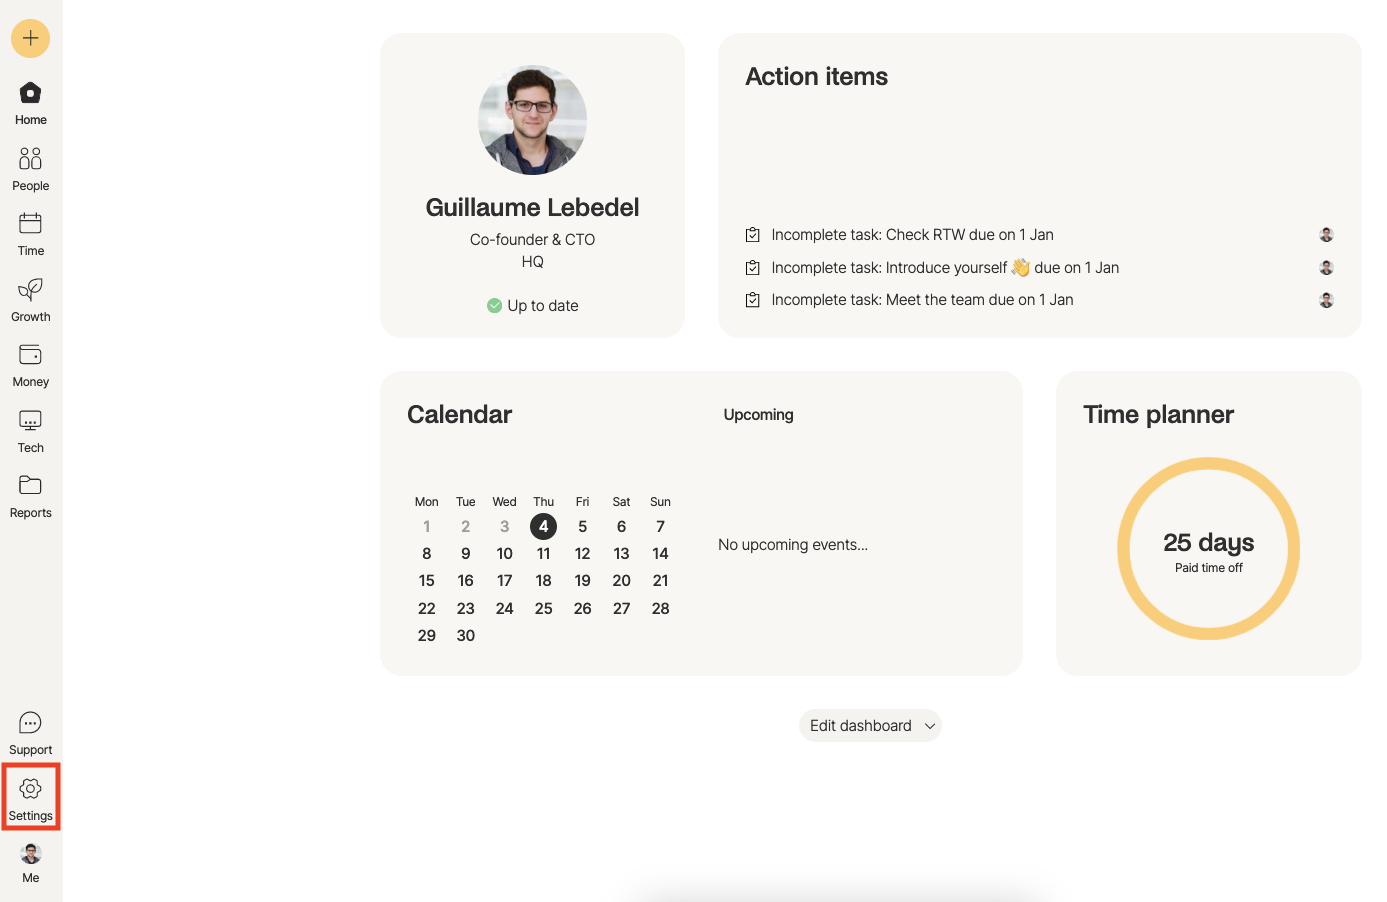
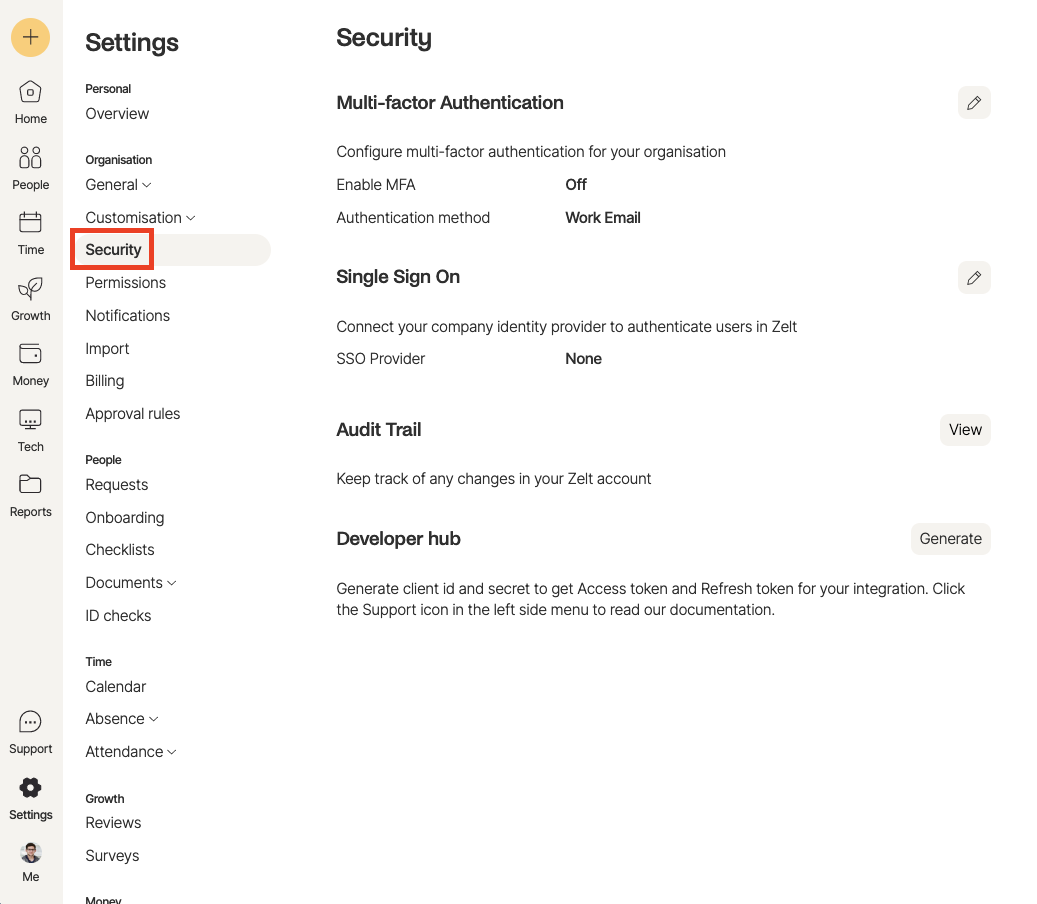
Generate a Zelt Client ID and Client Secret
Enter Details
In the view that appears, enter the following: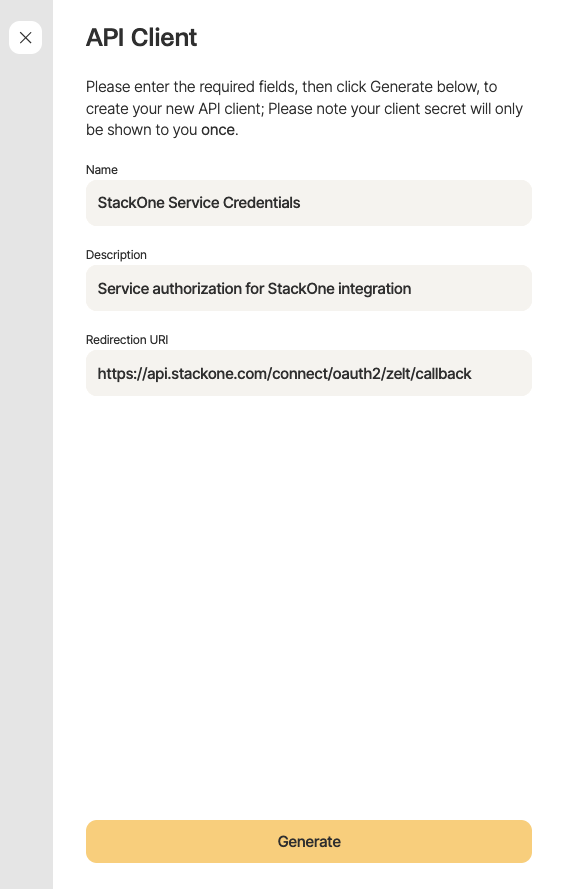
- Name: e.g. “StackOne Service Credentials”
- Description: e.g. “Service authorization for StackOne integration”
- Redirection URI:
https://api.stackone.com/connect/oauth2/zelt/callback
Copy Authorization Credentials
A window will appear with the authorization credentials. Copy each of the generated values, and store them in a safe place: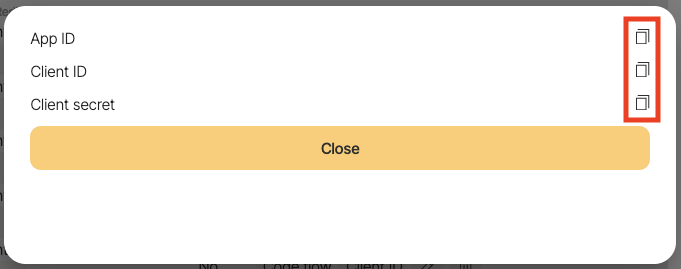
- App ID
- Client ID
- Client Secret
Update App Permissions
Select the App that was created in the previous step. Then on the left navigation menu, select the 
Permissions tab. Click the pencil icon to edit the permissions.Update App Permissions
Ensure the following permissions are selected, provide a reason for each permission, then click the Update scopes.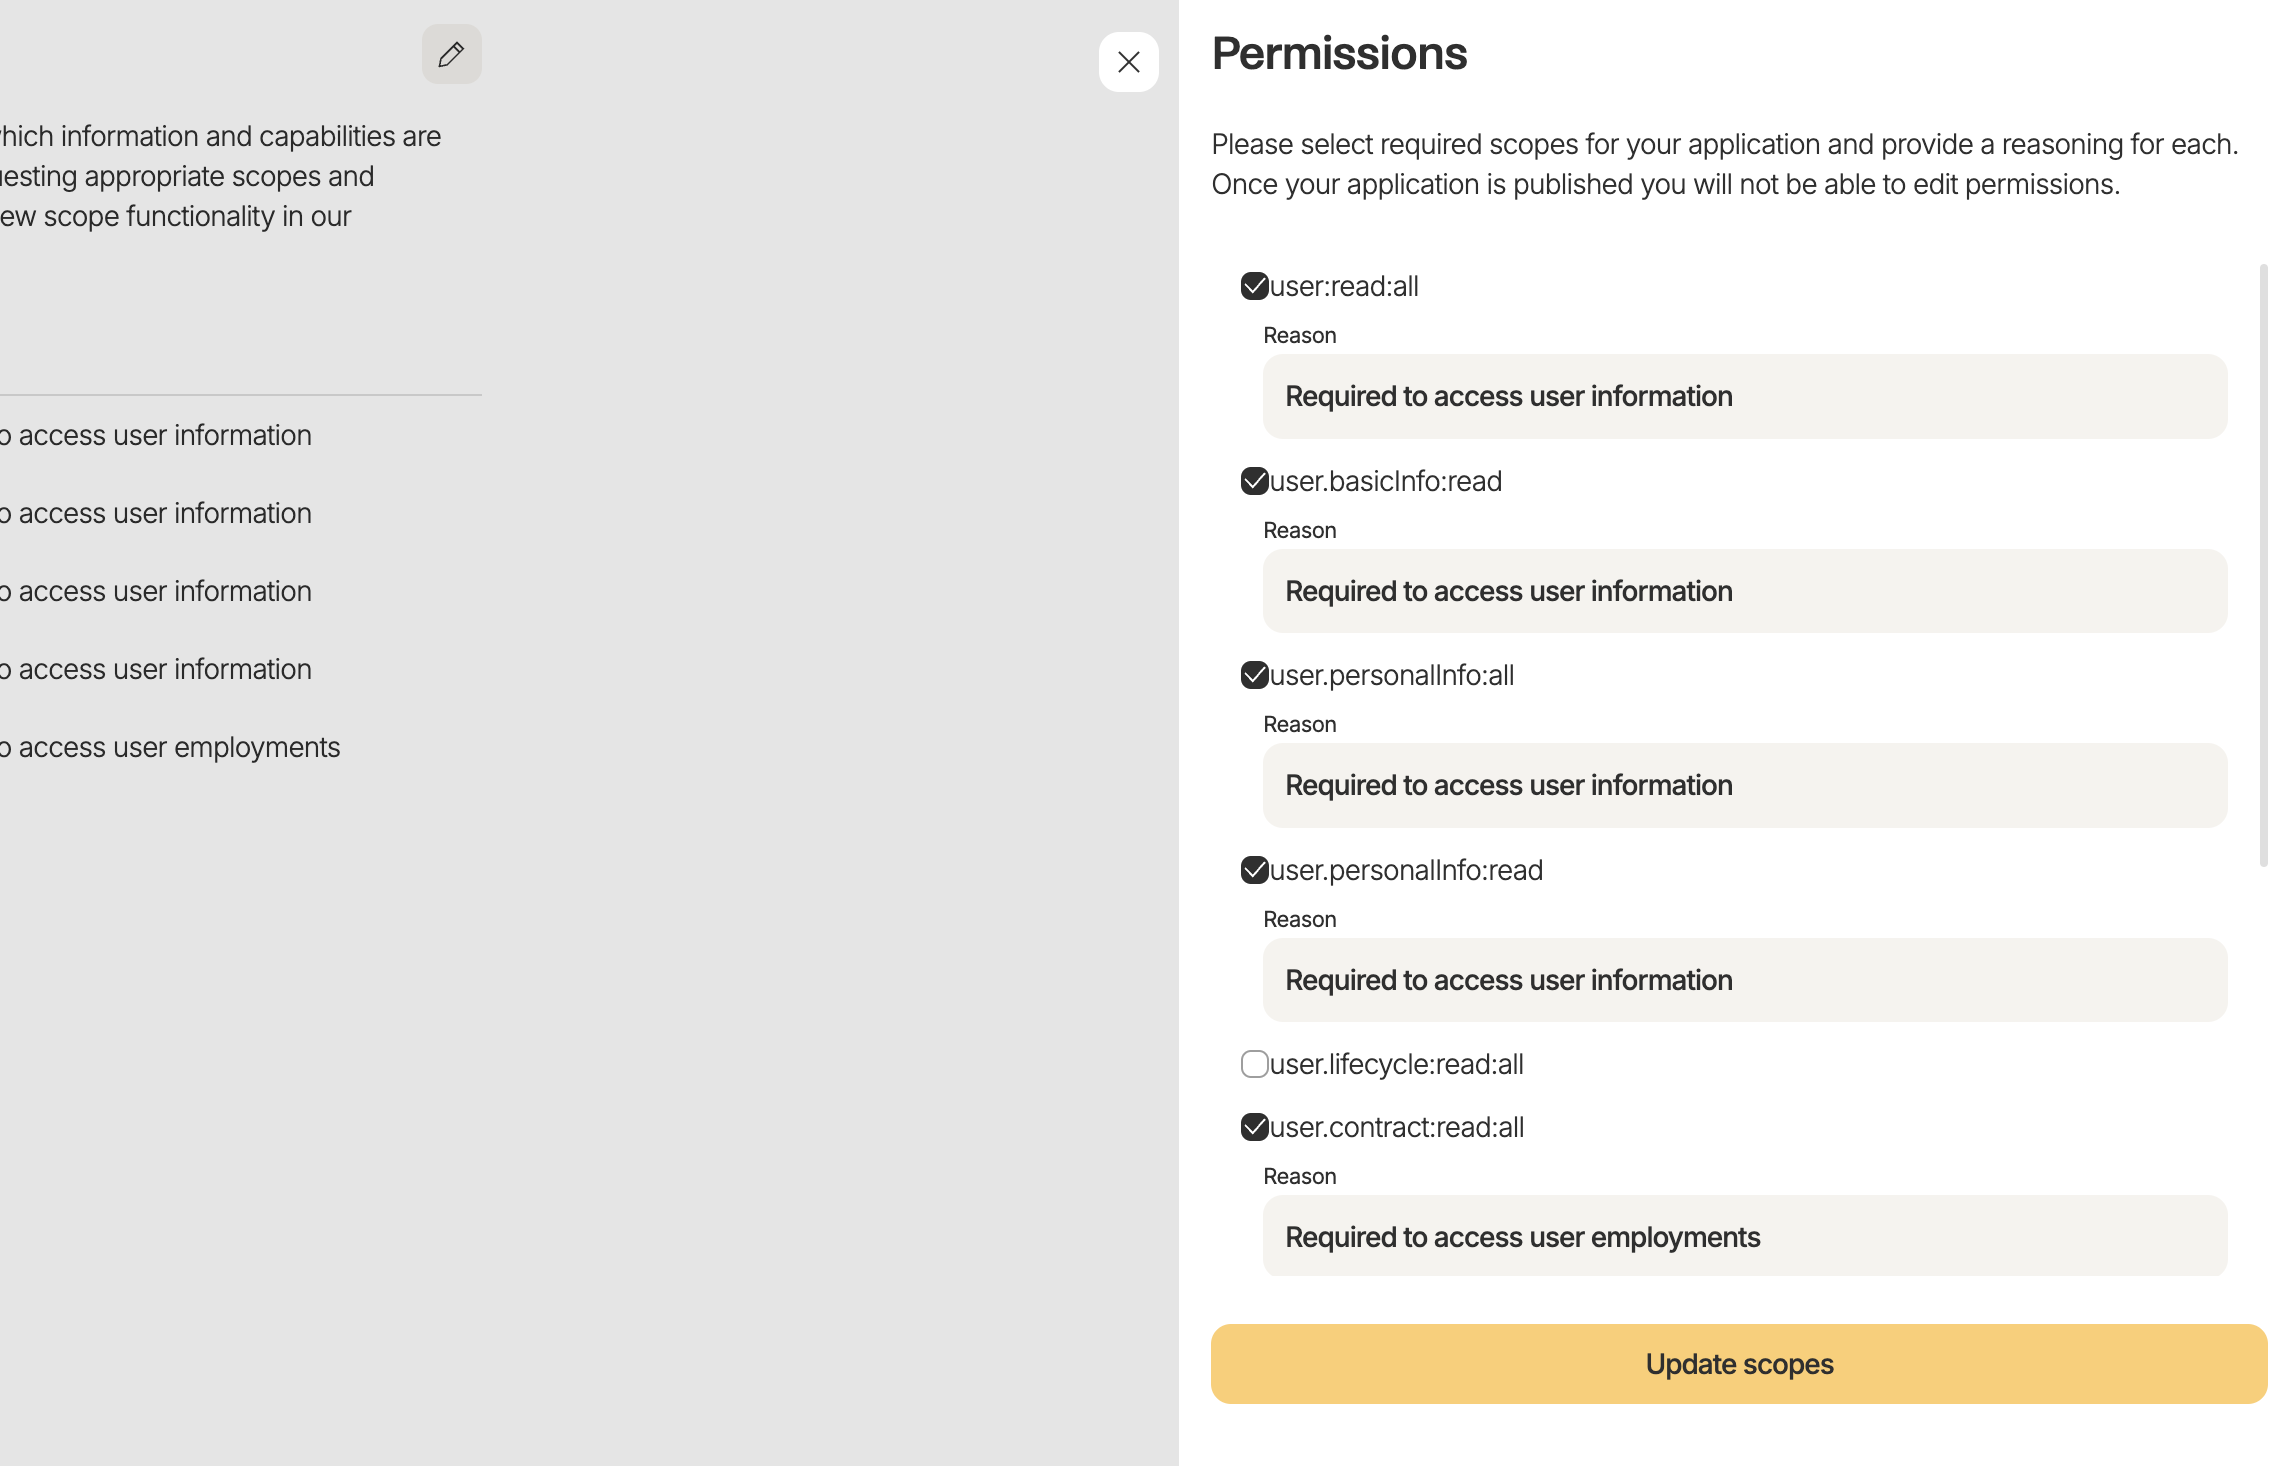
- user:read:all
- user.basicInfo:read
- user.personalInfo:all
- user.personalInfo:read
- user.contract:read:all
- user.compensation:read:all
- user.role:read:all
- company.settings:read
- documents:all
- user.basicInfo:all
- user.onboard:all
- user.contract:all
- user.compensation:all
- user.role:all
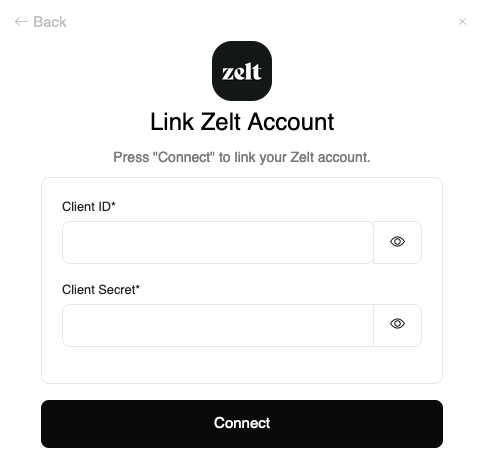
Connecting with StackOne
Enter Credentials
Upon reaching the Link Account page, enter the Client ID and Client Secret generated in the previous step.
Congratulations, you’re all set! If you face any issues with the steps mentioned above, please contact us by emailing integrations@stackone.com. We’re always here to assist you!