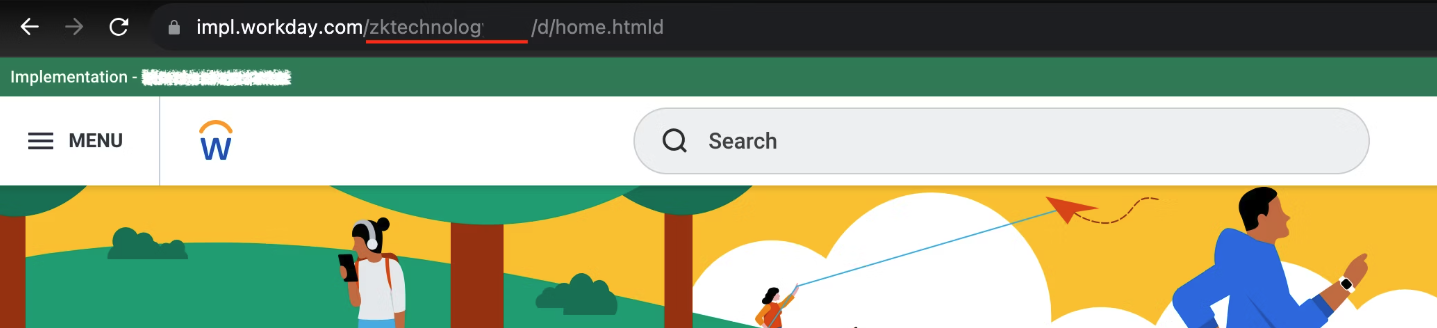
Finding your Workday Tenant
Log in to your Workday account. In the browser’s address bar, locate your tenant immediately afterworkday.com/.If your URL is
https://my-instance.workday.com/my-tenant/d/etc, your tenant is my-tenant.
Finding the Web Services Endpoint

Open the Human Resources WSDL
Locate Human Resources and hover to open the menu. From the three‑dot menu choose 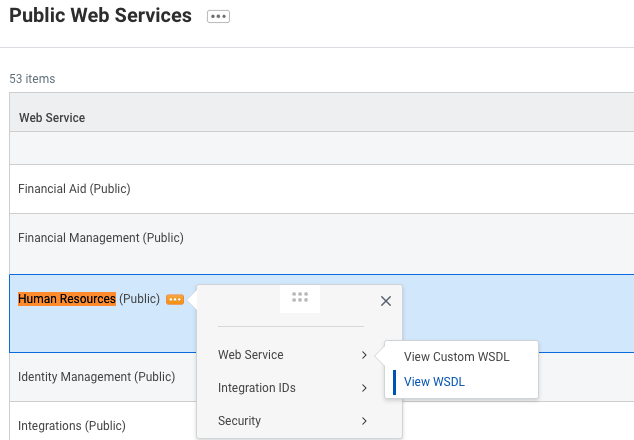
Web Service then click View WSDL (the page may take a minute to load).Locate the wsdl:service element
Search for 
Save this value to be used in a later step.
wsdl:service or scroll to the bottom of the page. You should see a section like this:/service in the location attribute. Exclude the https:// prefix. In the example above this would be wd2-impl-services1.workday.com/ccx (yours may differ, e.g. wd5-services1.myworkday.com/ccx). Save this value to be used in a later step.
Set up an Integration System User
Search for Create Integration System User
Search and navigate to the 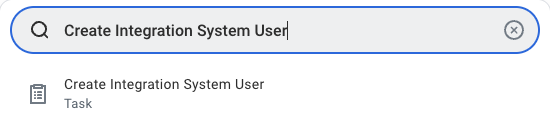
Create Integration System User task.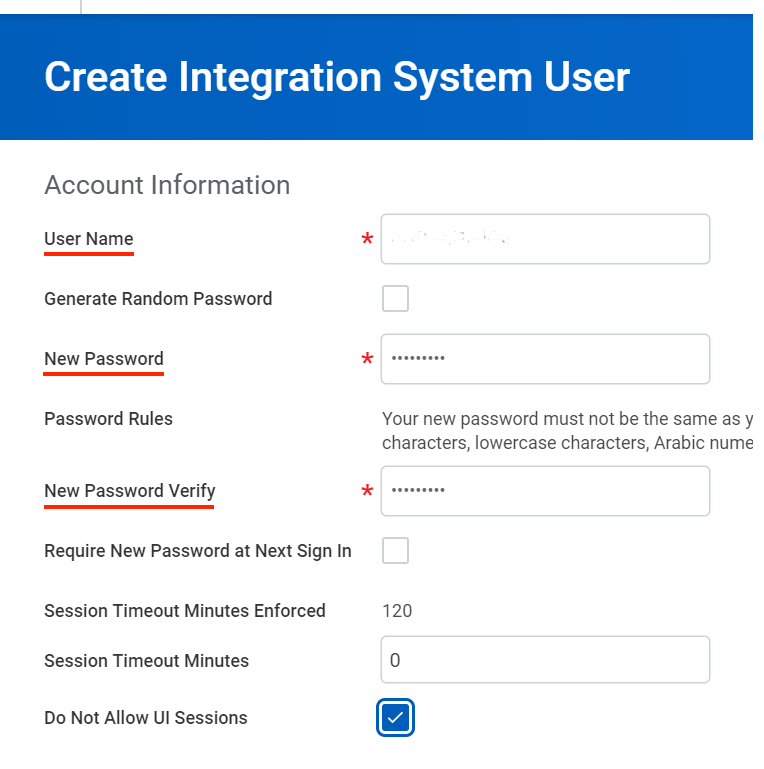
Add the Integration System User to a Security Group
Choose group type
Select 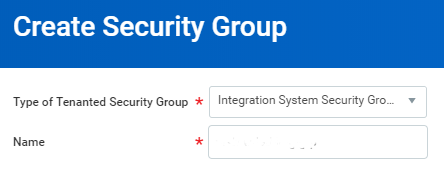
Integration System Security Group (Unconstrained) from the Type of Tenanted Security Group drop‑down and enter the same name used when creating the Integration System User.OK.Assign the Security Group to the Integration System Users
Select 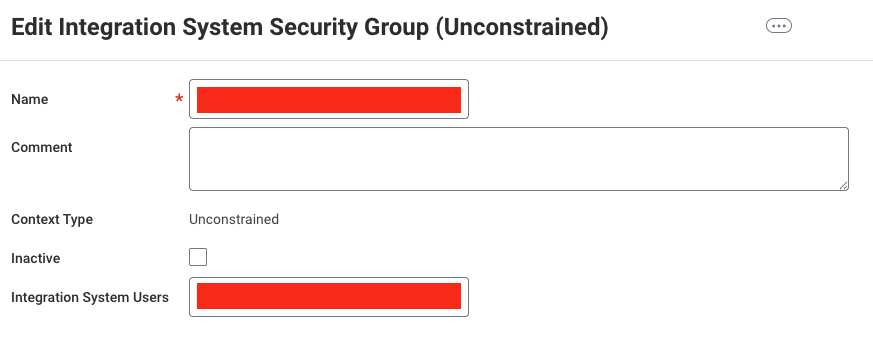
Integration System Users from the drop-down menu. You may choose the user created in the step above or any other user to whom you want to assign this security group.OK.Configure Domain Security Policy Permissions
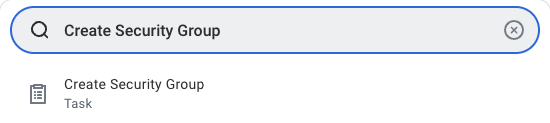
Search for Maintain Permissions for Security Group
Search and navigate to the 
Maintain Permissions for Security Group task.Select Security Group Type
Select the Security Group name created earlier.
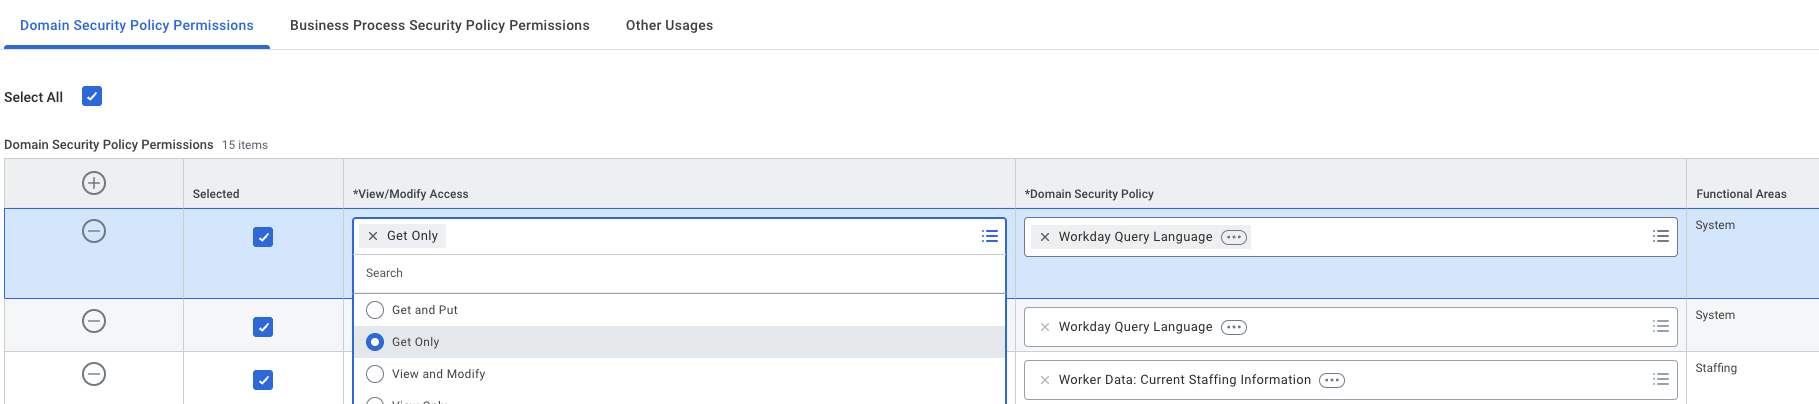
The Workday HRIS integration currently requires all of the permissions listed below to be enabled for full support.
Workday’s API may return an error response if any of these permissions are missing.
Workday’s API may return an error response if any of these permissions are missing.
Please note that Security Group Permissions can be customised within a Workday organisation, and this list does not account for such customisations.
| Domain Security Policy | View/Modify Access |
|---|---|
| WQL for Workday Extend | Get Only |
| Worker Data: Current Staffing Information | Get Only |
| Workday Query Language | Get Only |
| Workday Query Language | View Only |
| Person Data: Name | Get Only |
| Person Data: Marital Status | Get Only |
| Person Data: Work Email | Get Only |
| Person Data: ID Information | Get Only |
| Person Data: Home Phone | Get Only |
| Person Data: Gender | Get Only |
| Person Data: Home Email | Get Only |
| Person Data: Date of Birth | Get Only |
| Person Data: Work Phone | Get Only |
| Person Data: Ethnicity | Get Only |
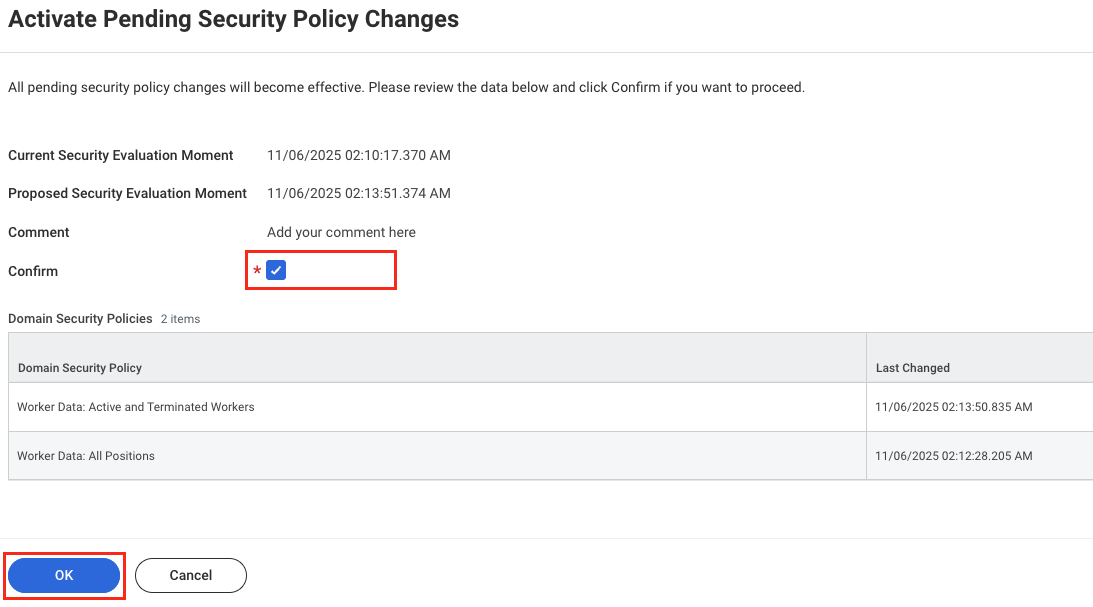
Activate the Security Policy Changes
Search for Activate Pending Security Policy Changes
Search and navigate to the 
Activate Pending Security Policy Changes task.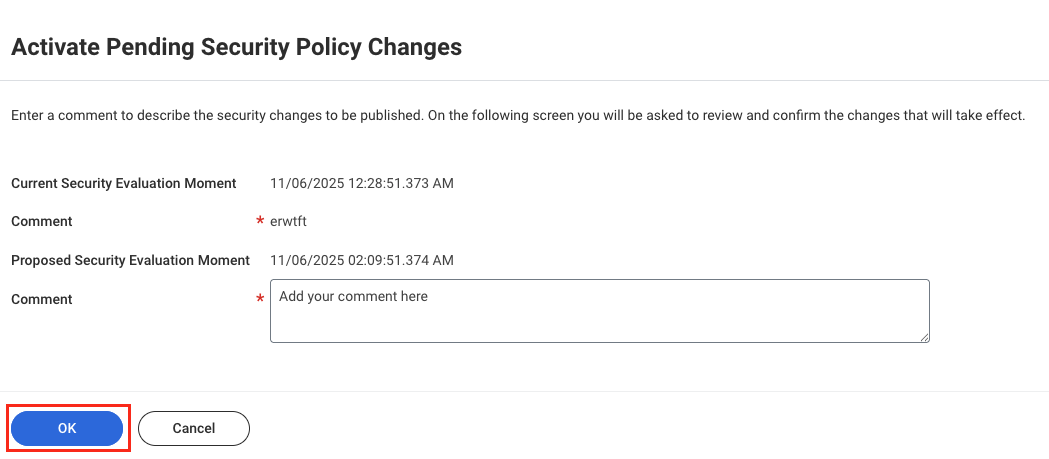
Register the REST API Client

Register API Client
Register the API client with the following details:
-
Client Name: Any name (e.g.
StackOne_Integrations). - Non‑Expiring Refresh Tokens: Tick the box.
-
Scopes: Select required functional scopes for API access:
- Adaptive Planning for Financial Plans
- Adaptive Planning for the Workforce
- Staffing
- System
Click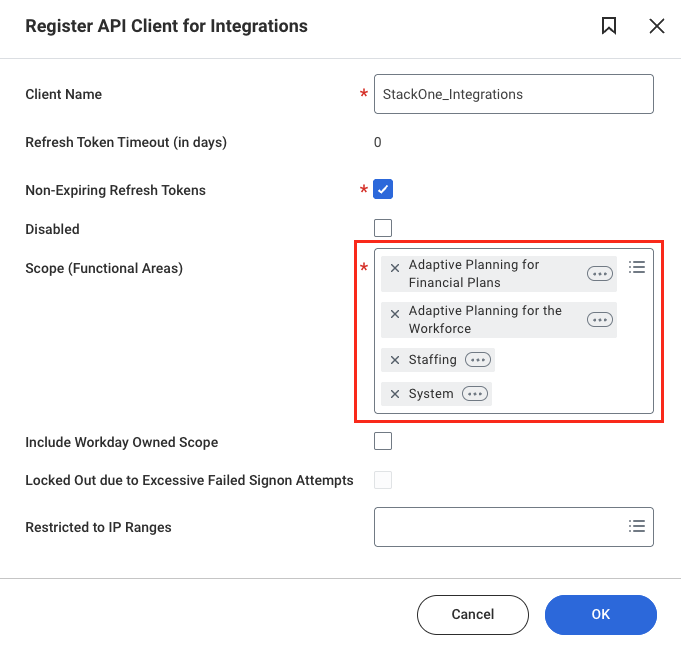
OK.
Copy the Credentials
After registration a page displays the Client ID and Client Secret. Copy and store these credentials securely.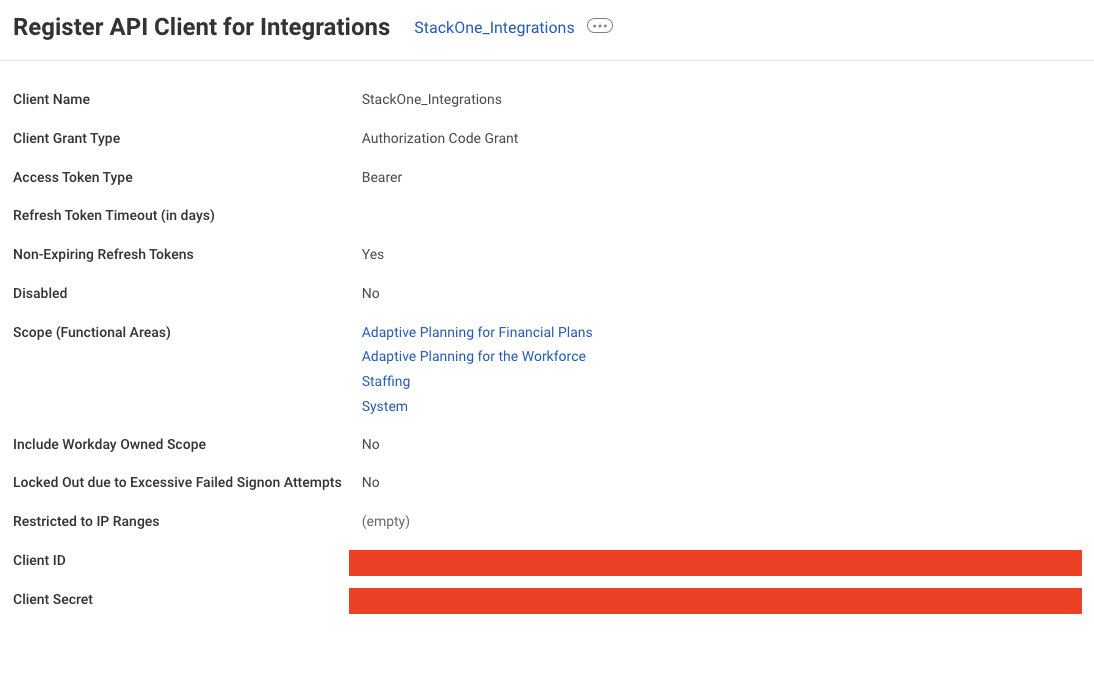
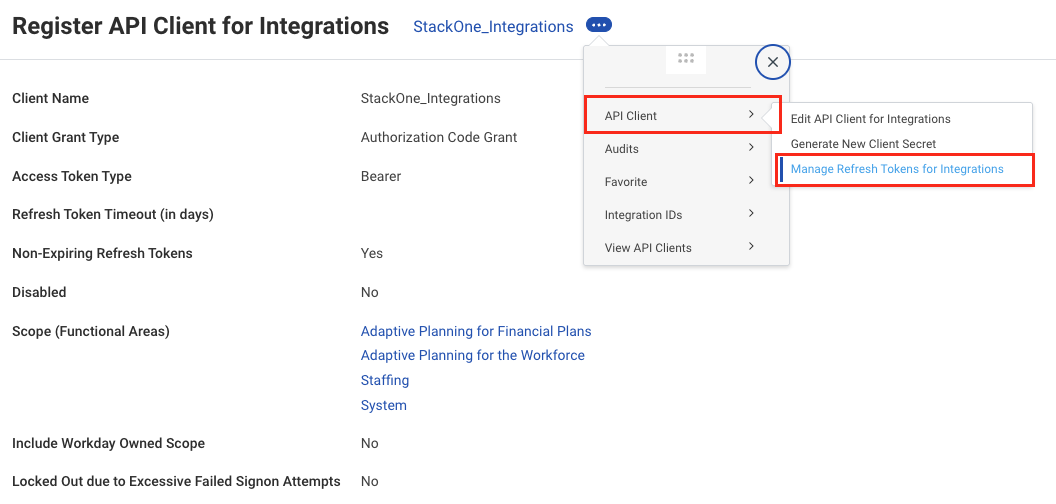
Generate the Refresh Token
- At the top of the page click the menu (⋯) icon.
- Select API Client.
- Click Manage Refresh Tokens for Integrations.
OK.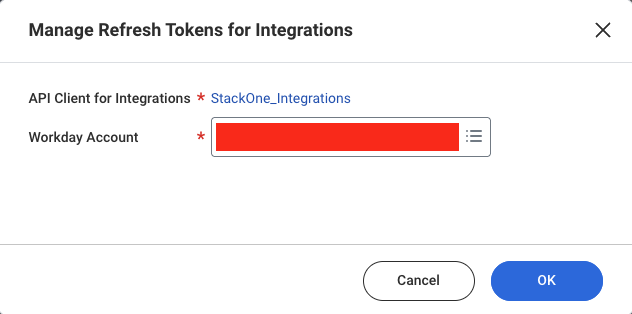
OK.
Done.
Custom WQL Query
Creating a custom report is optional for generating WQL (Workday Query Language). However, there are several ways to obtain WQL:
- Custom Report: By using the custom report feature, users can more accurately tailor the data they wish to extract from the data source and then convert the report to WQL.
- Standard Reports: You can utilise existing standard reports and convert them directly to WQL. To do this, navigate to Convert Report to WQL and select the
Standard Report. - Data Sources: You can also navigate to the Data Sources using global search and access a specific data source (e.g., All Workers) to view the available data source fields. From there, you can form a WQL query according to the WQL syntax.
Create and View a Custom Report
Configure custom report
Follow these steps to configure the custom report: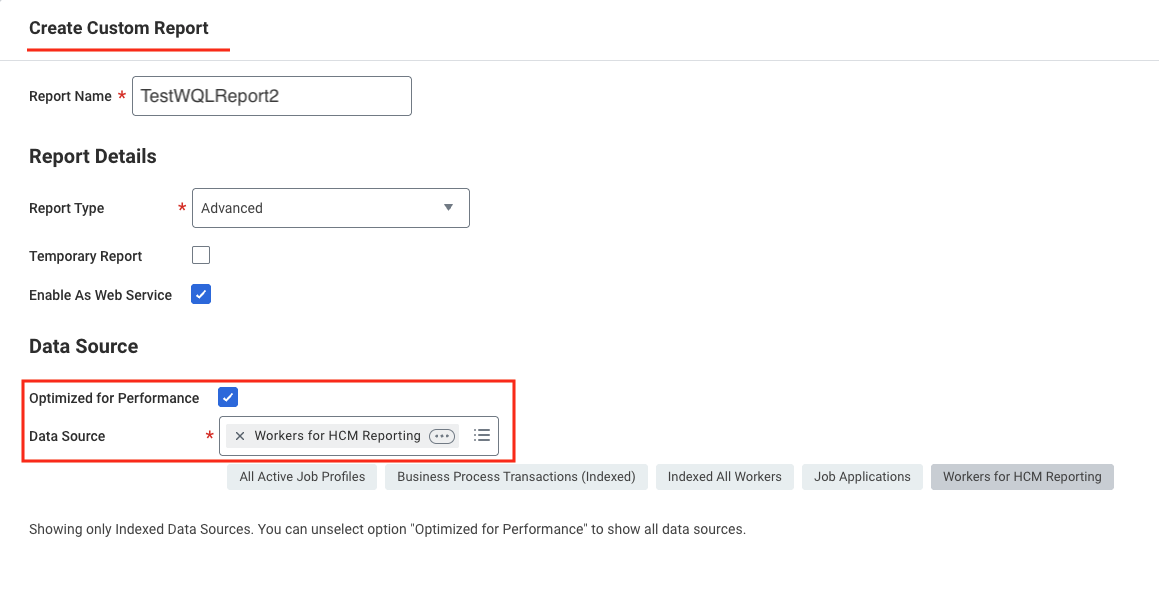
- Report Name: Must be unique within the tenant
- Report Type: Select Advanced
- Optimised for Performance: Tick this box to enhance performance
- Data Source: Choose the appropriate data source based on the data you need (e.g. Workers for HCM reporting).
OK to continue.Add and configure report fields:- Click the
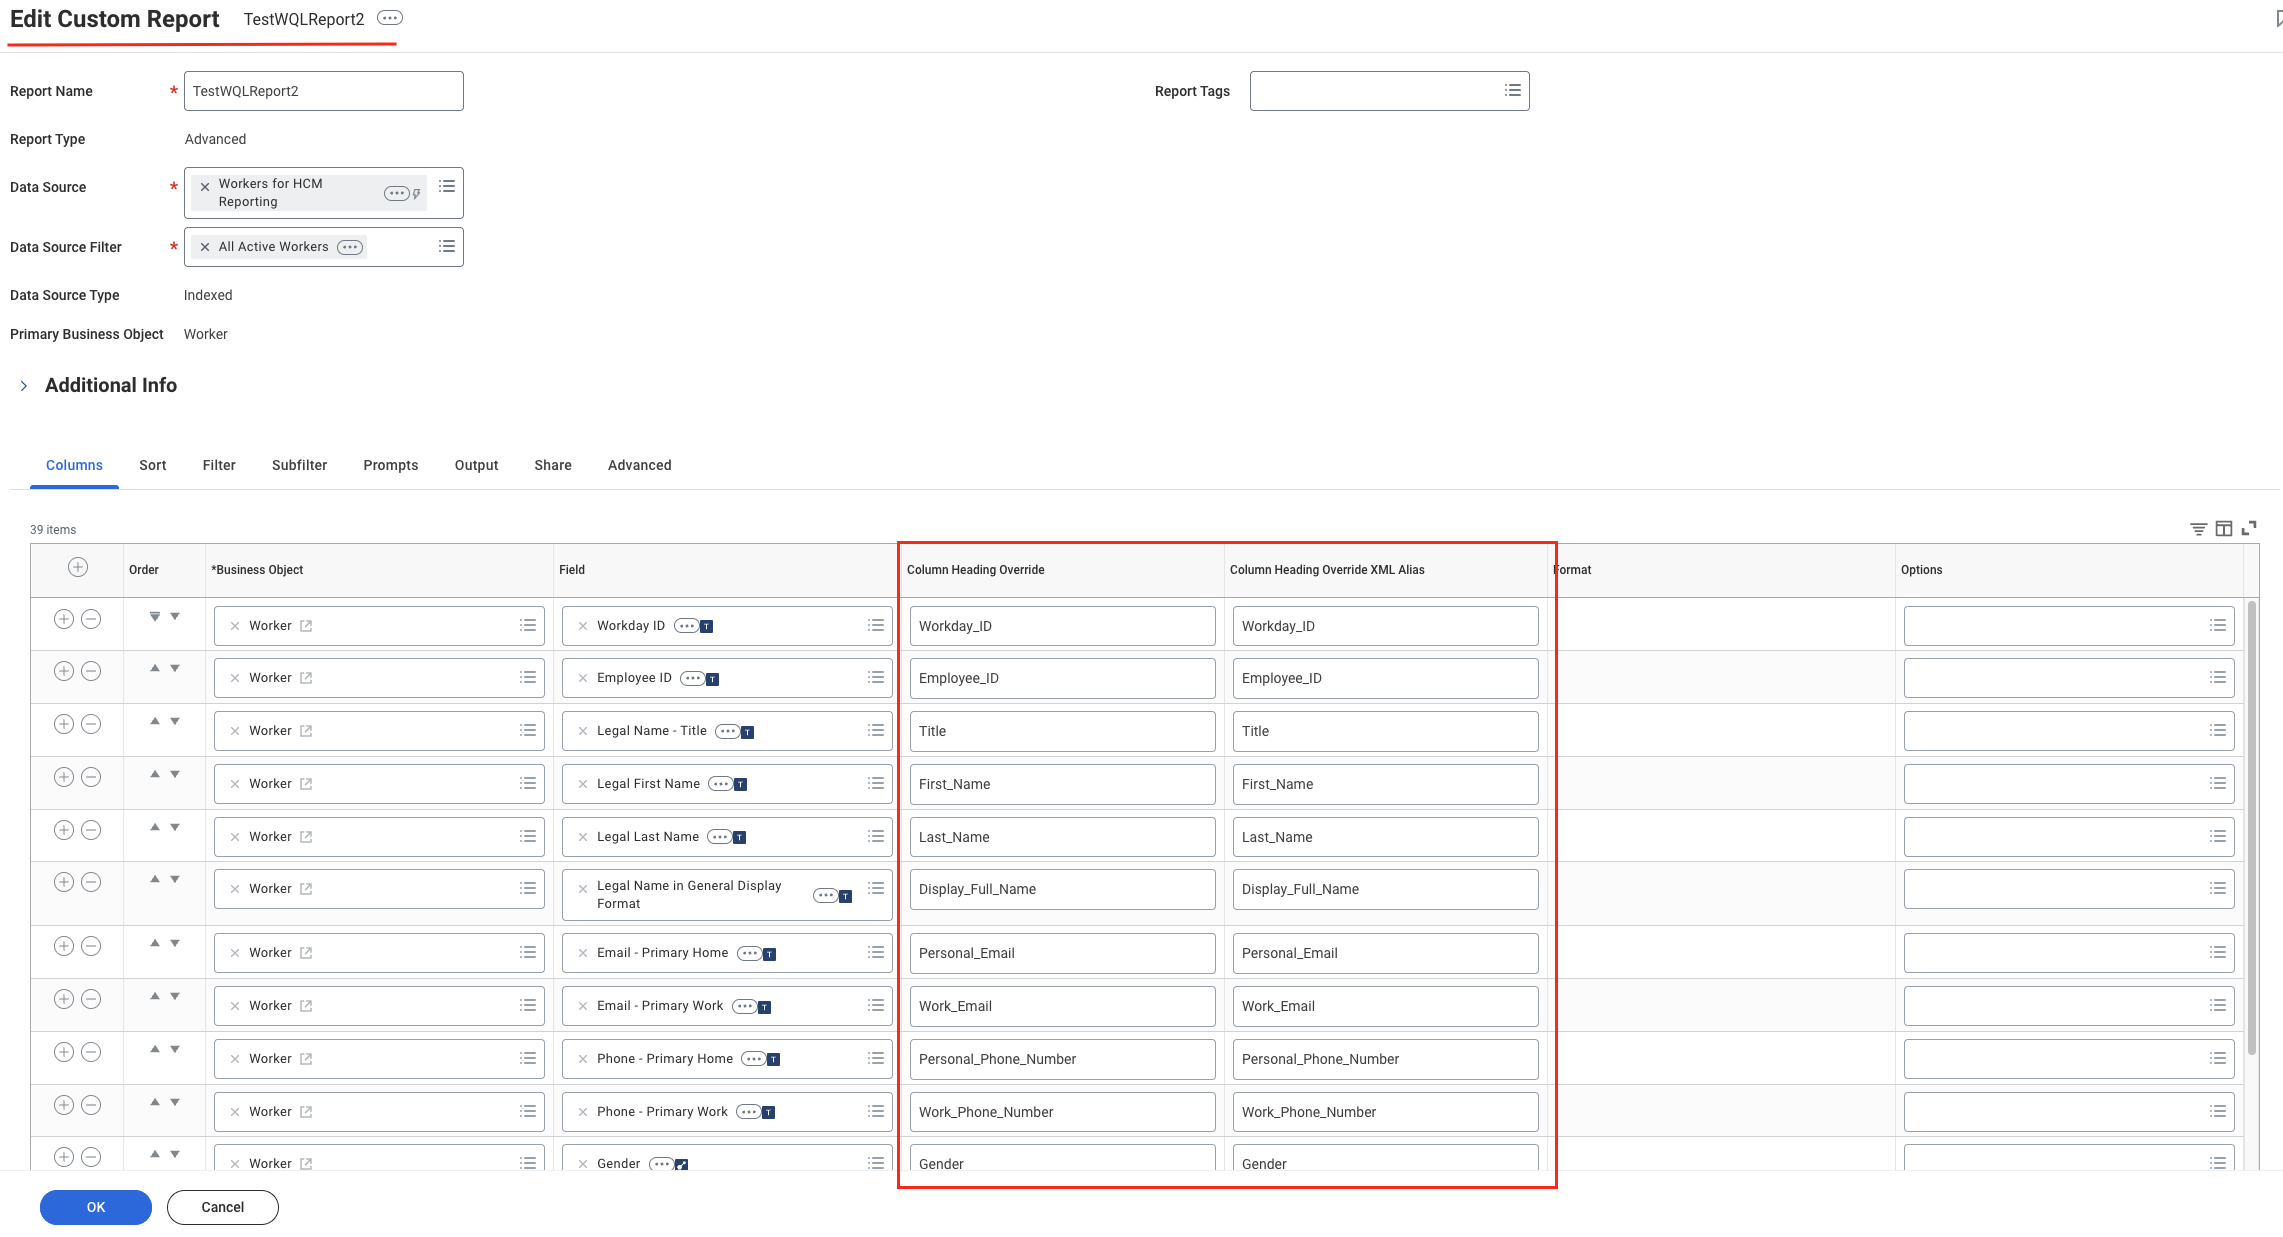
+icon to add a field. - Select a Business Object (e.g. Worker) in the Business Object column.
- Choose the specific field (e.g. Employee ID) in the Field column.
- Set aliases in Column Heading Override to ensure stable field names in API responses.
The Column Heading Override XML Alias column will appear only after you enable Enable As Web Service under the Advanced tab and save the report. You can view this column when you return to edit the report.
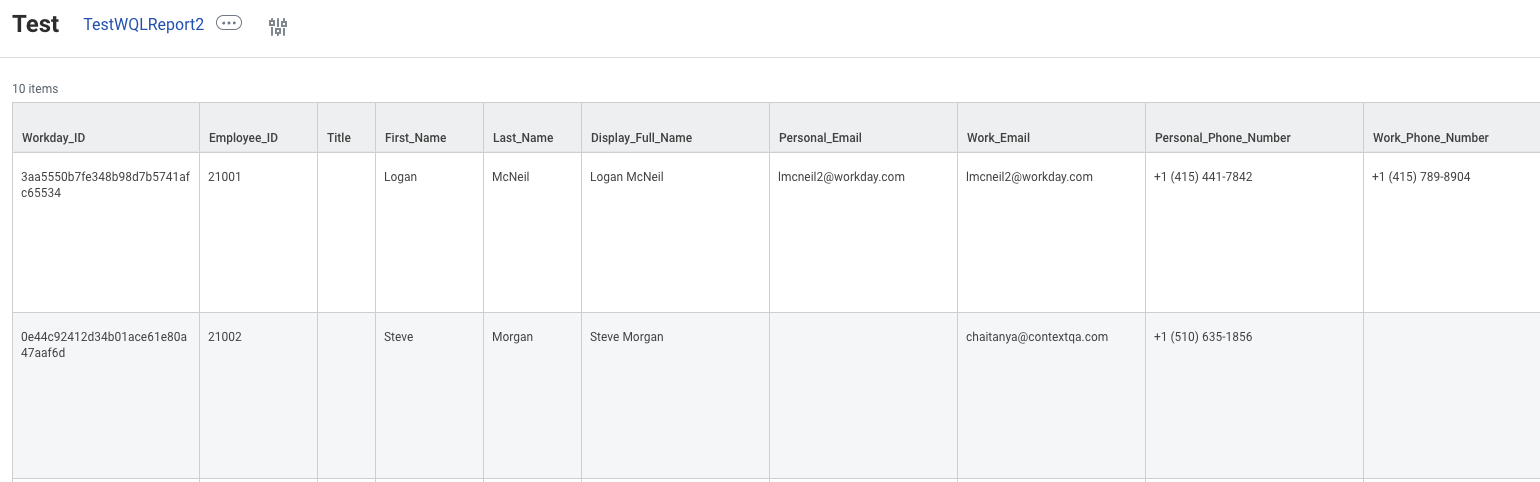
Add following field’s Alias in your report. The aliases serve as stable identifiers for the API responses but the underlying fields must be properly configured.
- Workday_ID
- Employee_ID
- Title
- First_Name
- Last_Name
- Display_Full_Name
- Personal_Email
- Work_Email
- Personal_Phone_Number
- Work_Phone_Number
- Gender
- Ethnicity
- Date_Of_Birth
- Marital_Status
- Job_Title
- Company
- Hire_Date
- Original_Hire_Date
- Employment_Status
- Location
- Employment_Type
- Manager
- Cost_Centers
- National_Identifier_Numbers
- Termination_Date
- Home_Address
- Home_Address_Country
- Home_Address_Postal_Code
- Home_Address_State
- Home_Address_City
- Work_Address
- Work_Address_Country
- Citizenships
- Job_Code
- Effective_Date
- Grade
- Benefits
- Skills
Configure report prompts
- Tick Populate Undefined Prompt Defaults to make prompt default fields visible in the report table. Once the
Prompt Defaultsgrid is visible, the ticked Populate Undefined Prompt Defaults field will be unticked again. - Tick Display Prompt Values in Subtitle to enable prompt display.
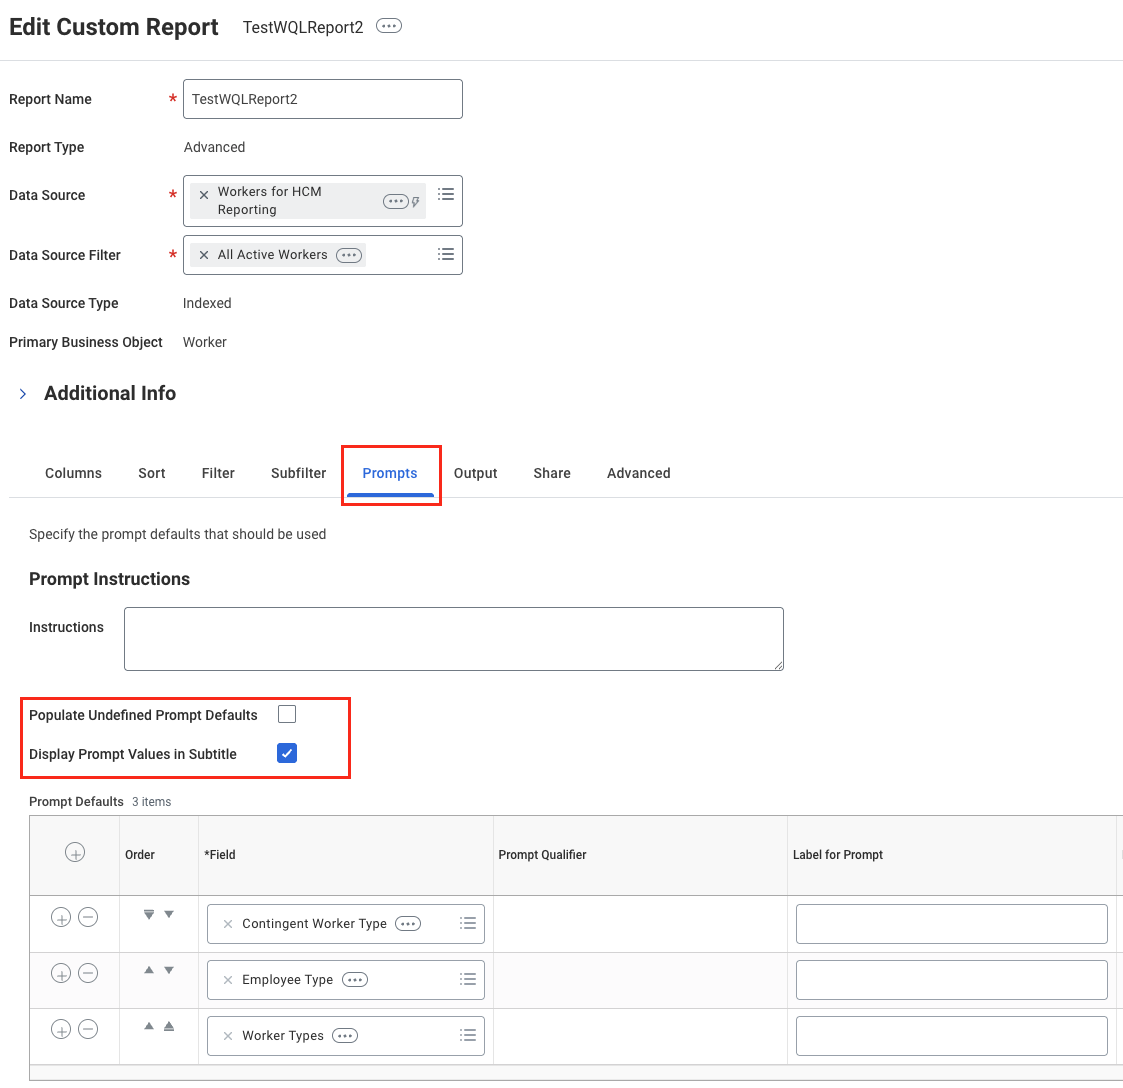
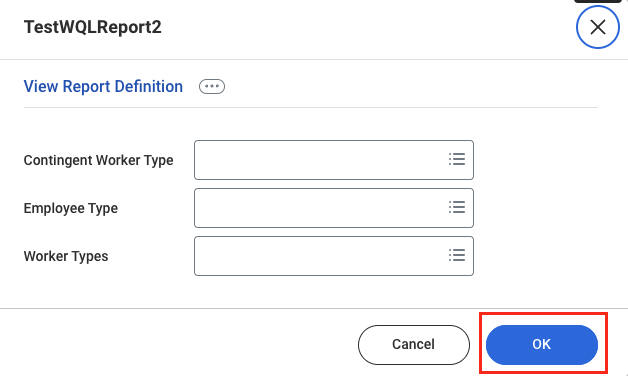
OK to save the report.Go to View Custom Report
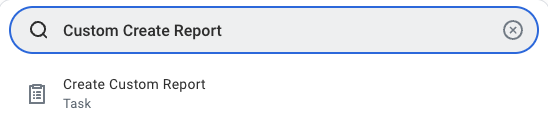
Search for 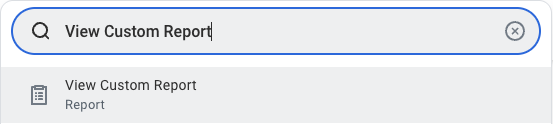
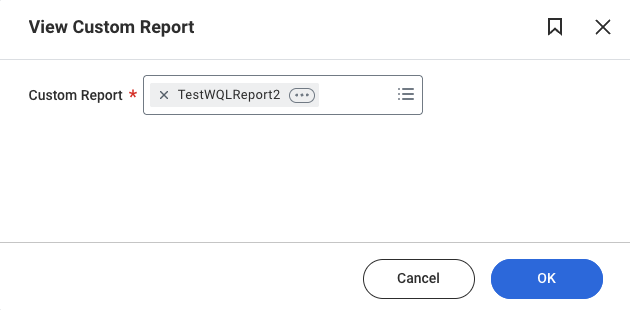
View Custom Report,OK to open it.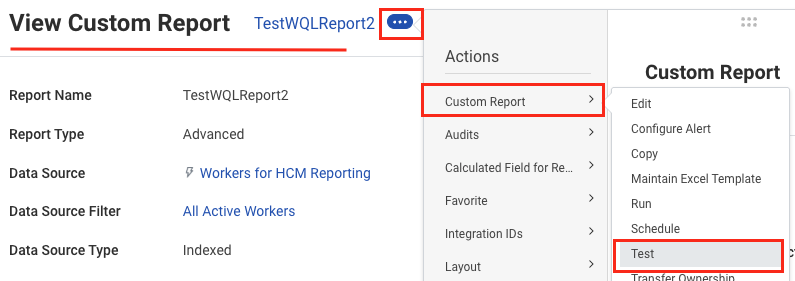
Convert the Report to WQL in Workday
Go to Convert Reports to WQL
Use the global search bar to search for “Convert Reports to WQL”.
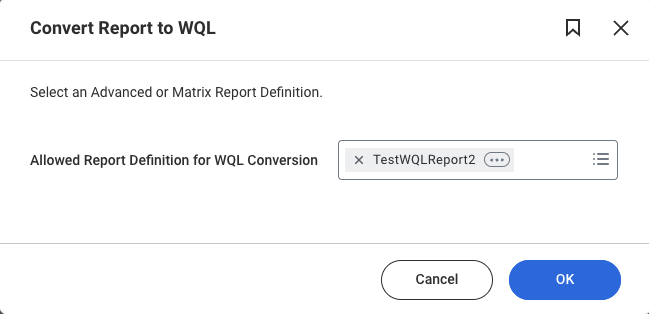
OK.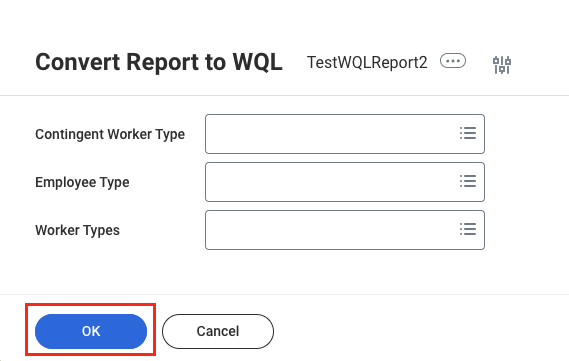
Get the generated WQL query
You are taken to a page showing the generated WQL query for your custom report.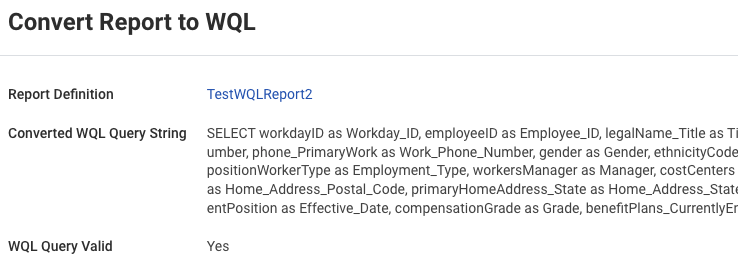
Employee WQL Query field when connecting through the StackOne Connector Hub.WQL does not support calculated fields when converting custom reports to WQL.
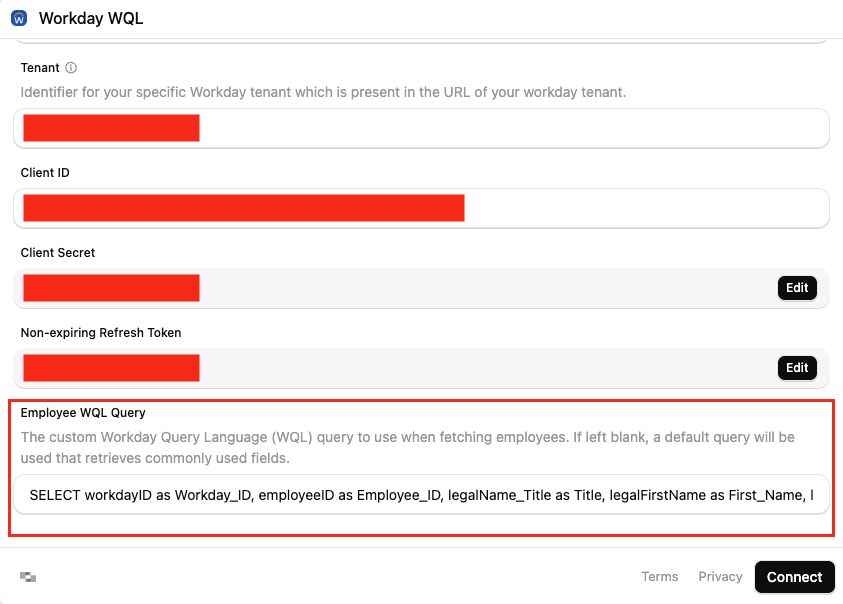
Connecting to StackOne
Enter the following details in the StackOne Connector Hub:- Web Service Endpoint
- Tenant
- Client ID
- Client Secret
- Non-expiring Refresh Token
-
Employee WQL Query: The custom Workday Query Language (WQL) query used when fetching employees.