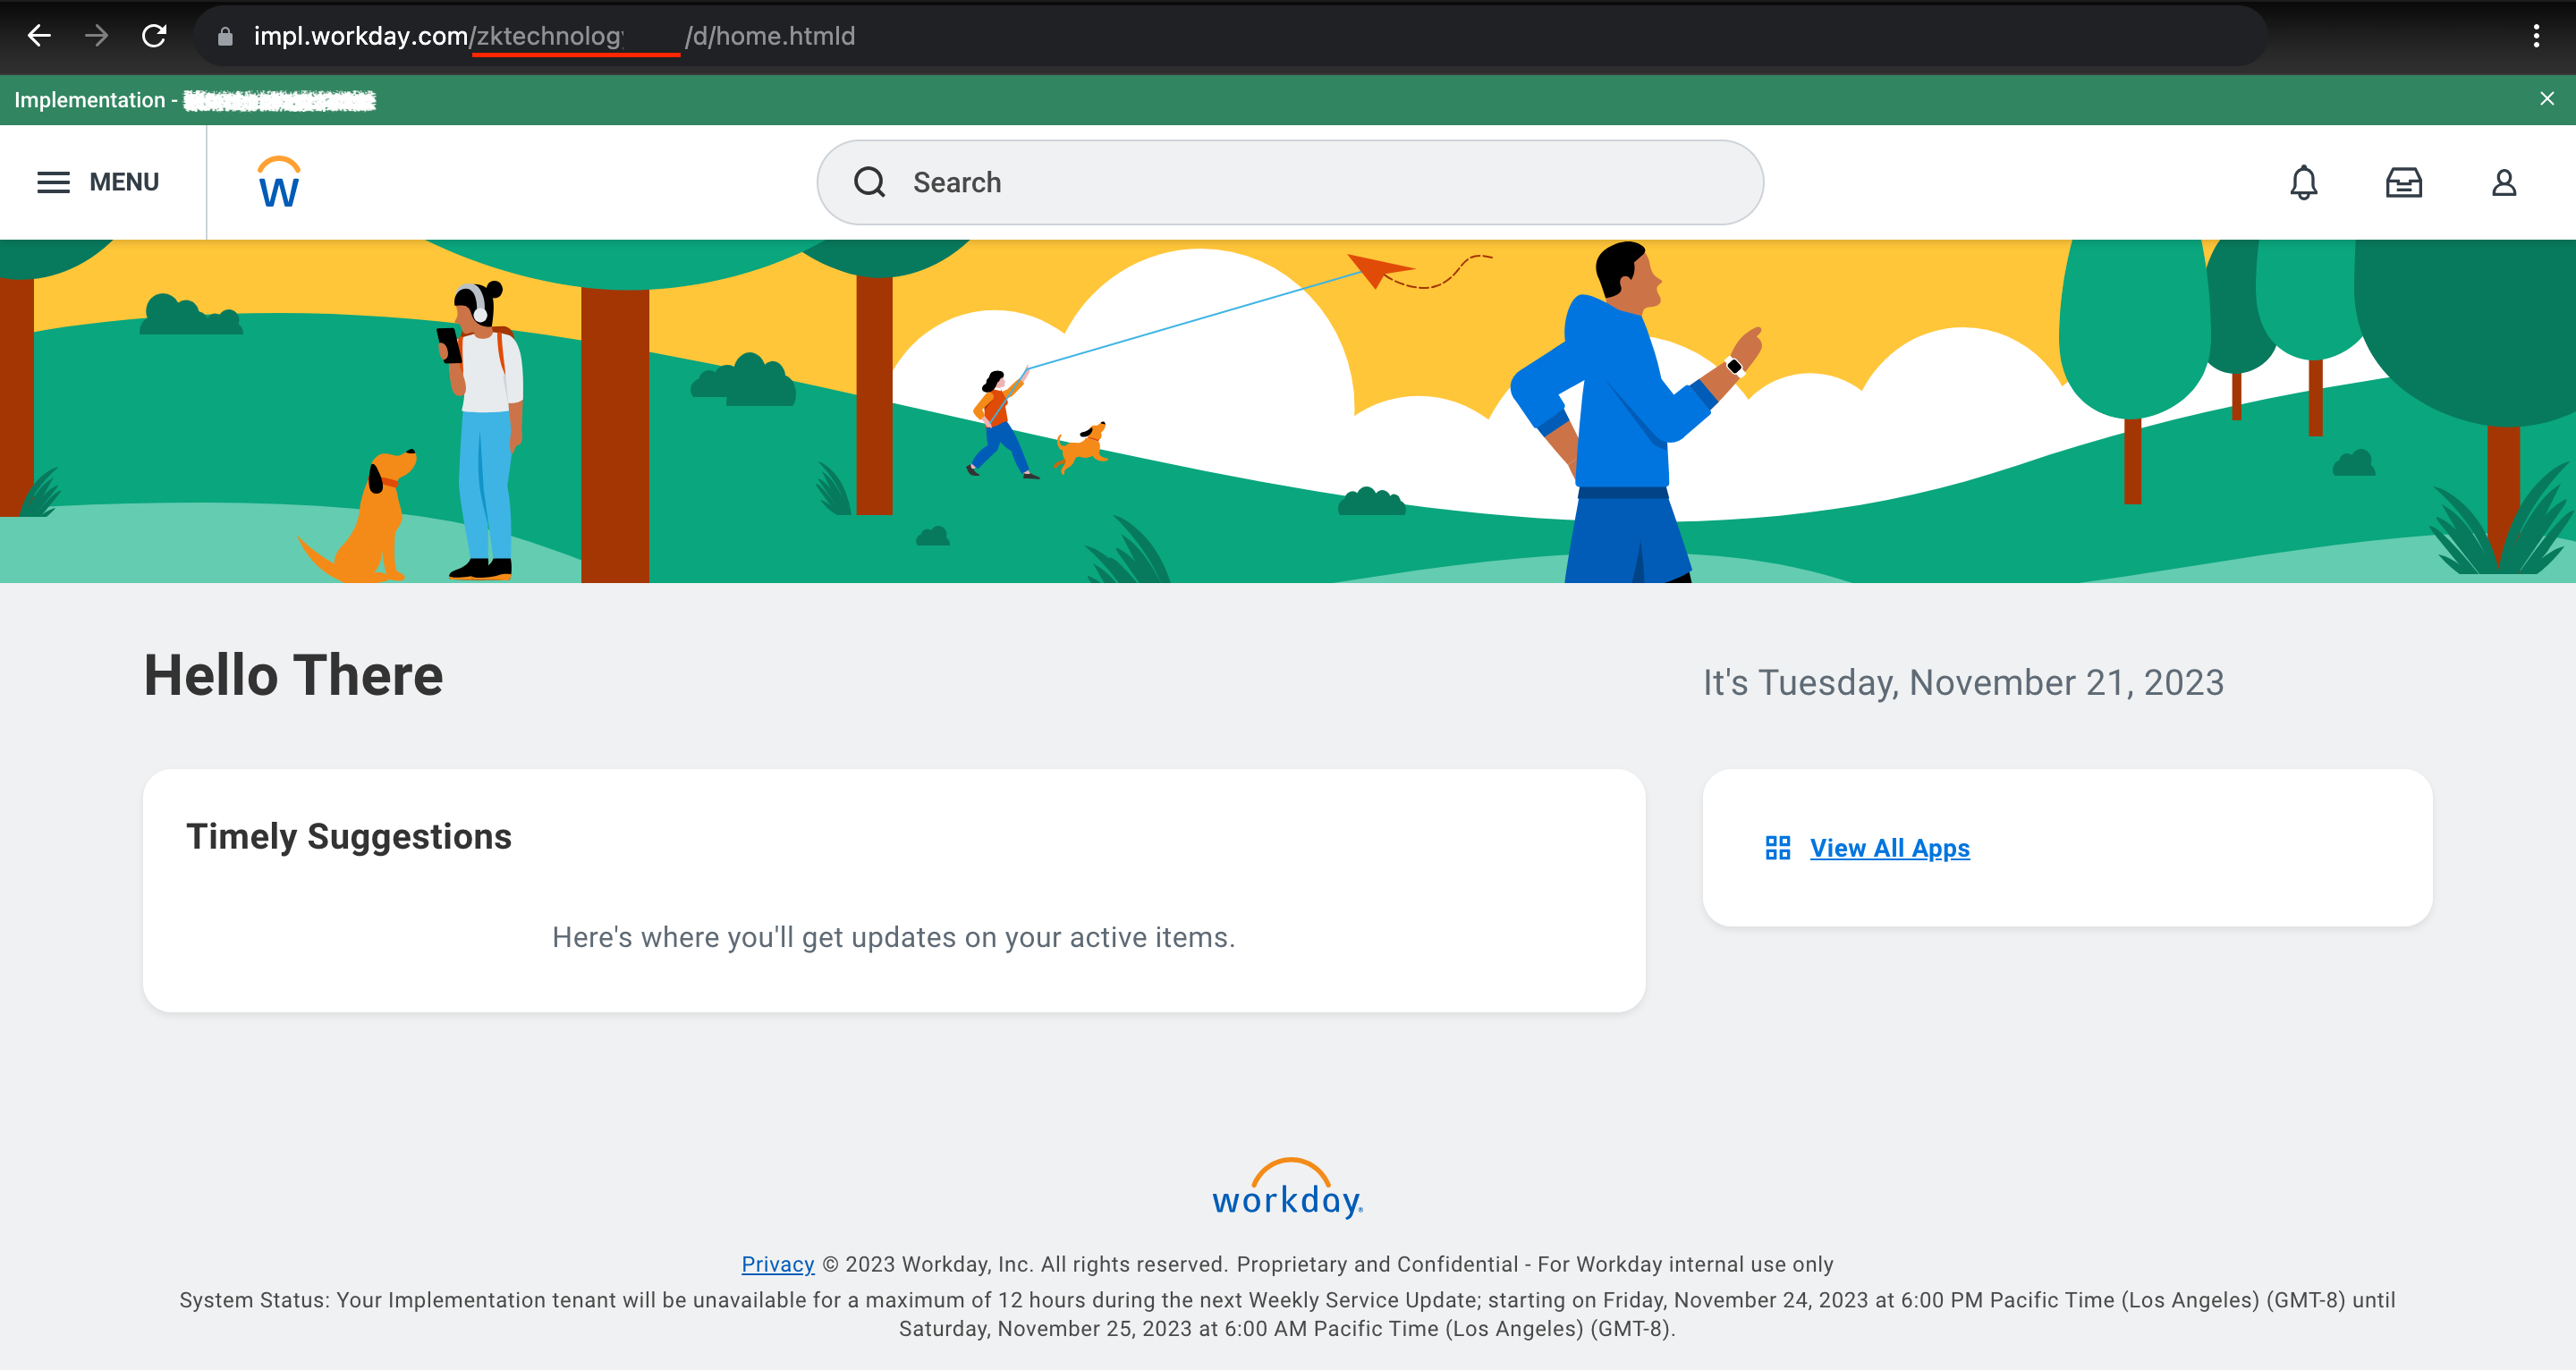
Finding your Workday Tenant
Finding the Web Services Endpoint

Find Human Resources
Find Human Resources and hover over it to be able to interact with the menu. Via the three-dots menu, go to 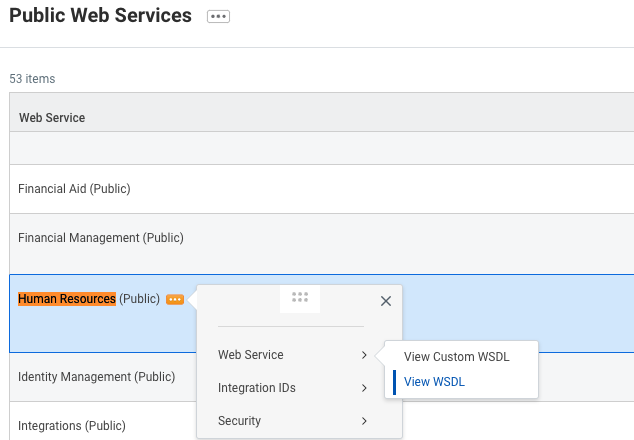
Web Service and click on View WSDL (note that the page may take a minute to fully load).Search for wsdl:service
Search for 
wsdl:service in the file OR navigate directly to the very bottom of the page. You should see something like this:service in the location attribute. Do not include the https:// prefix. In the example tenant above, this would be wd2-impl-services1.workday.com/ccx but it may be different for your tenant (e.g., wd5-services1.myworkday.com/ccx).Set up an Integration System User
Search for Create Integration System User
Log in to your Workday tenant in the Workday portal. In the Search field, search for “Create Integration System User”.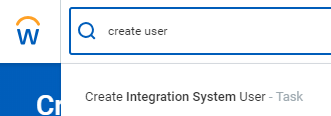
Enter Account Information
Enter a username and password in the Account Information section on the “Create Integration System User” page.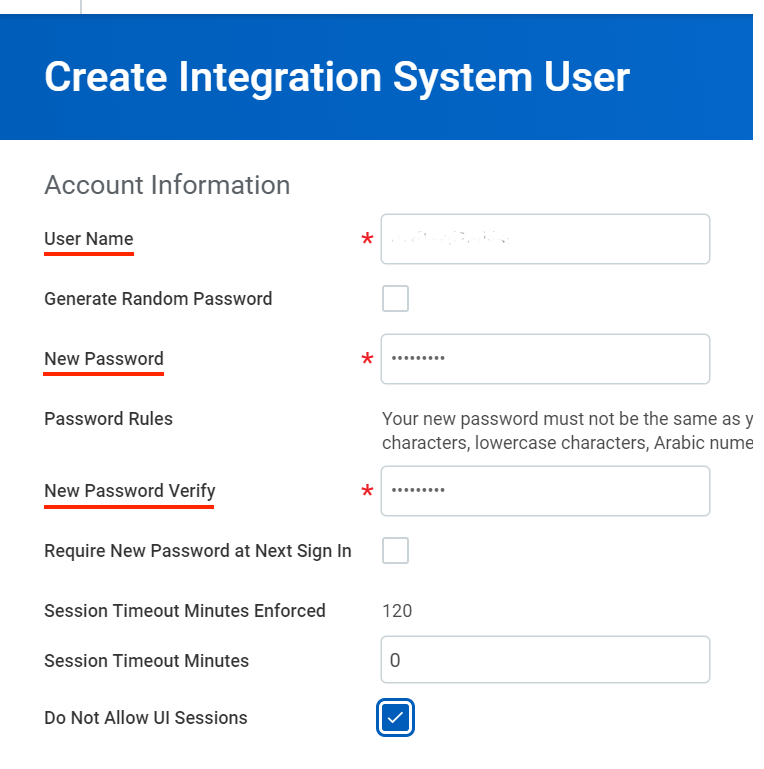
Add the Integration System User to a Security Group
Search for Create Security Group
In the Search field, search for “Create Security Group”. Select the “Create Security Group” task.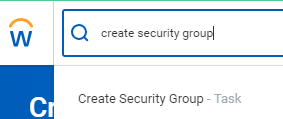
Select Security Group Type
On the “Create Security Group” page, select “Integration System Security Group (Unconstrained)” from the Type of Tenanted Security Group pull-down menu. Enter a name in the Name field.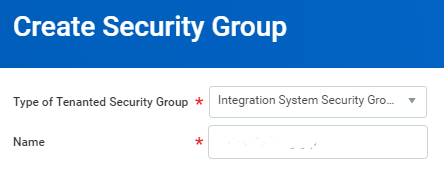
Configure Domain Security Policy Permissions
Edit Permissions
The Workday HRIS integration currently requires all of the permissions listed below to be enabled for full support.Workday’s API may return an error response if any of these permissions are missing.
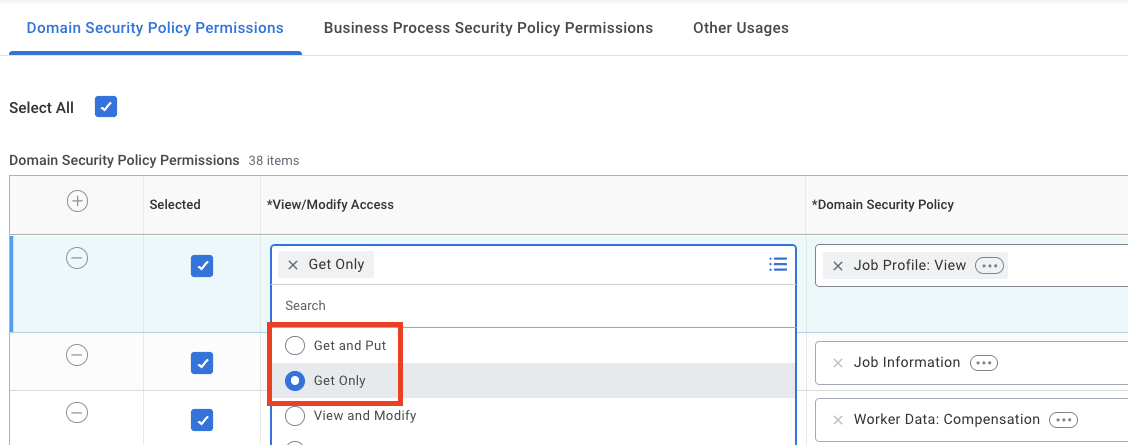
Please note that Security Group Permissions can be customized within a Workday organization, and this list does not account for such customizations.
- Job Requisition Data
- Job Information
- Job Profile: View
- Manage:
- Location
- Organization Integration
- Person Data:
- Name
- Citizenship Status
- Date of Birth
- Disabilities
- Gender
- Government IDs
- ID Information
- Marital Status
- National ID Identification
- Personal Information
- Personal Data
- Personal Photo
- Home Contact Information
- Home Address
- Home Email
- Home Phone
- Work Contact Information
- Work Address
- Work Email
- Work Phone
- Worker Data:
- All Positions
- Compensation
- Current Staffing Information
- Employment Data
- Organization Information
- Public Worker Reports
- Time Off
- Time Off
- Time Off Manager View
- Time Off Balances
- Time Off Balances Manager View
- Leave of Absence
- Workers
- Set Up: Time Off
- Set Up: Time Off (Calculations - Absence Specific)
- System Auditing
- View: National Identifiers - All
Approve the Security Policy Changes
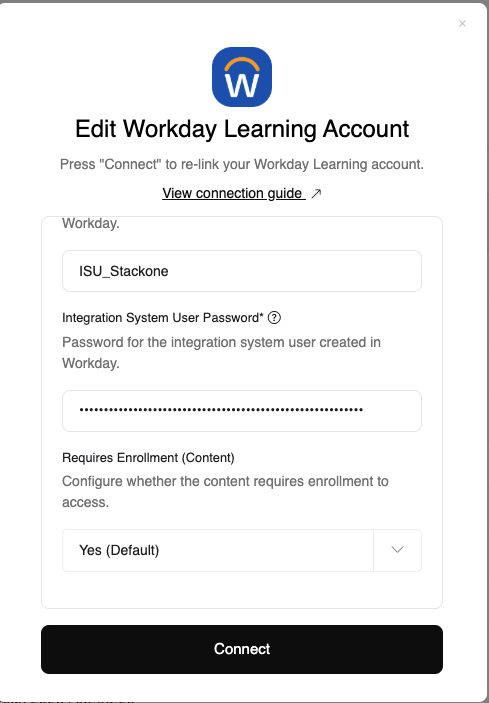
Linking your Account
Enter the following details in the connection form:- Web Service Endpoint
- Workday Tenant Domain (optional): The Domain of your Workday tenant. Can be found in the URL when logged into Workday. (e.g.
my-instance.workday.com) - Tenant
- Integration System Username
- Integration System User Password