OAuth + File Picker
Log in to Sharepoint
Get your SharePoint Base URL
Your SharePoint base URL follows this format:You can find this URL by:
- Opening your Microsoft SharePoint site
- Copying the base URL from your browser’s address bar
Log in to Microsoft Azure
Log in to your Microsoft Azure portal.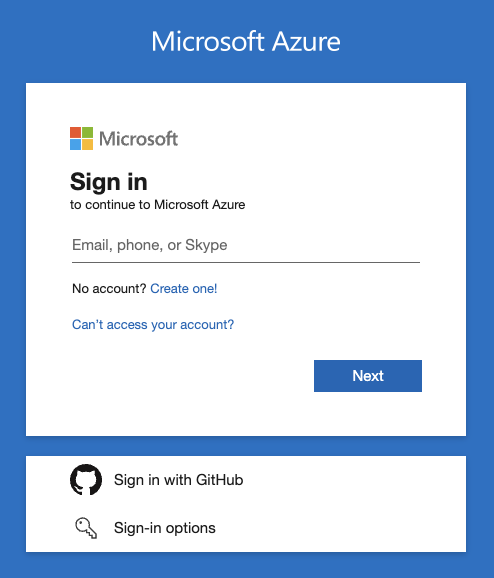
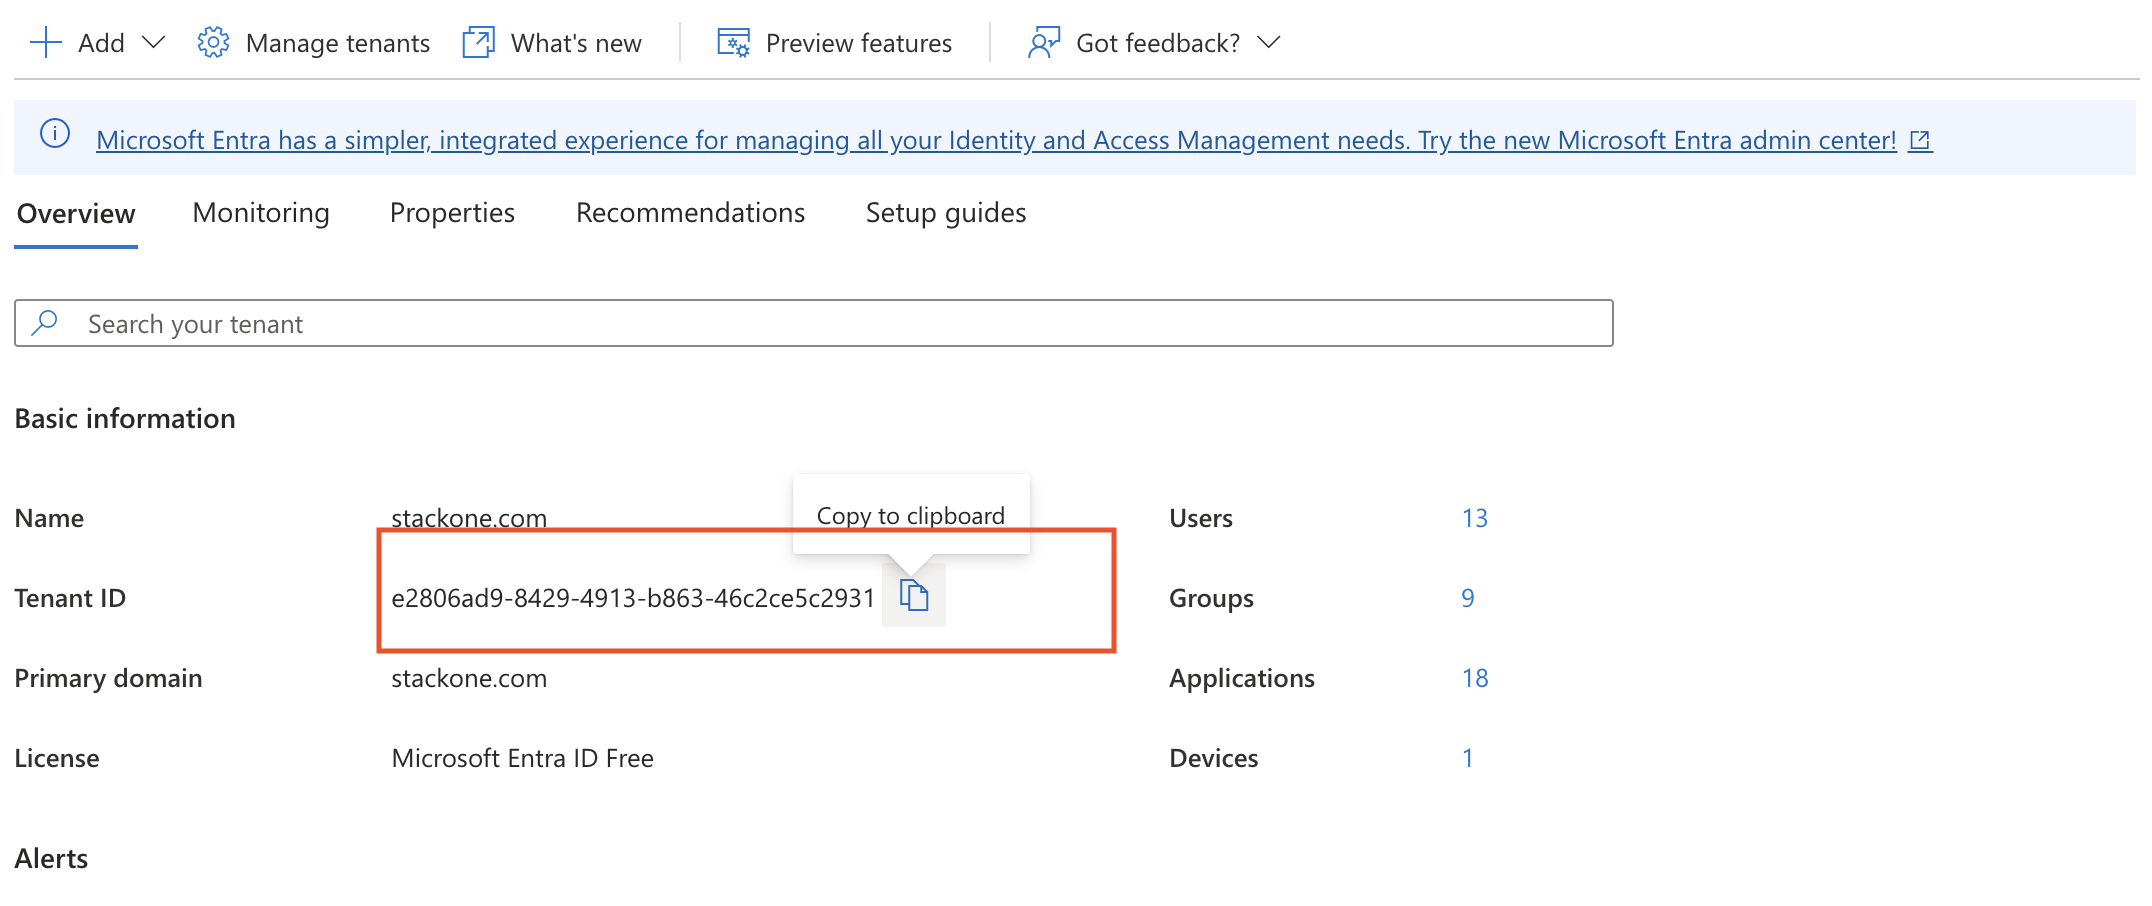
Obtain your Tenant ID
Search Microsoft Entra ID and navigate to the Overview page.Copy the Tenant ID and store safely to be used in a later step:
-
Directory (tenant) ID
Connect to Sharepoint
Enter the credentials in the fields below and click the Connect button to start the login process. You will be redirected to Sharepoint.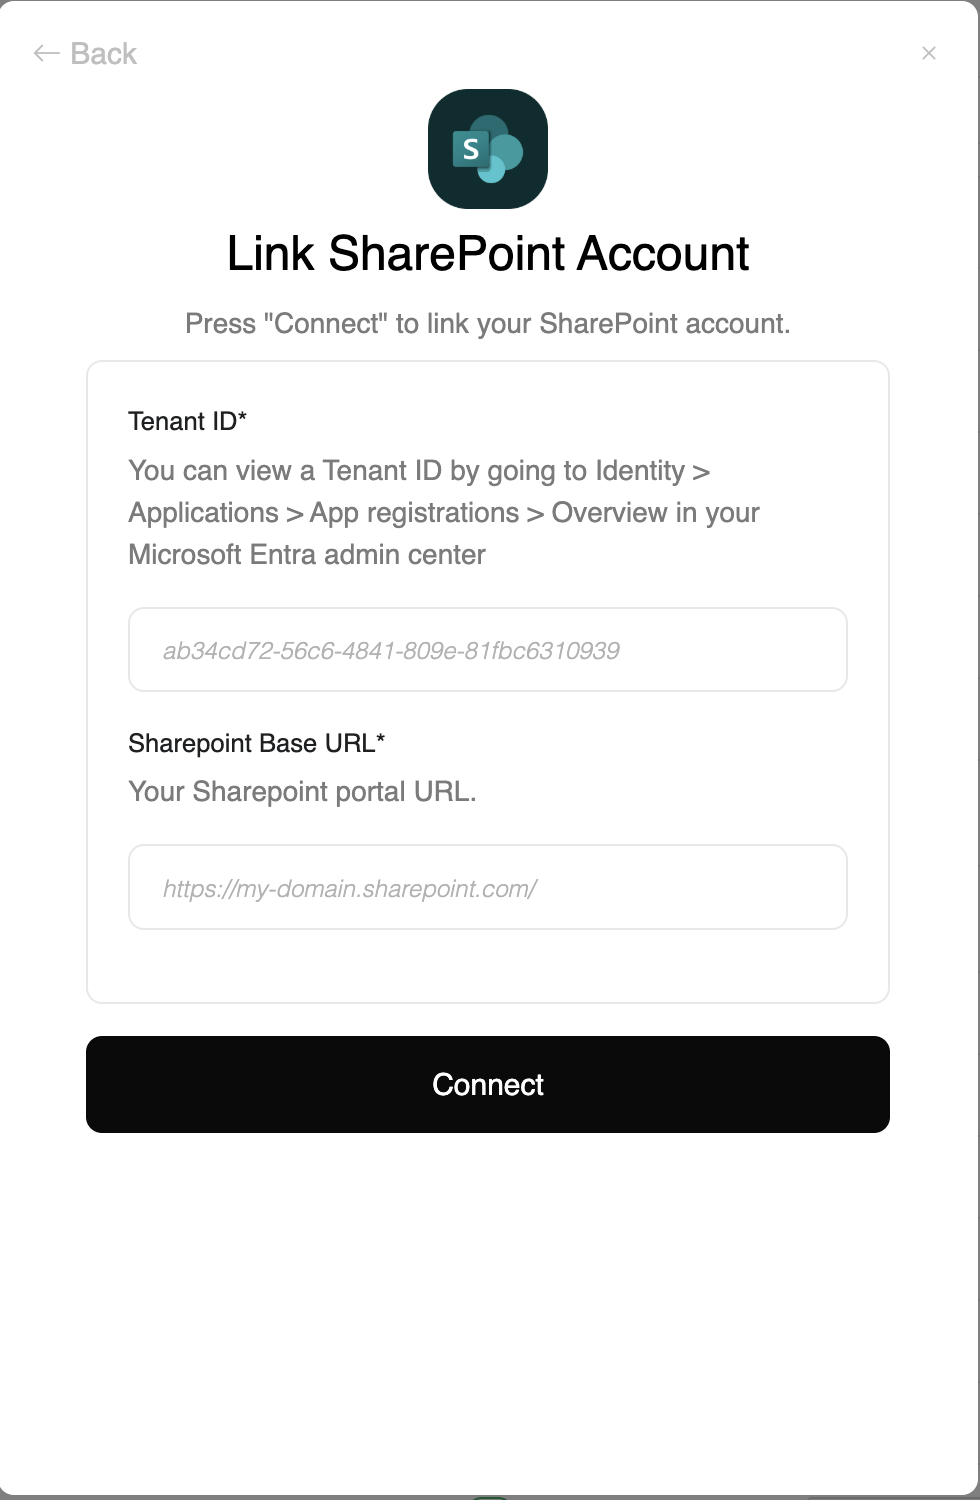
OAuth
Connect to Sharepoint
Enter the credentials in the fields below and click the Connect button to start the login process. You will be redirected to log in to Microsoft.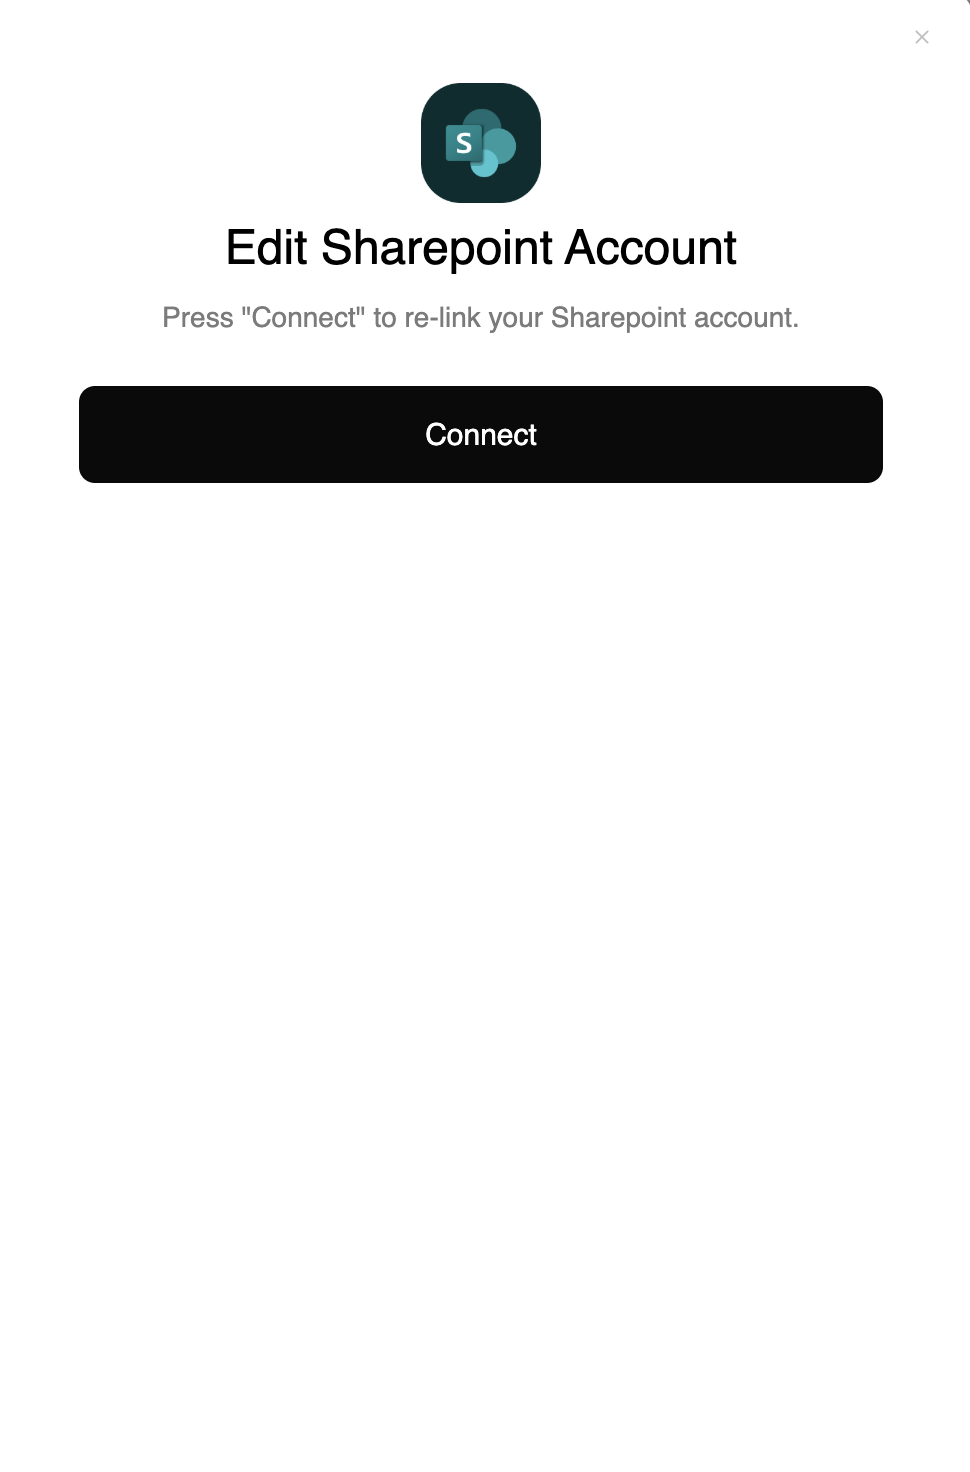

Congratulations, you’re all set! If you face any issues with the steps mentioned above, please contact us by emailing integrations@stackone.com. We’re always here to assist you!
Available data
This integration has the following DOCUMENTS Resources available from the provider:- Drives
- Files
- Folders